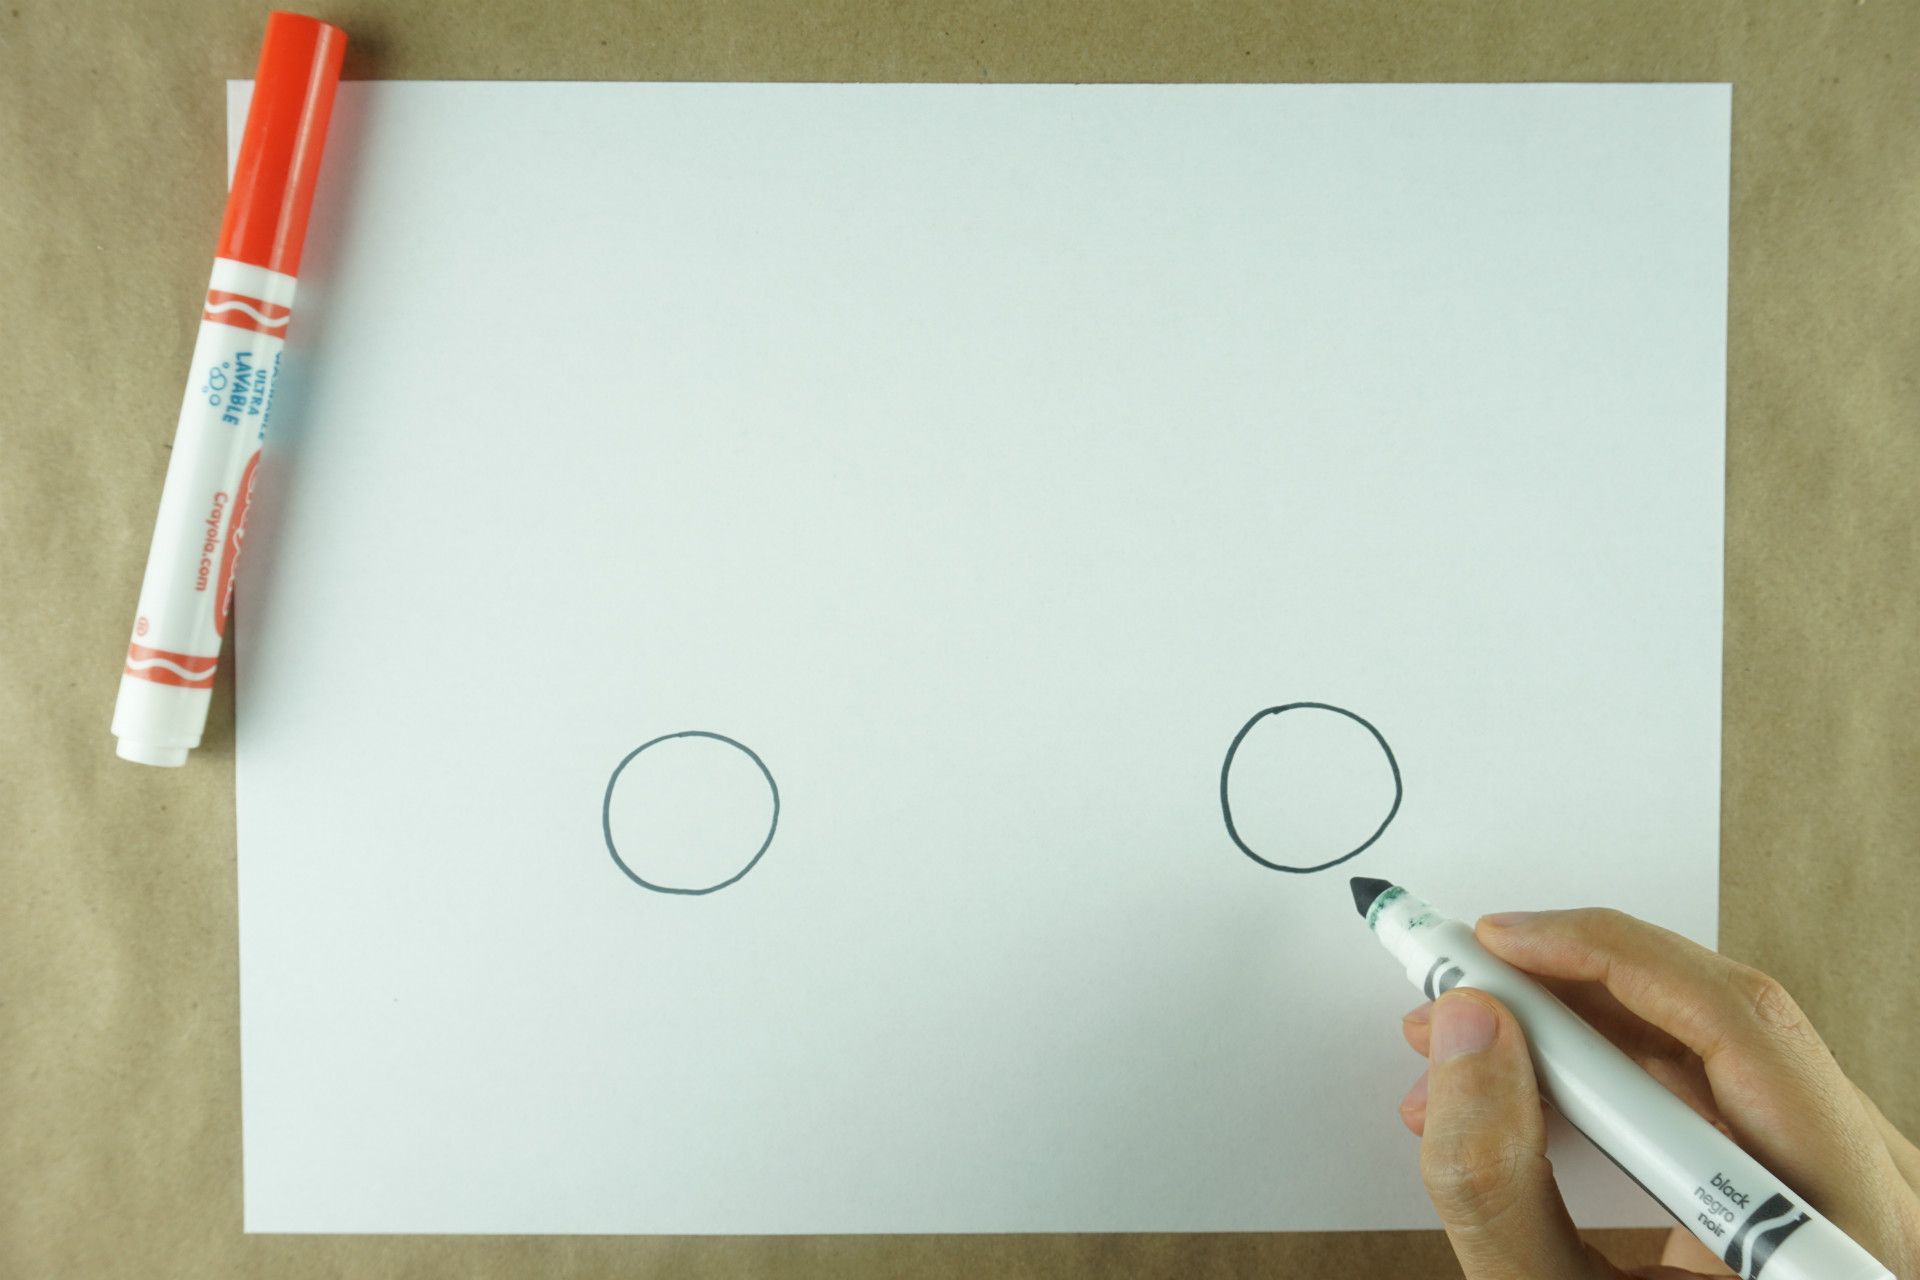
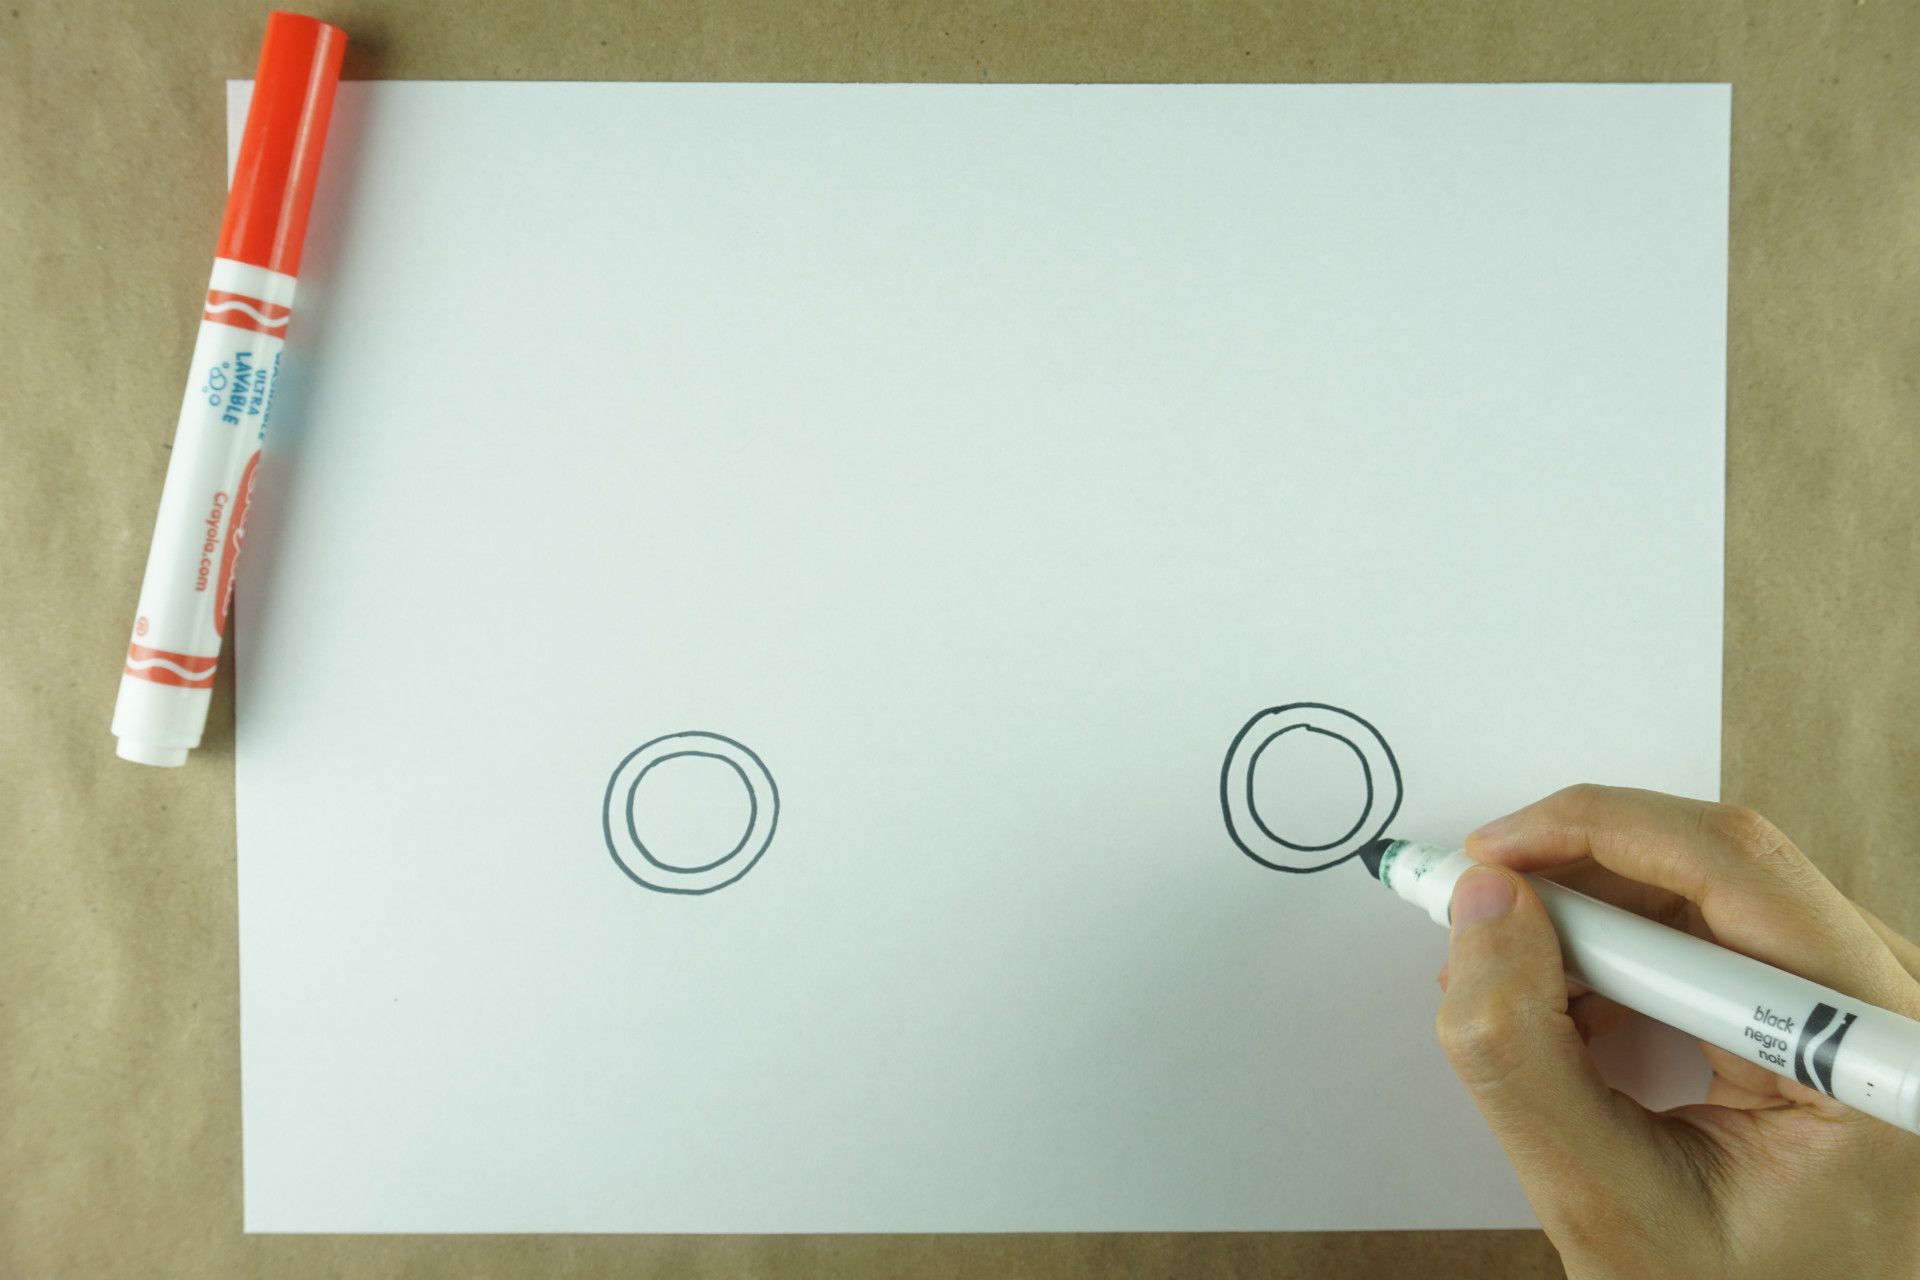
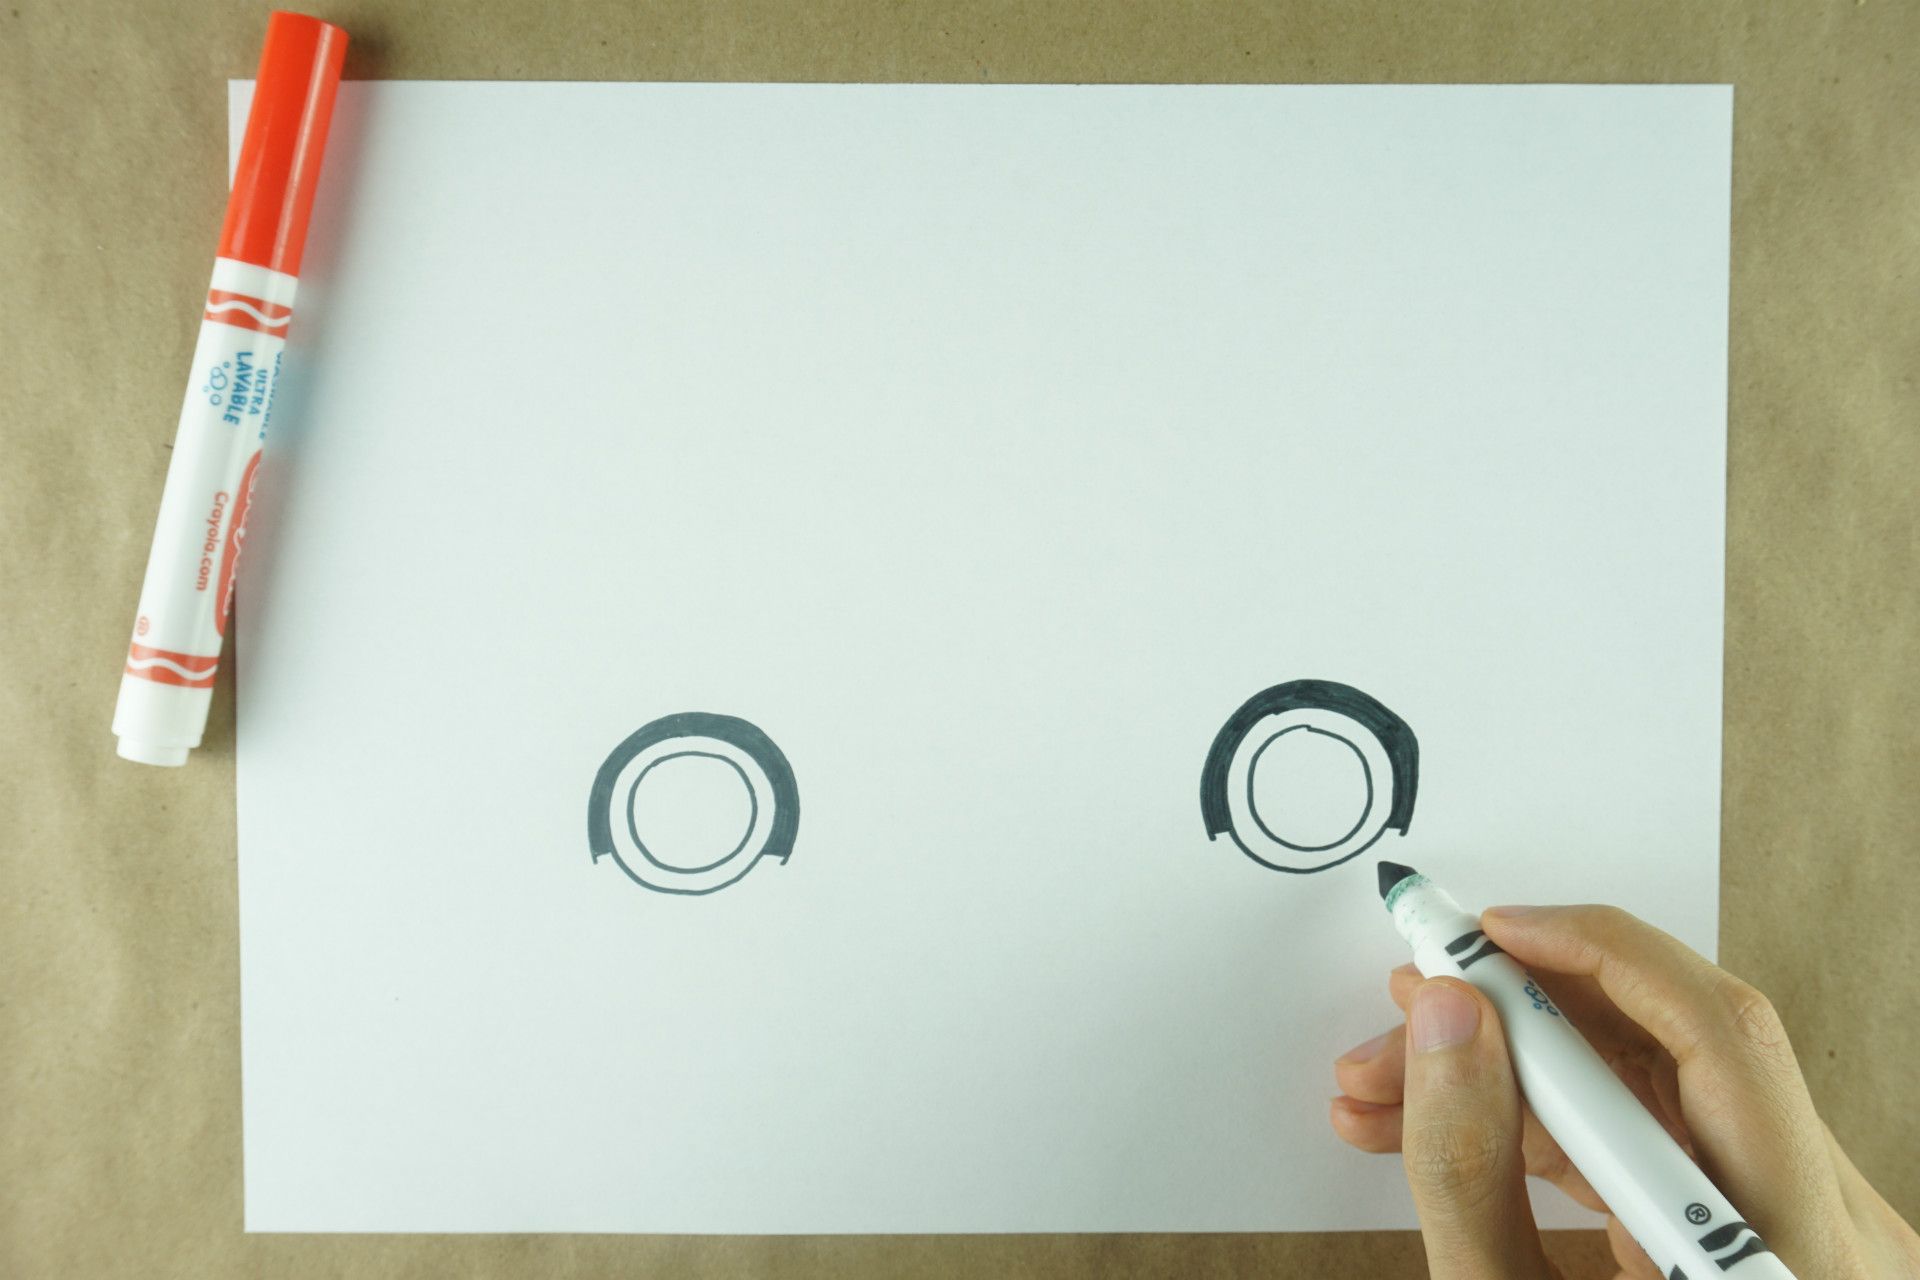
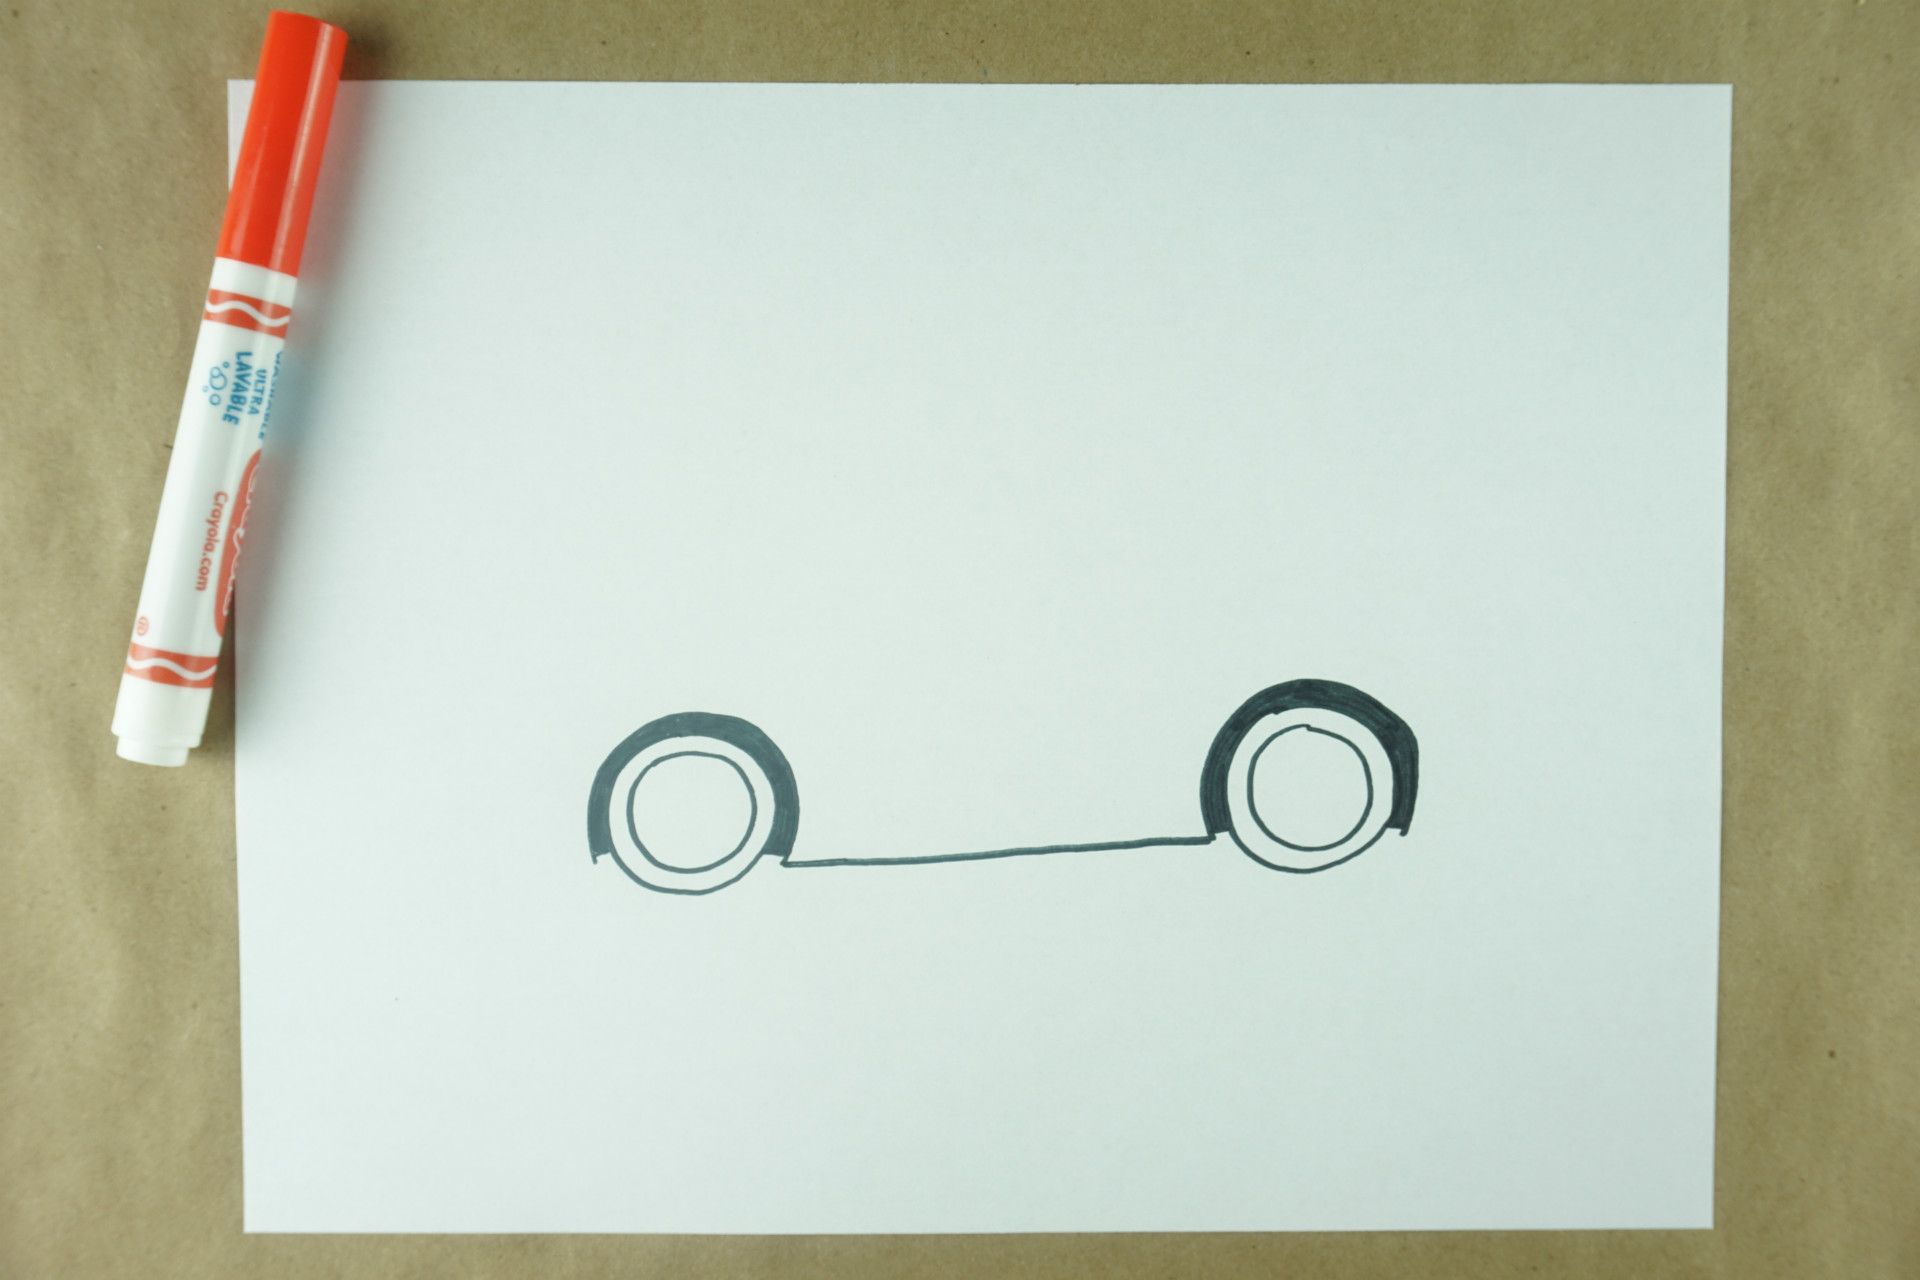
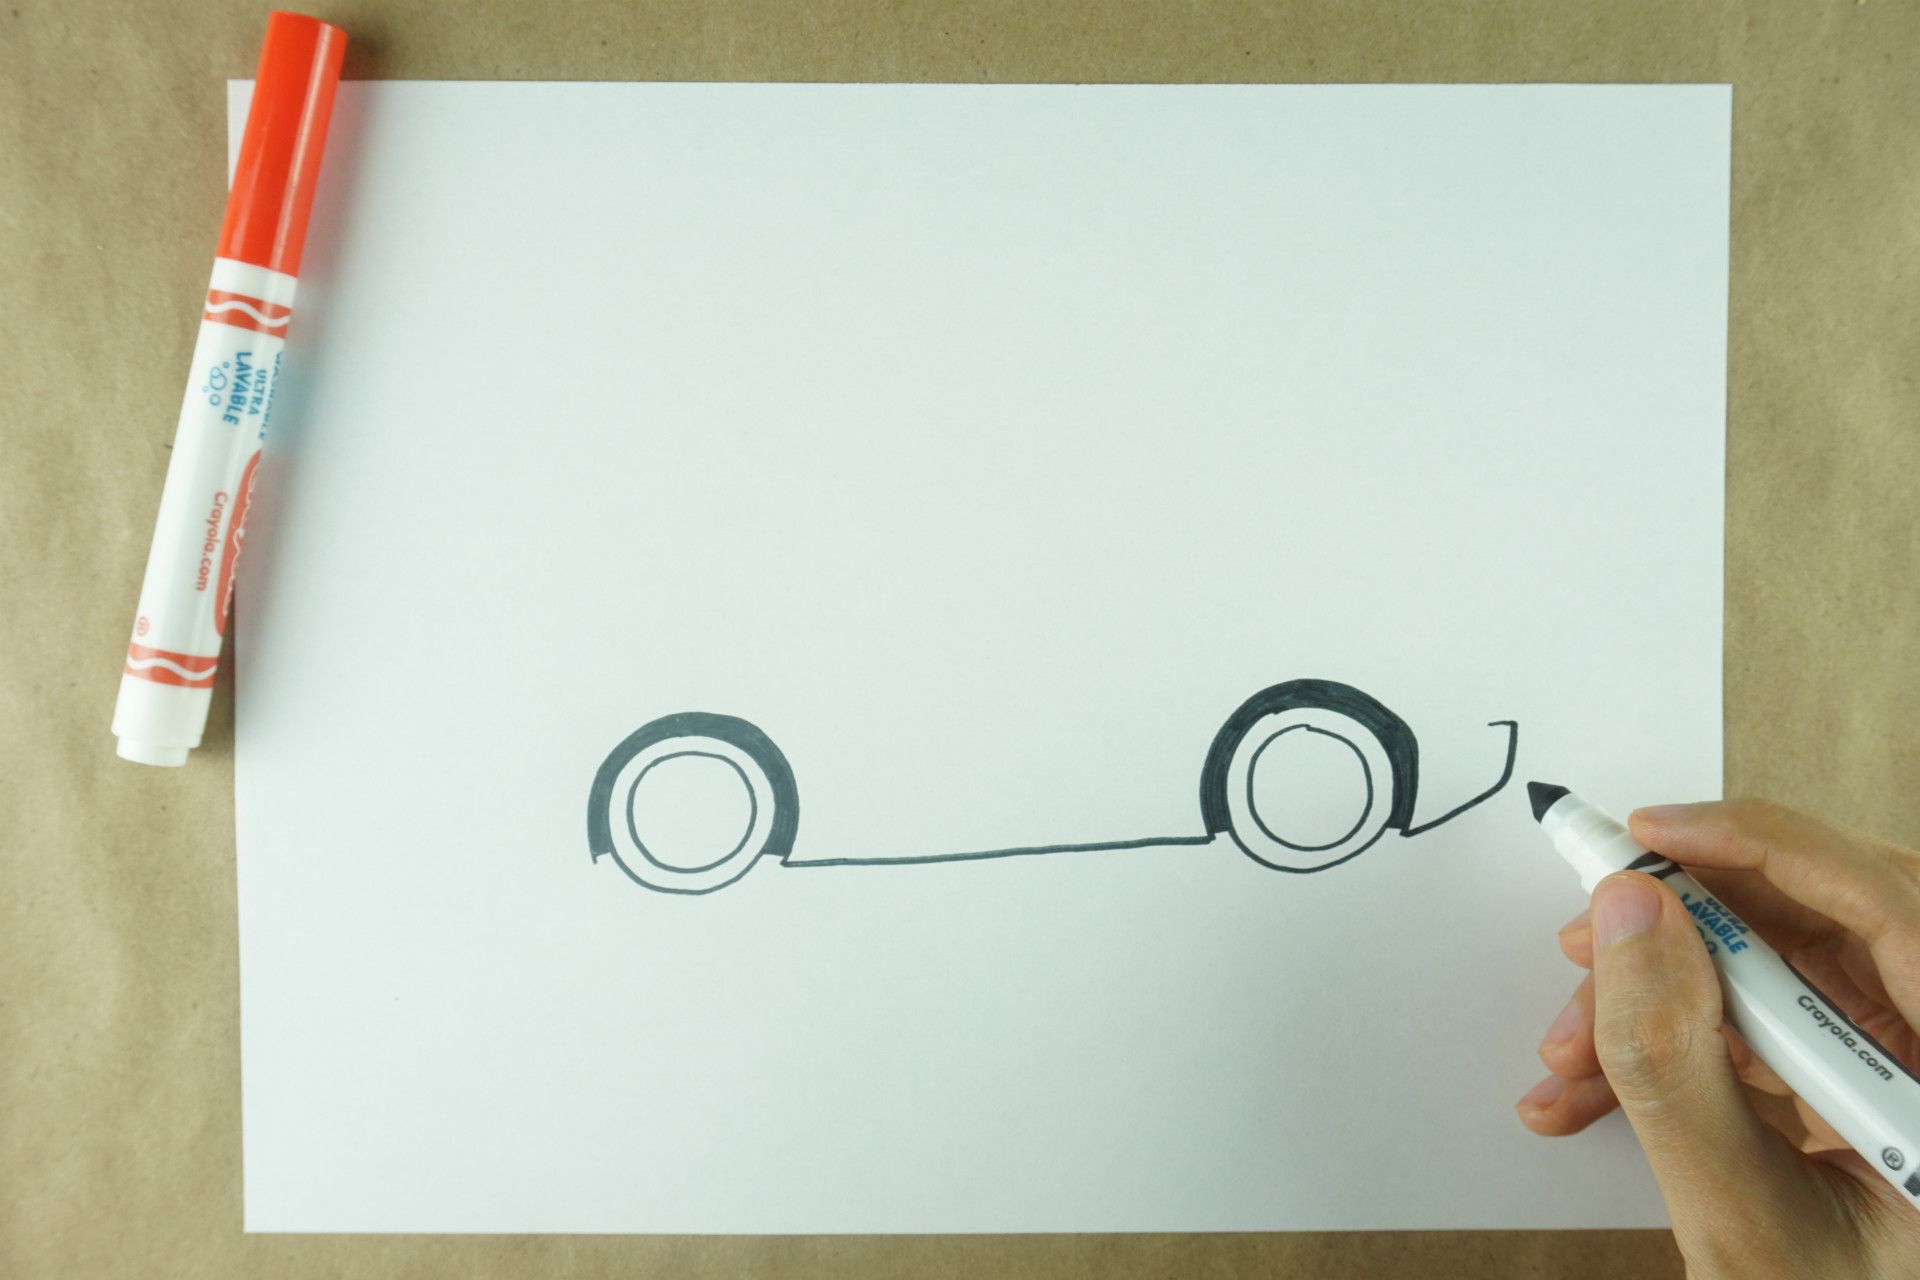
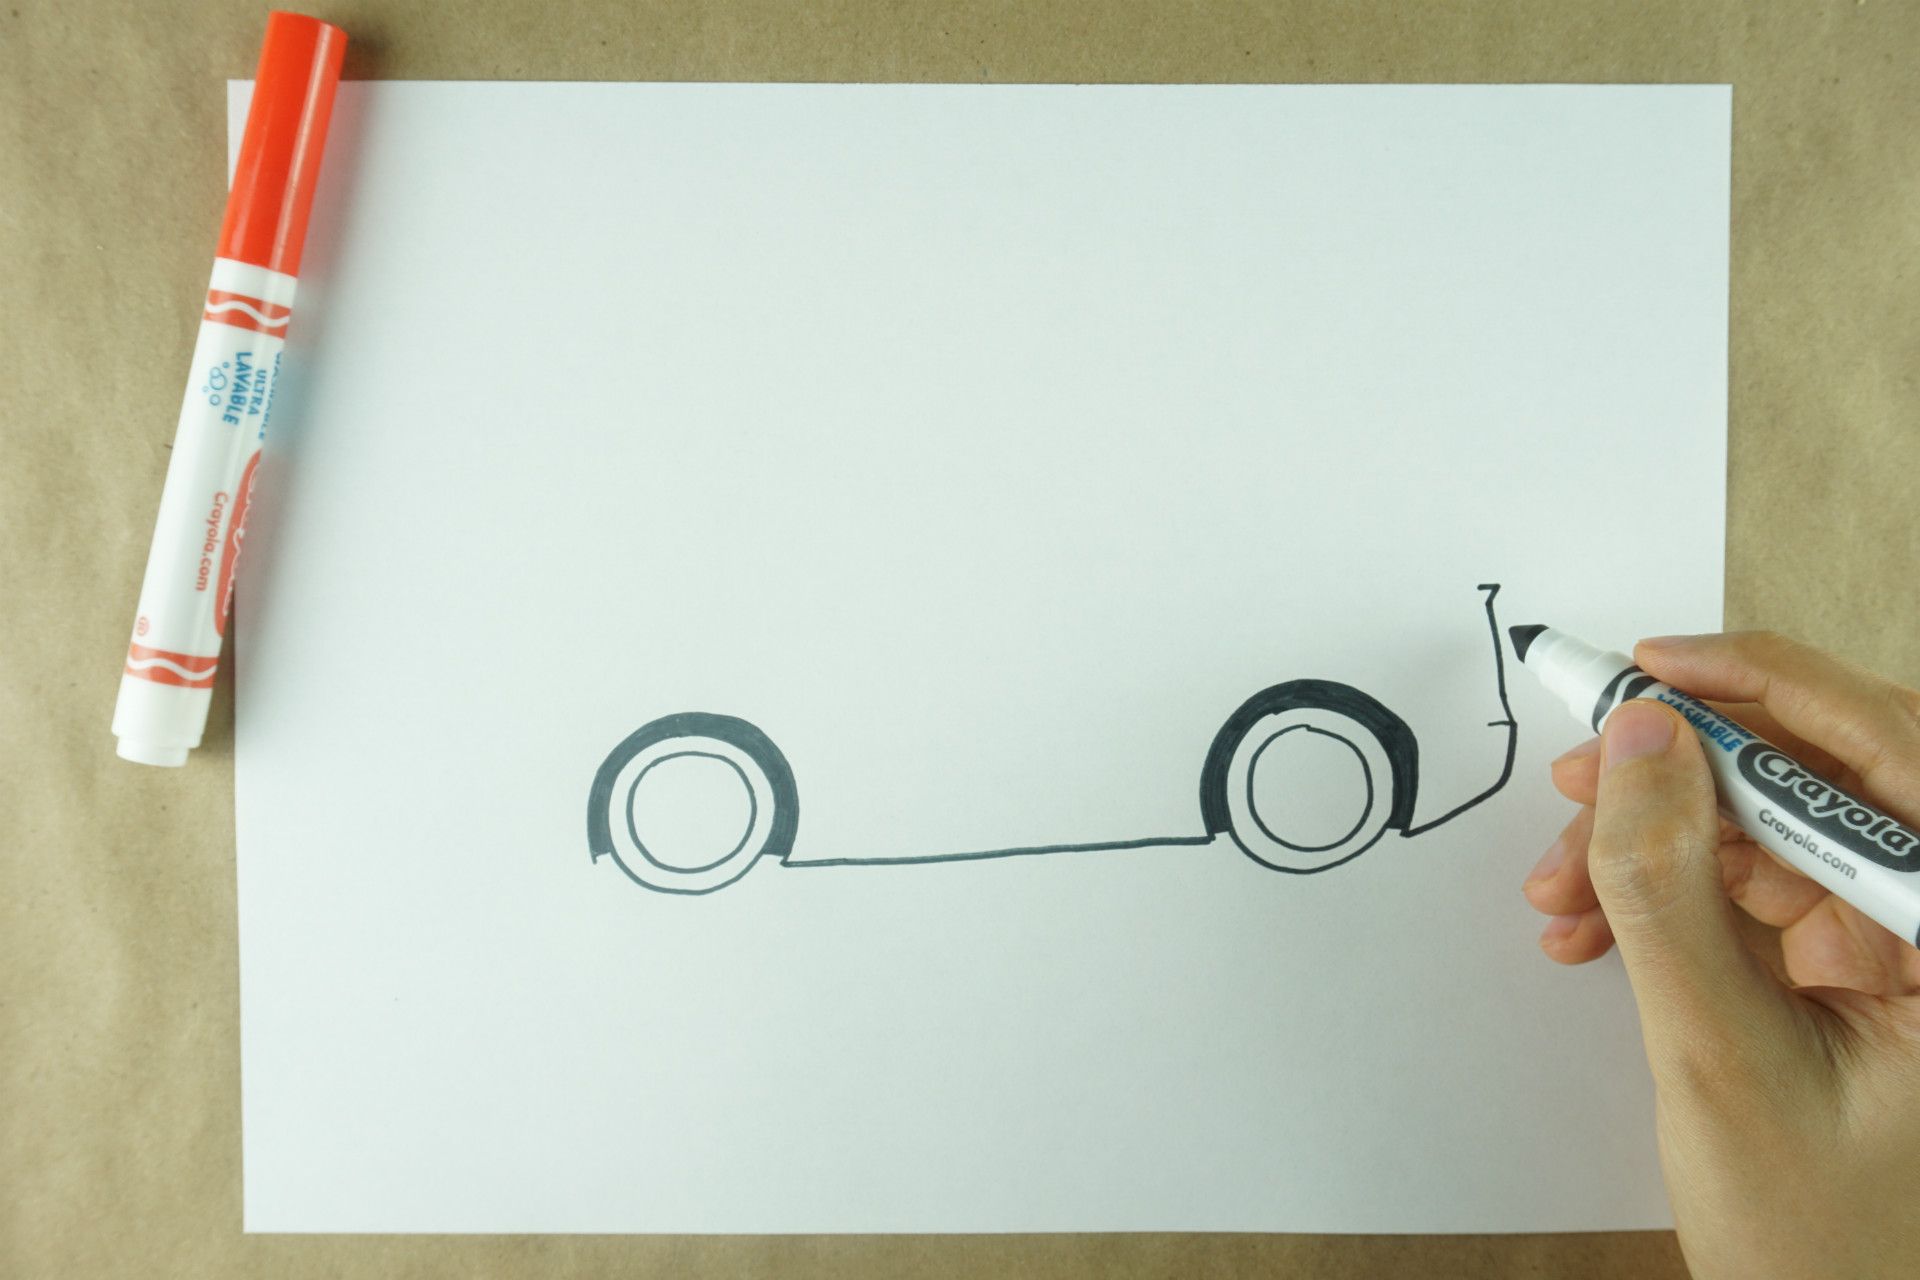
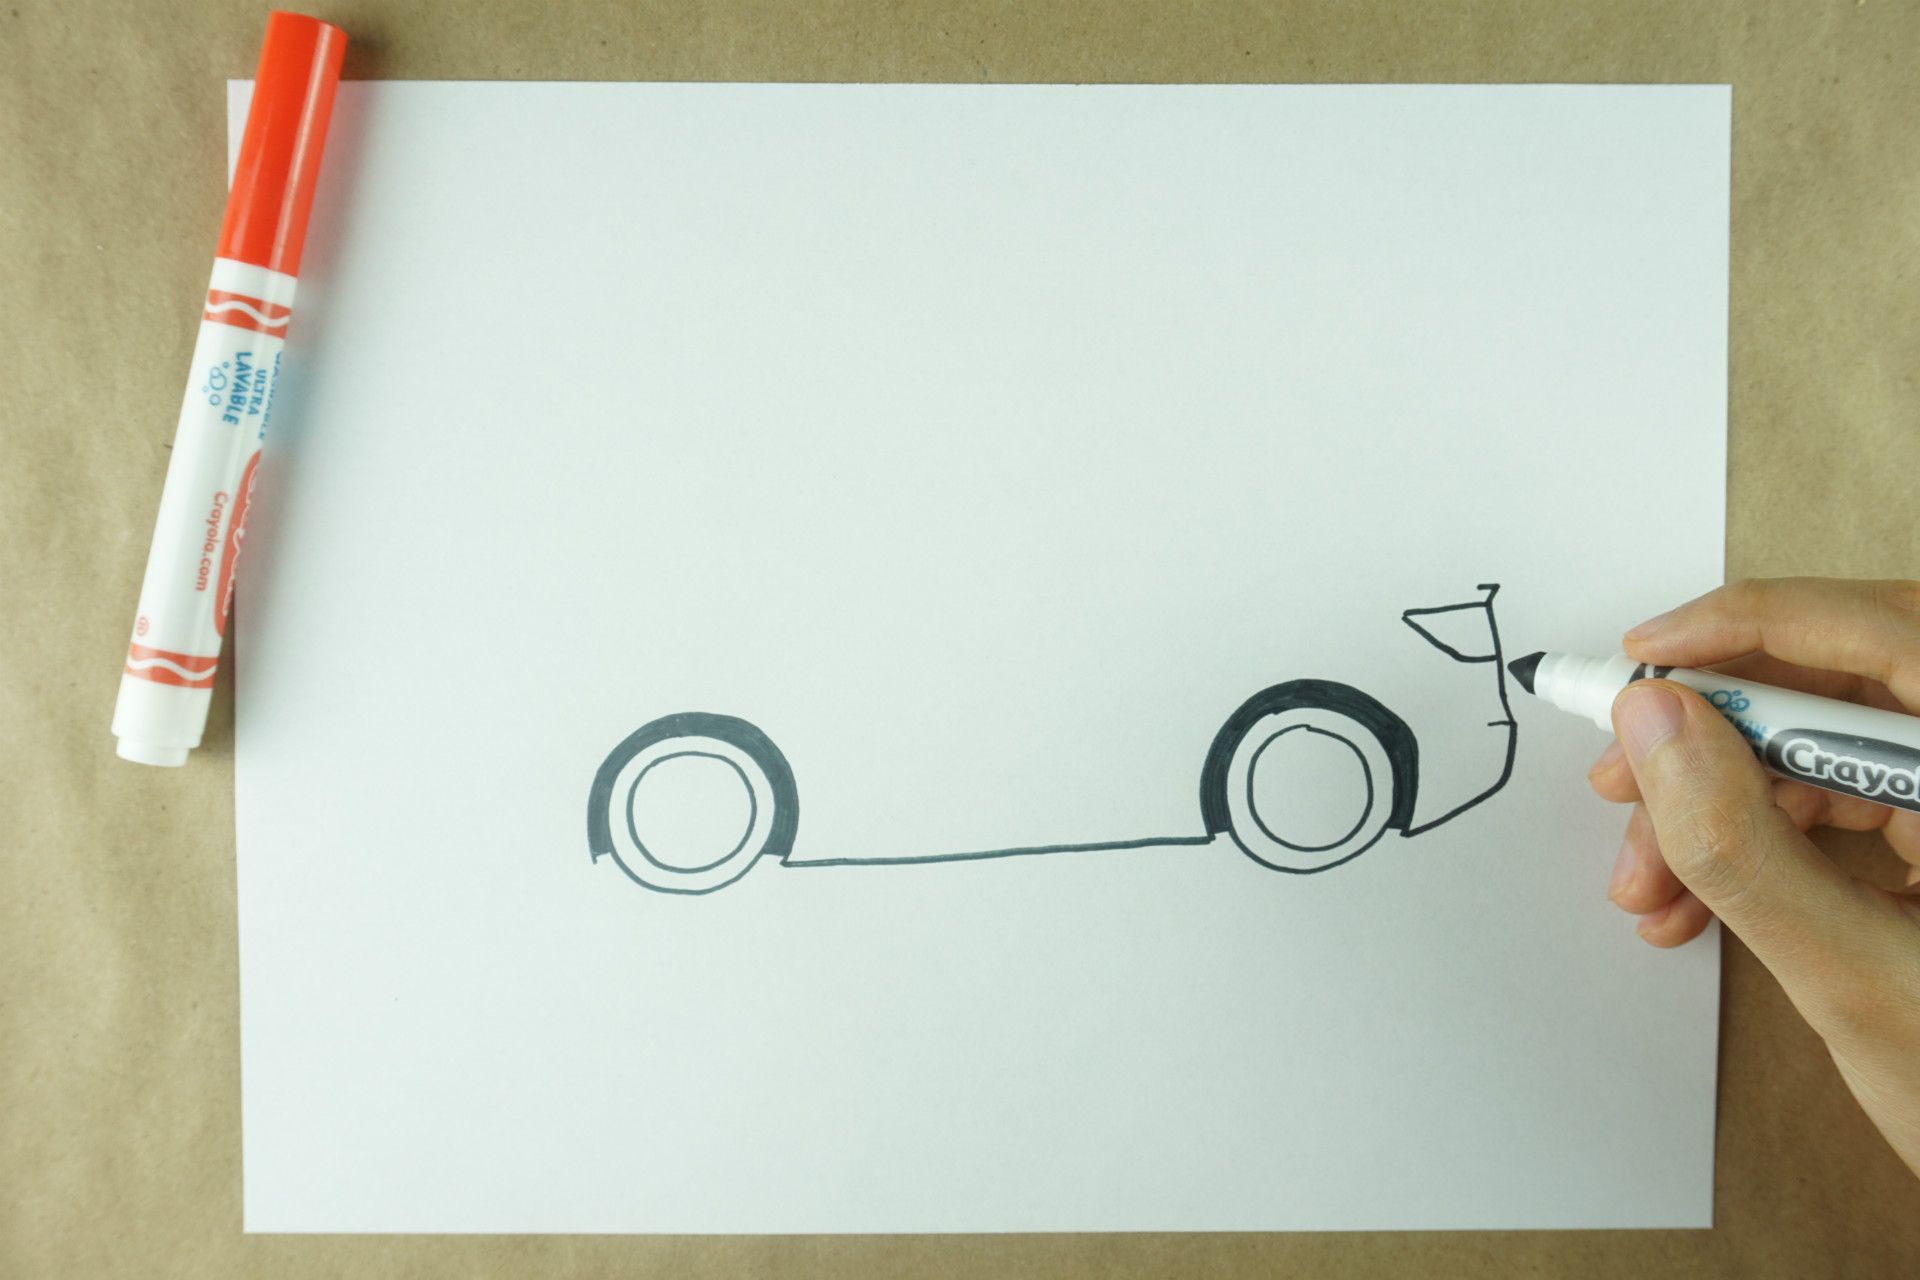
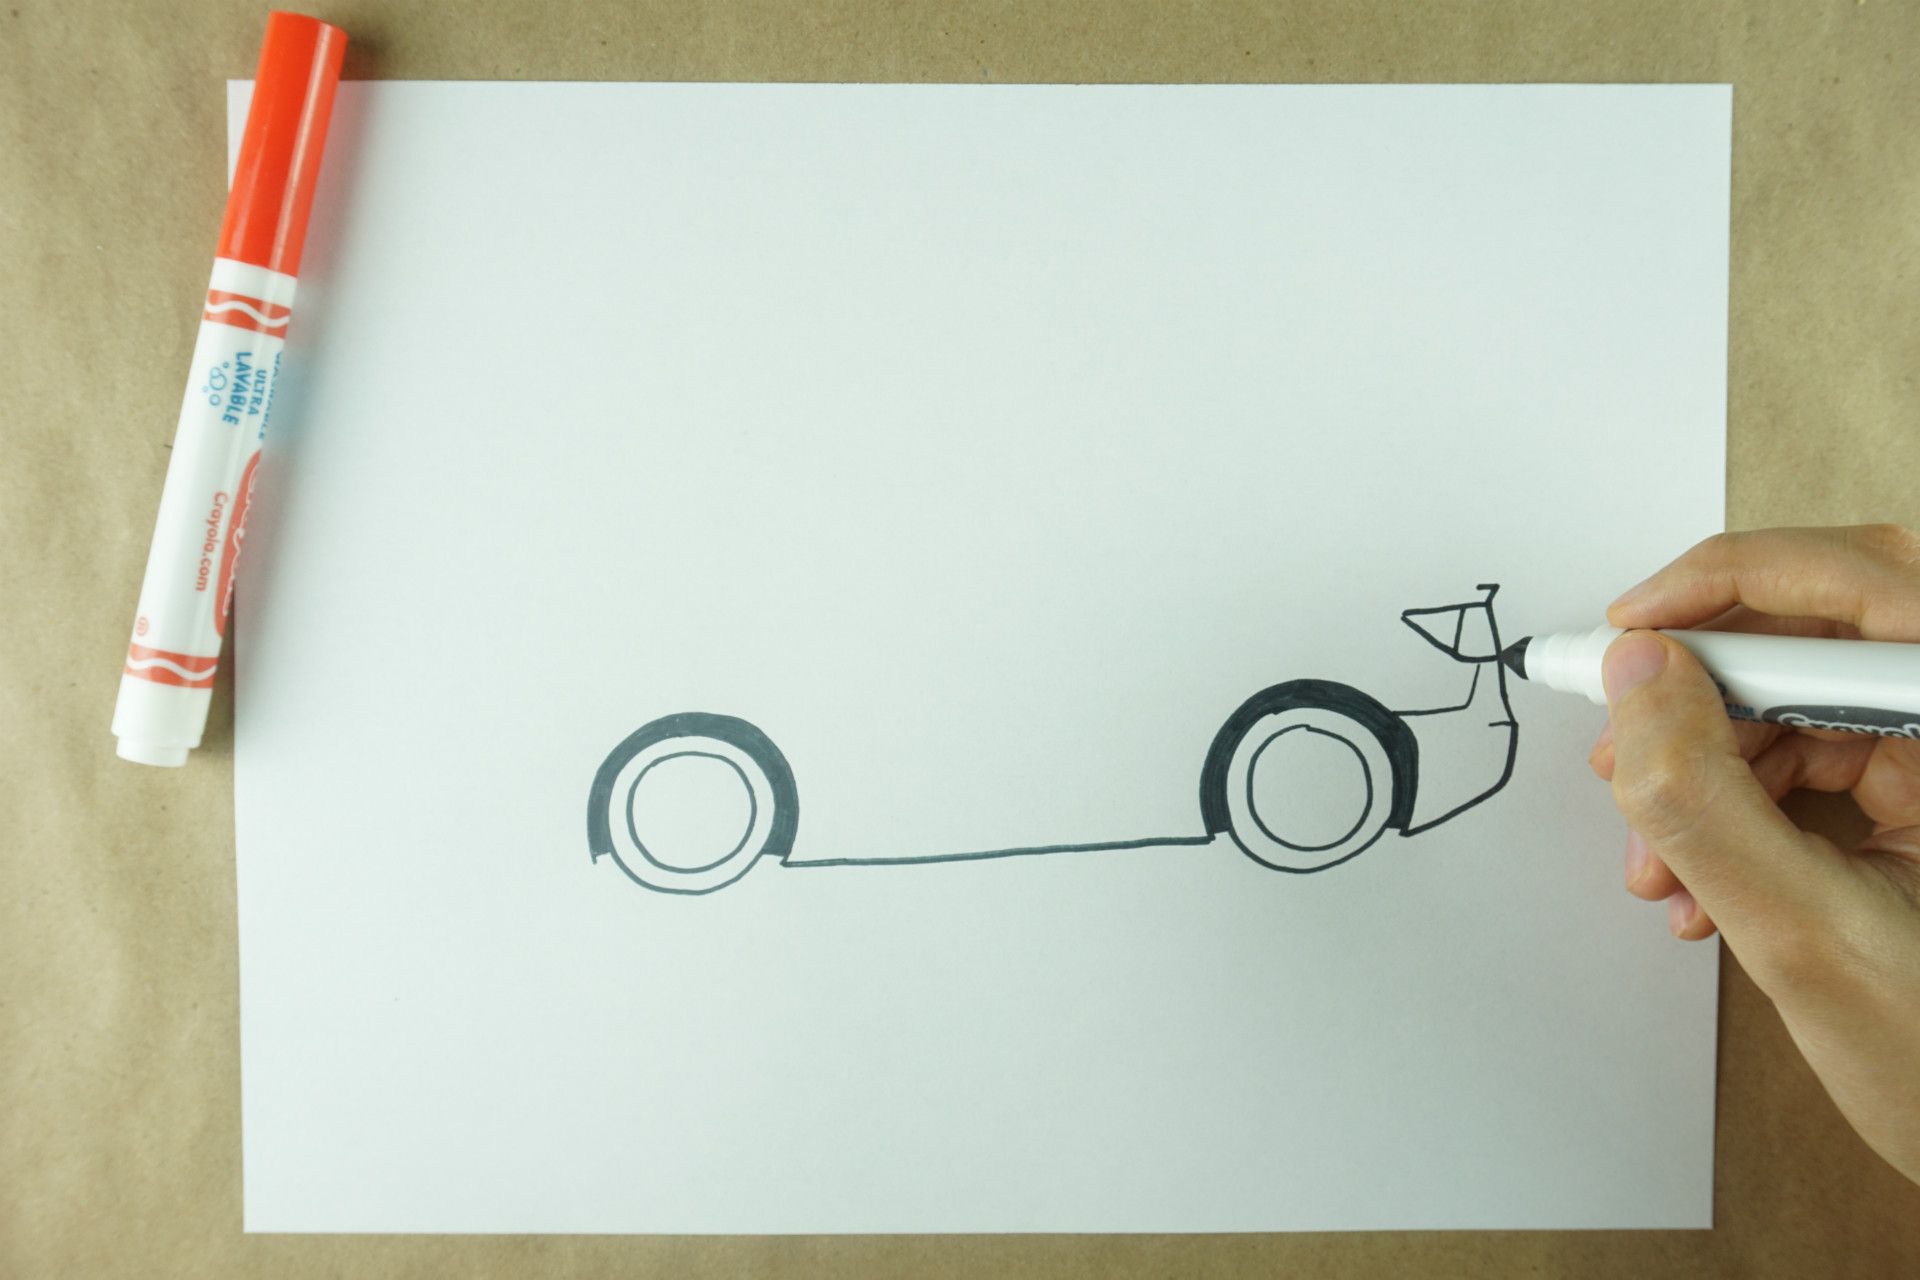
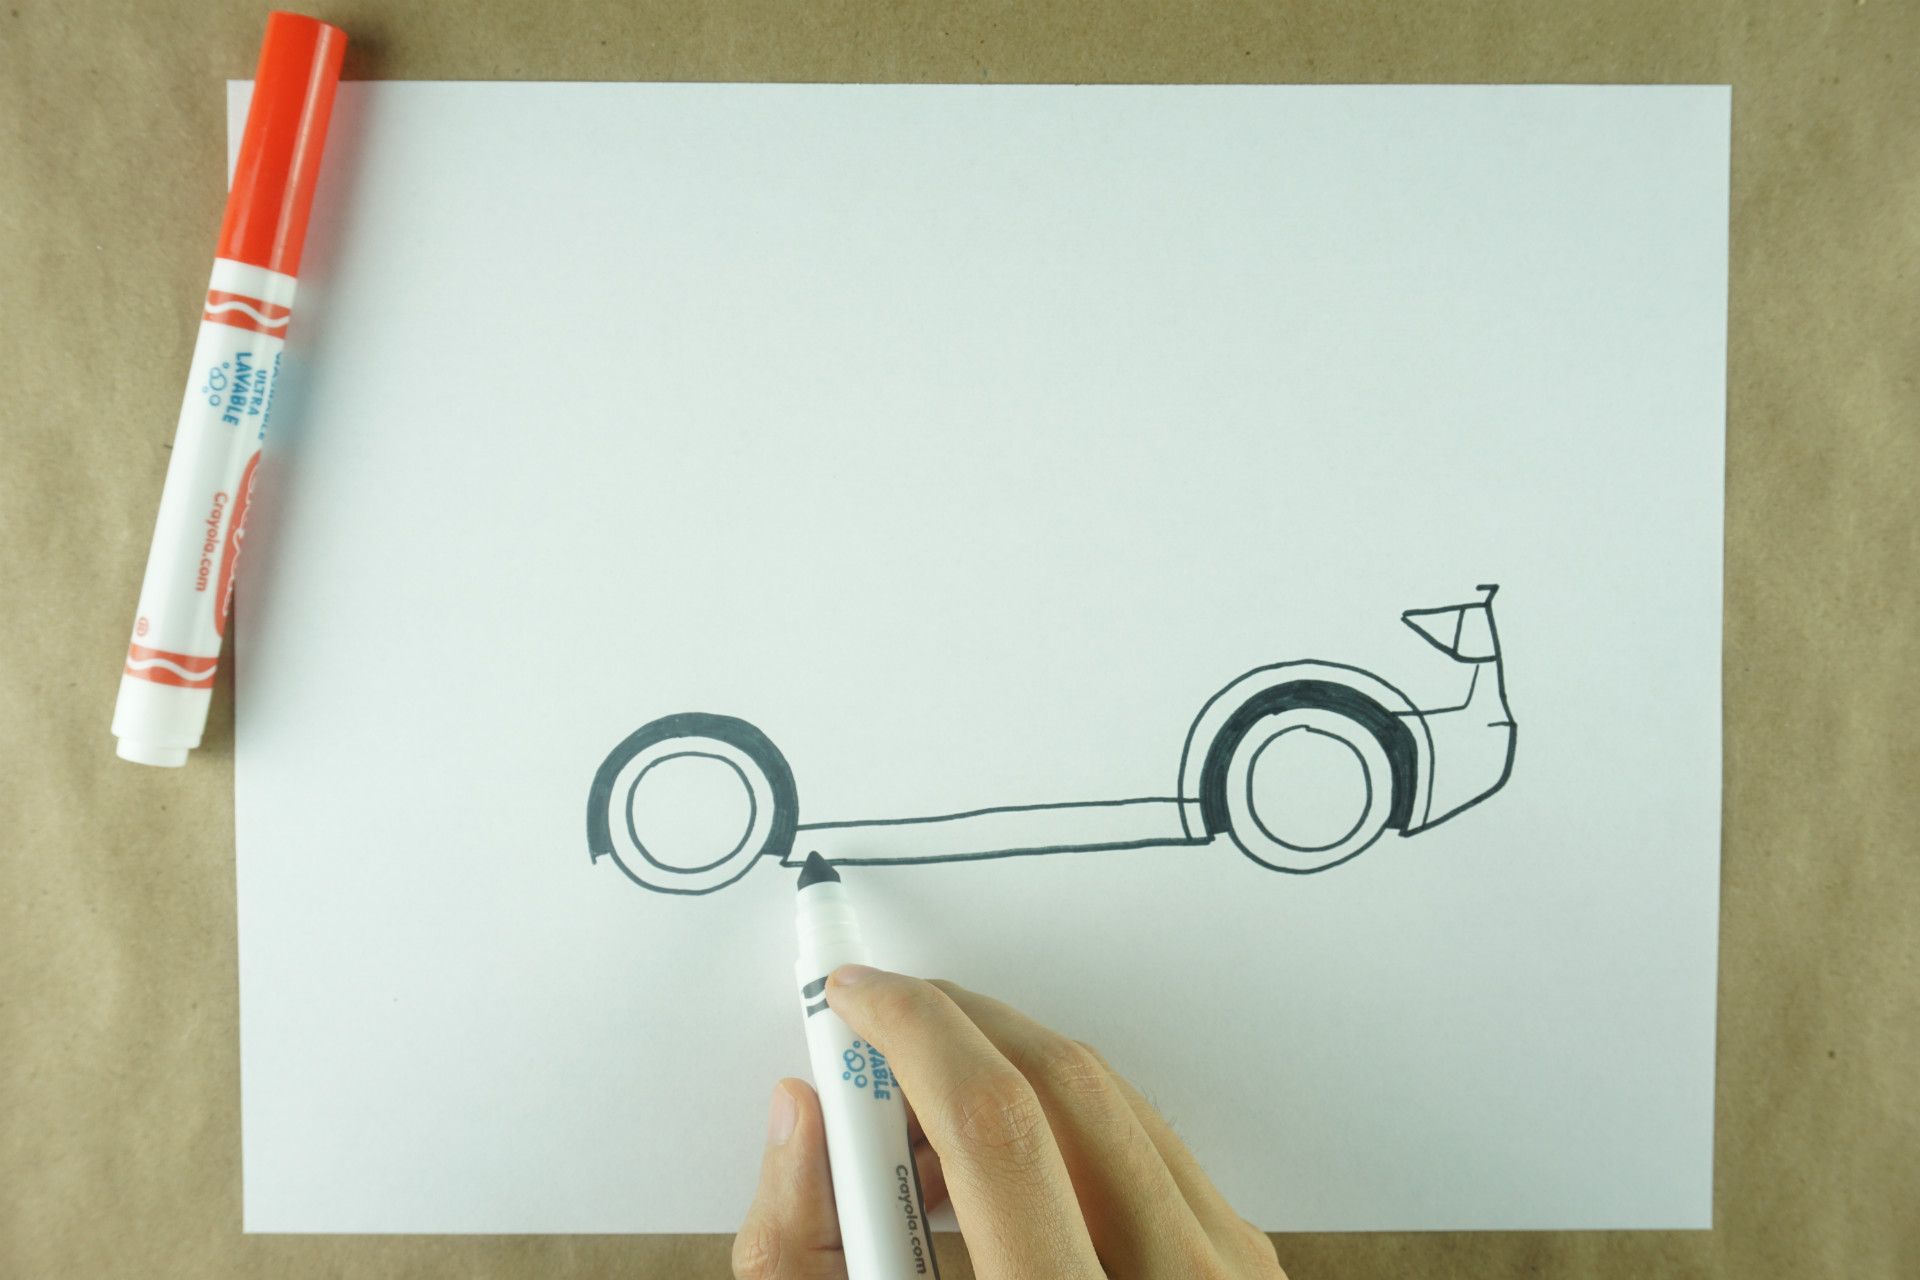
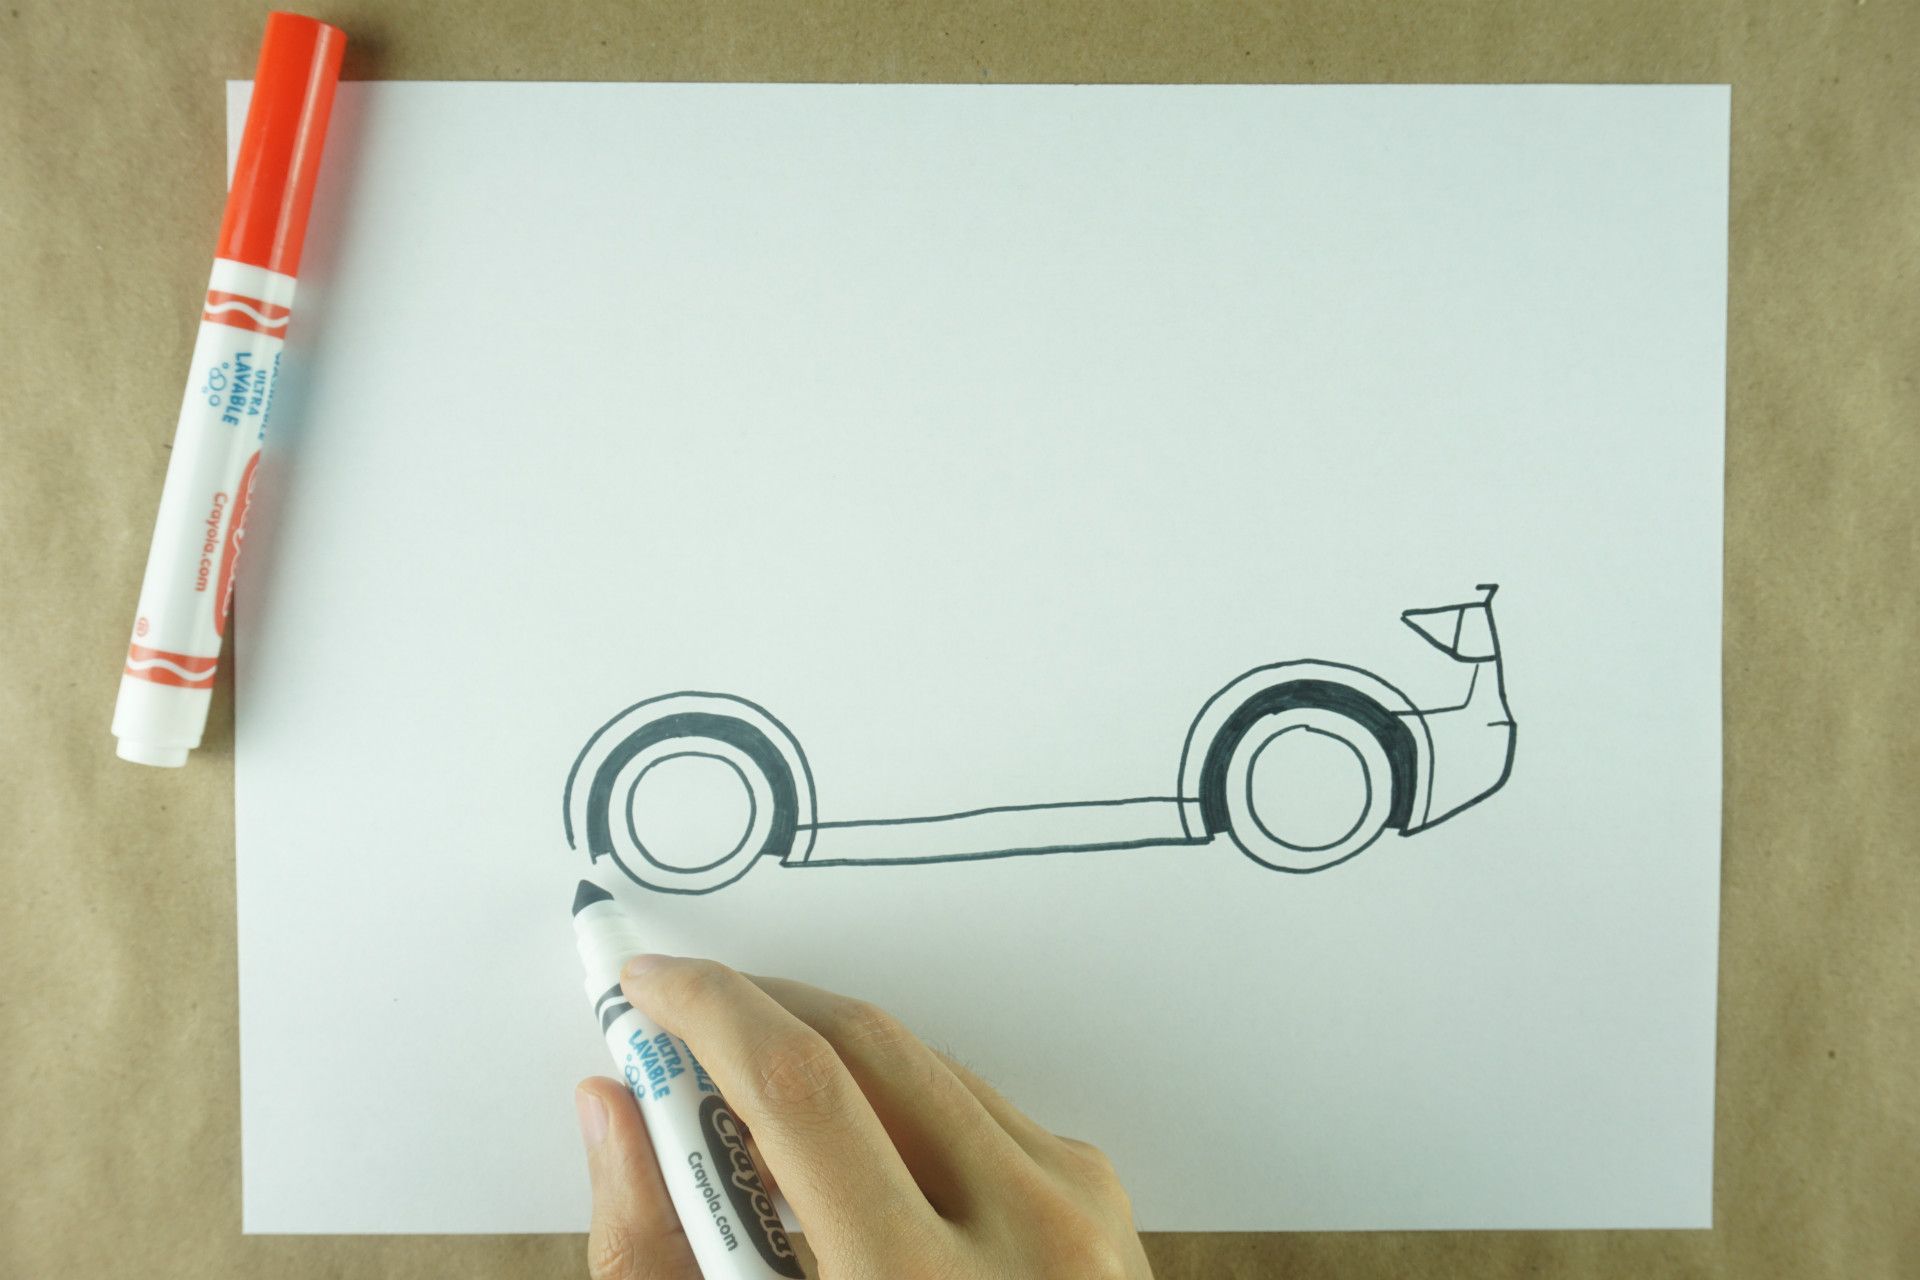
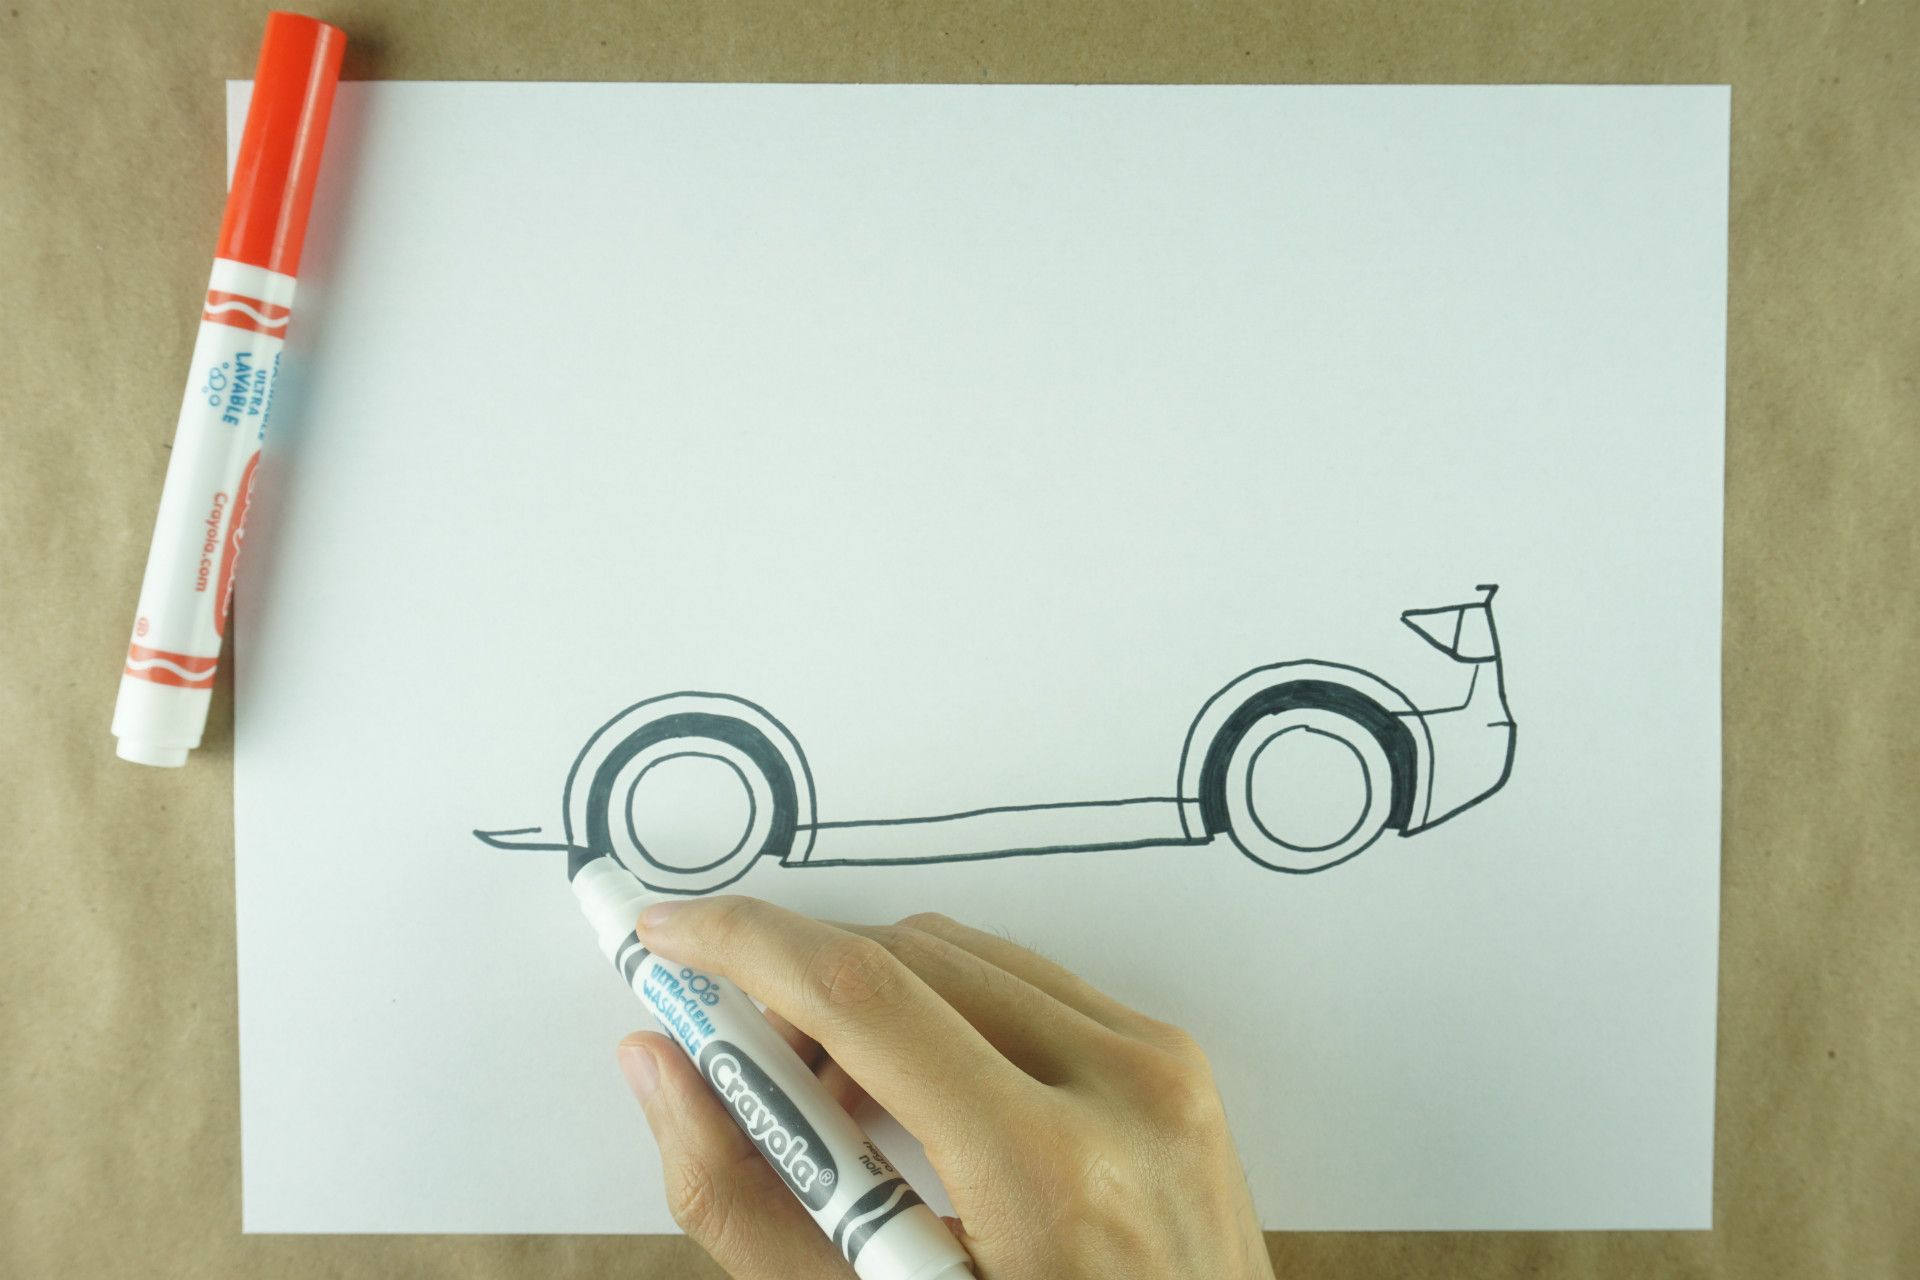
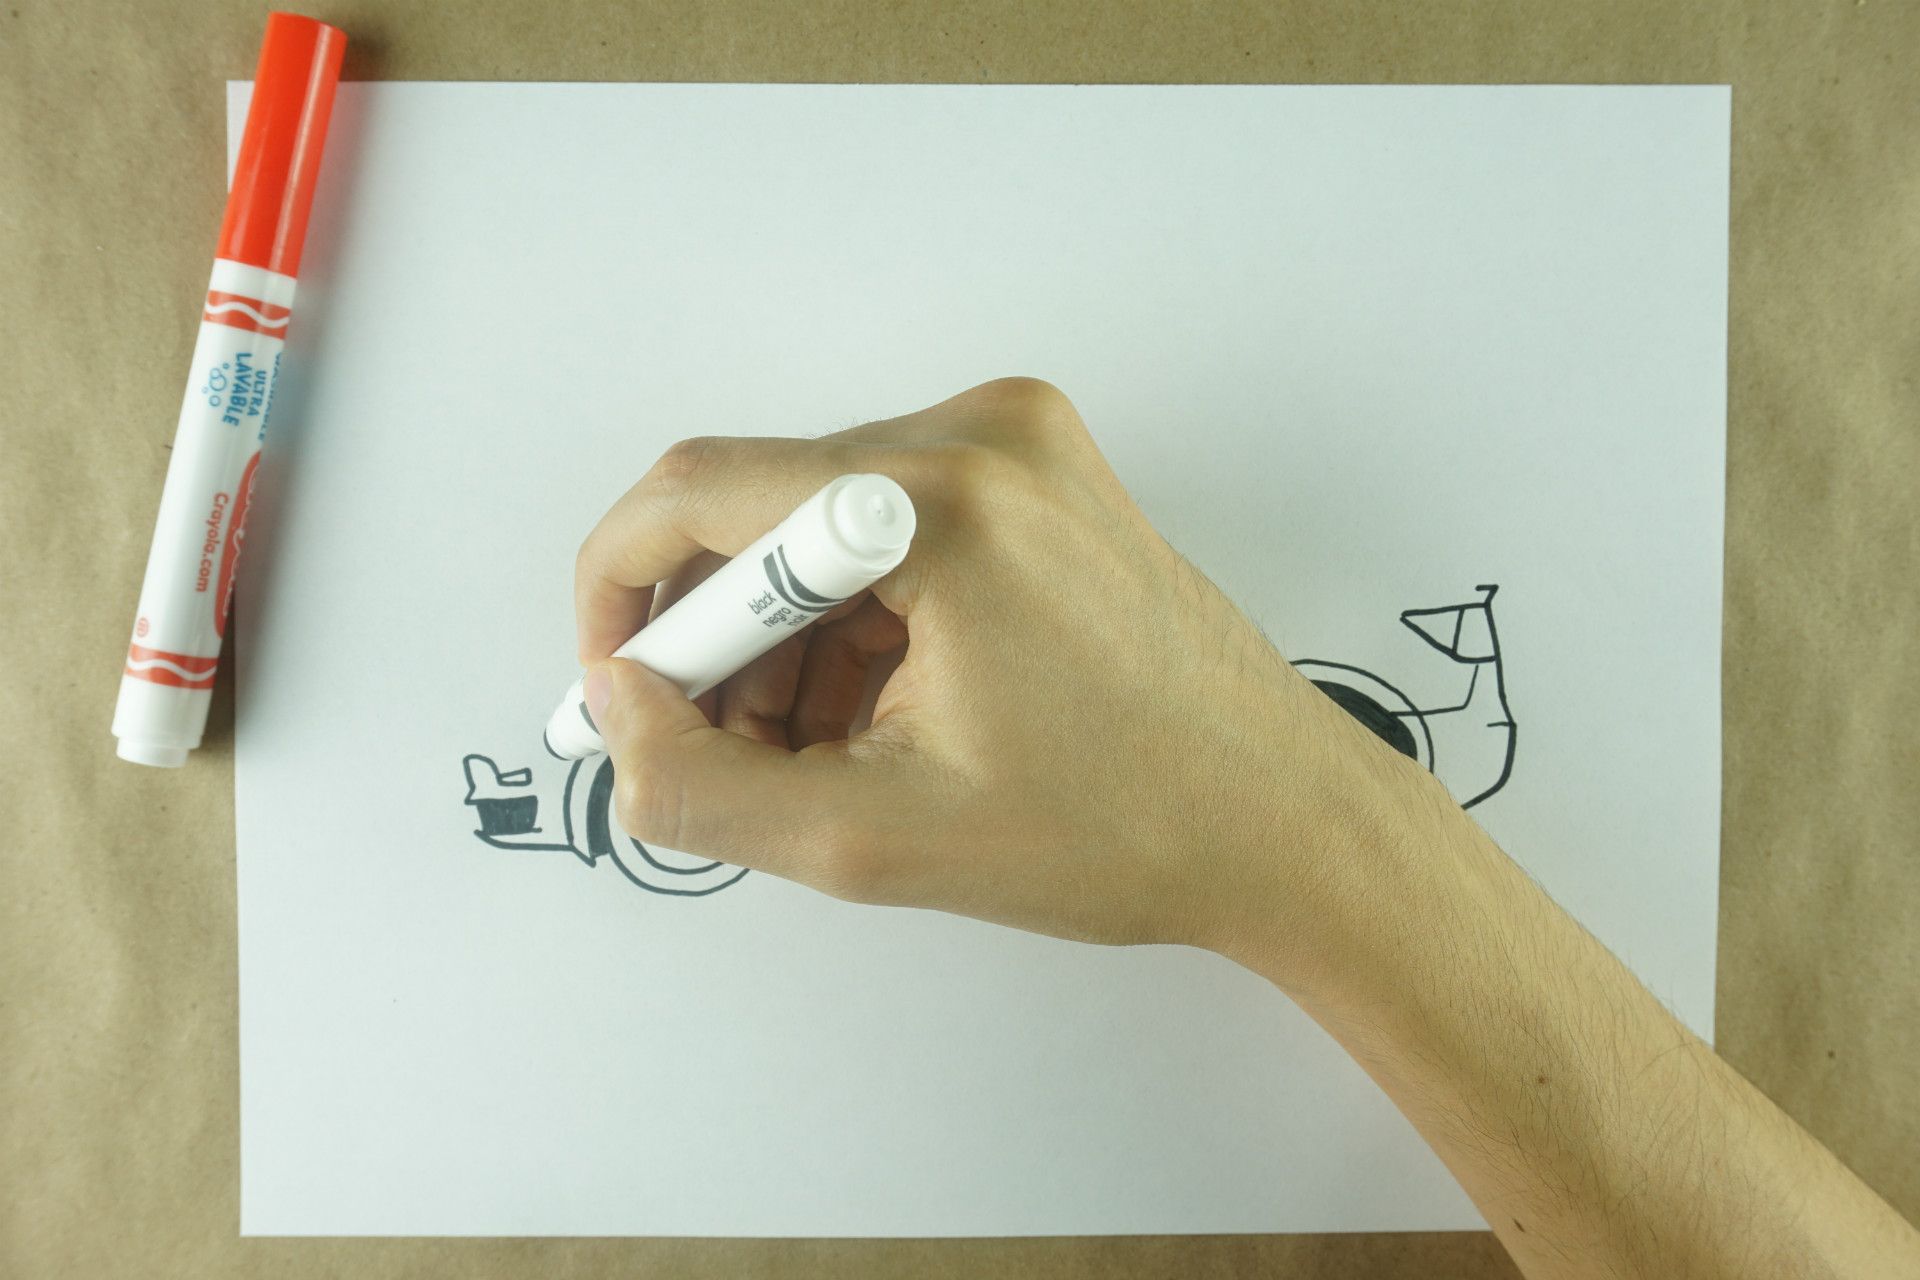
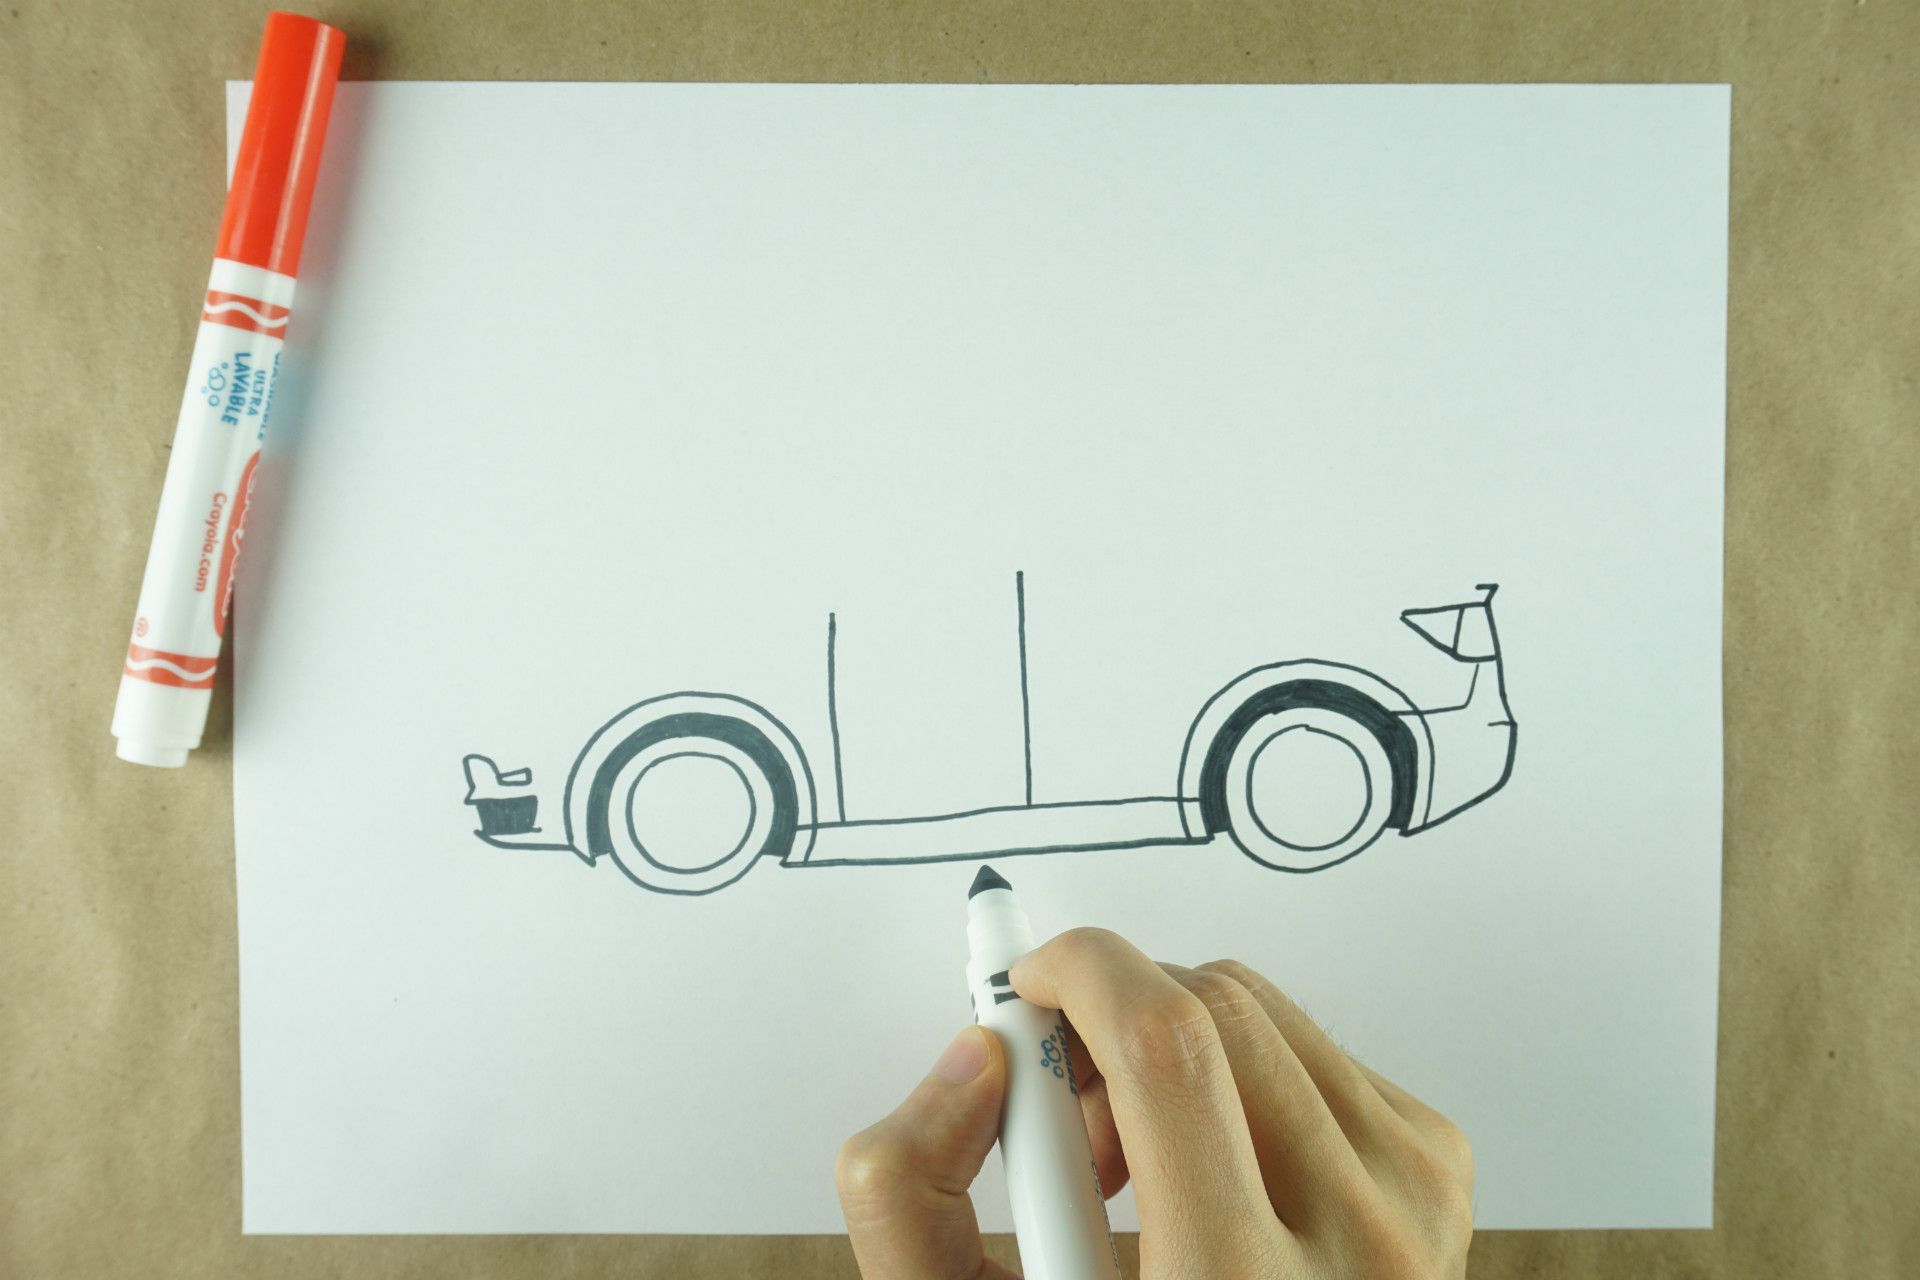
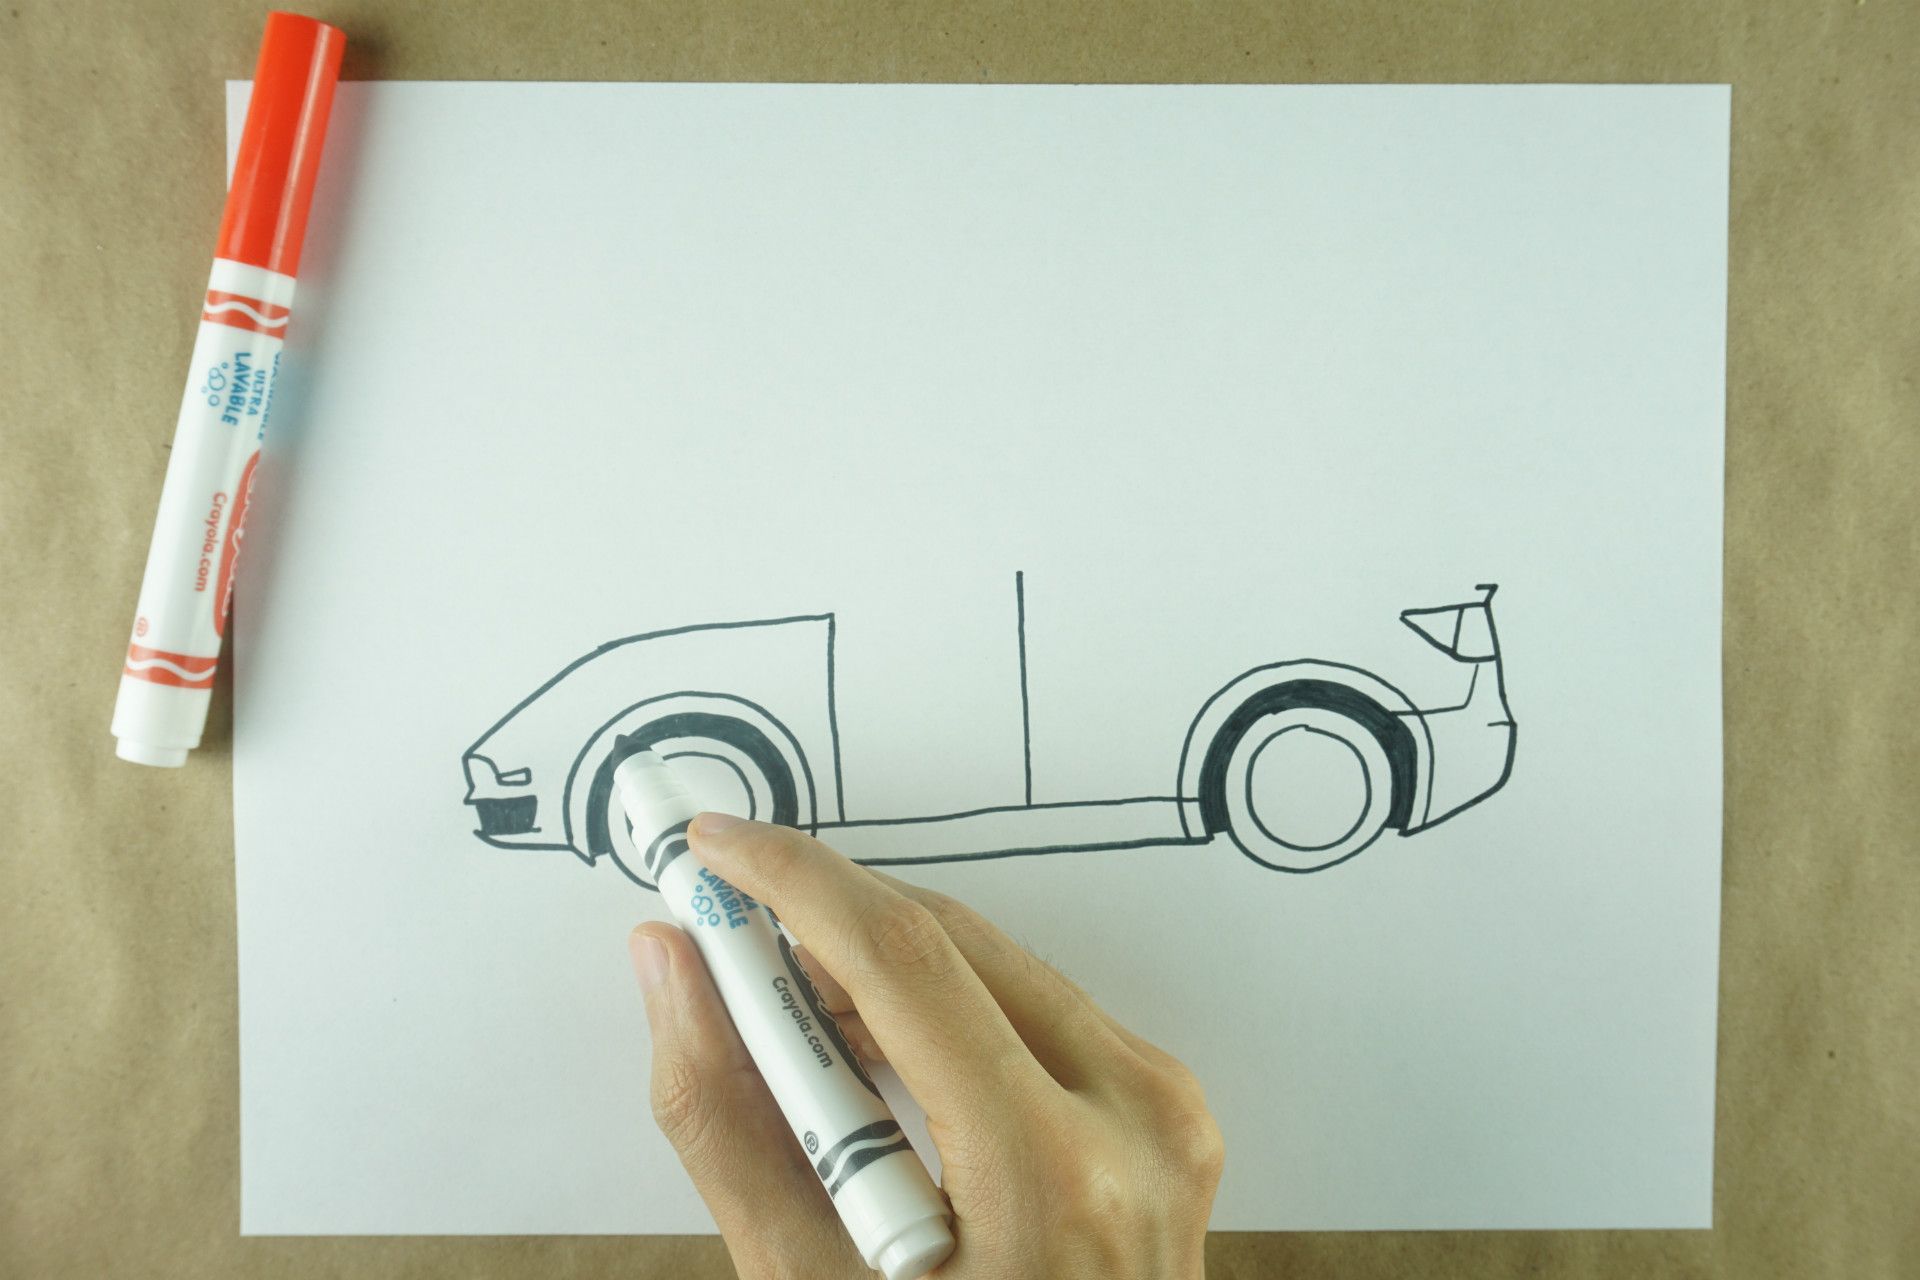
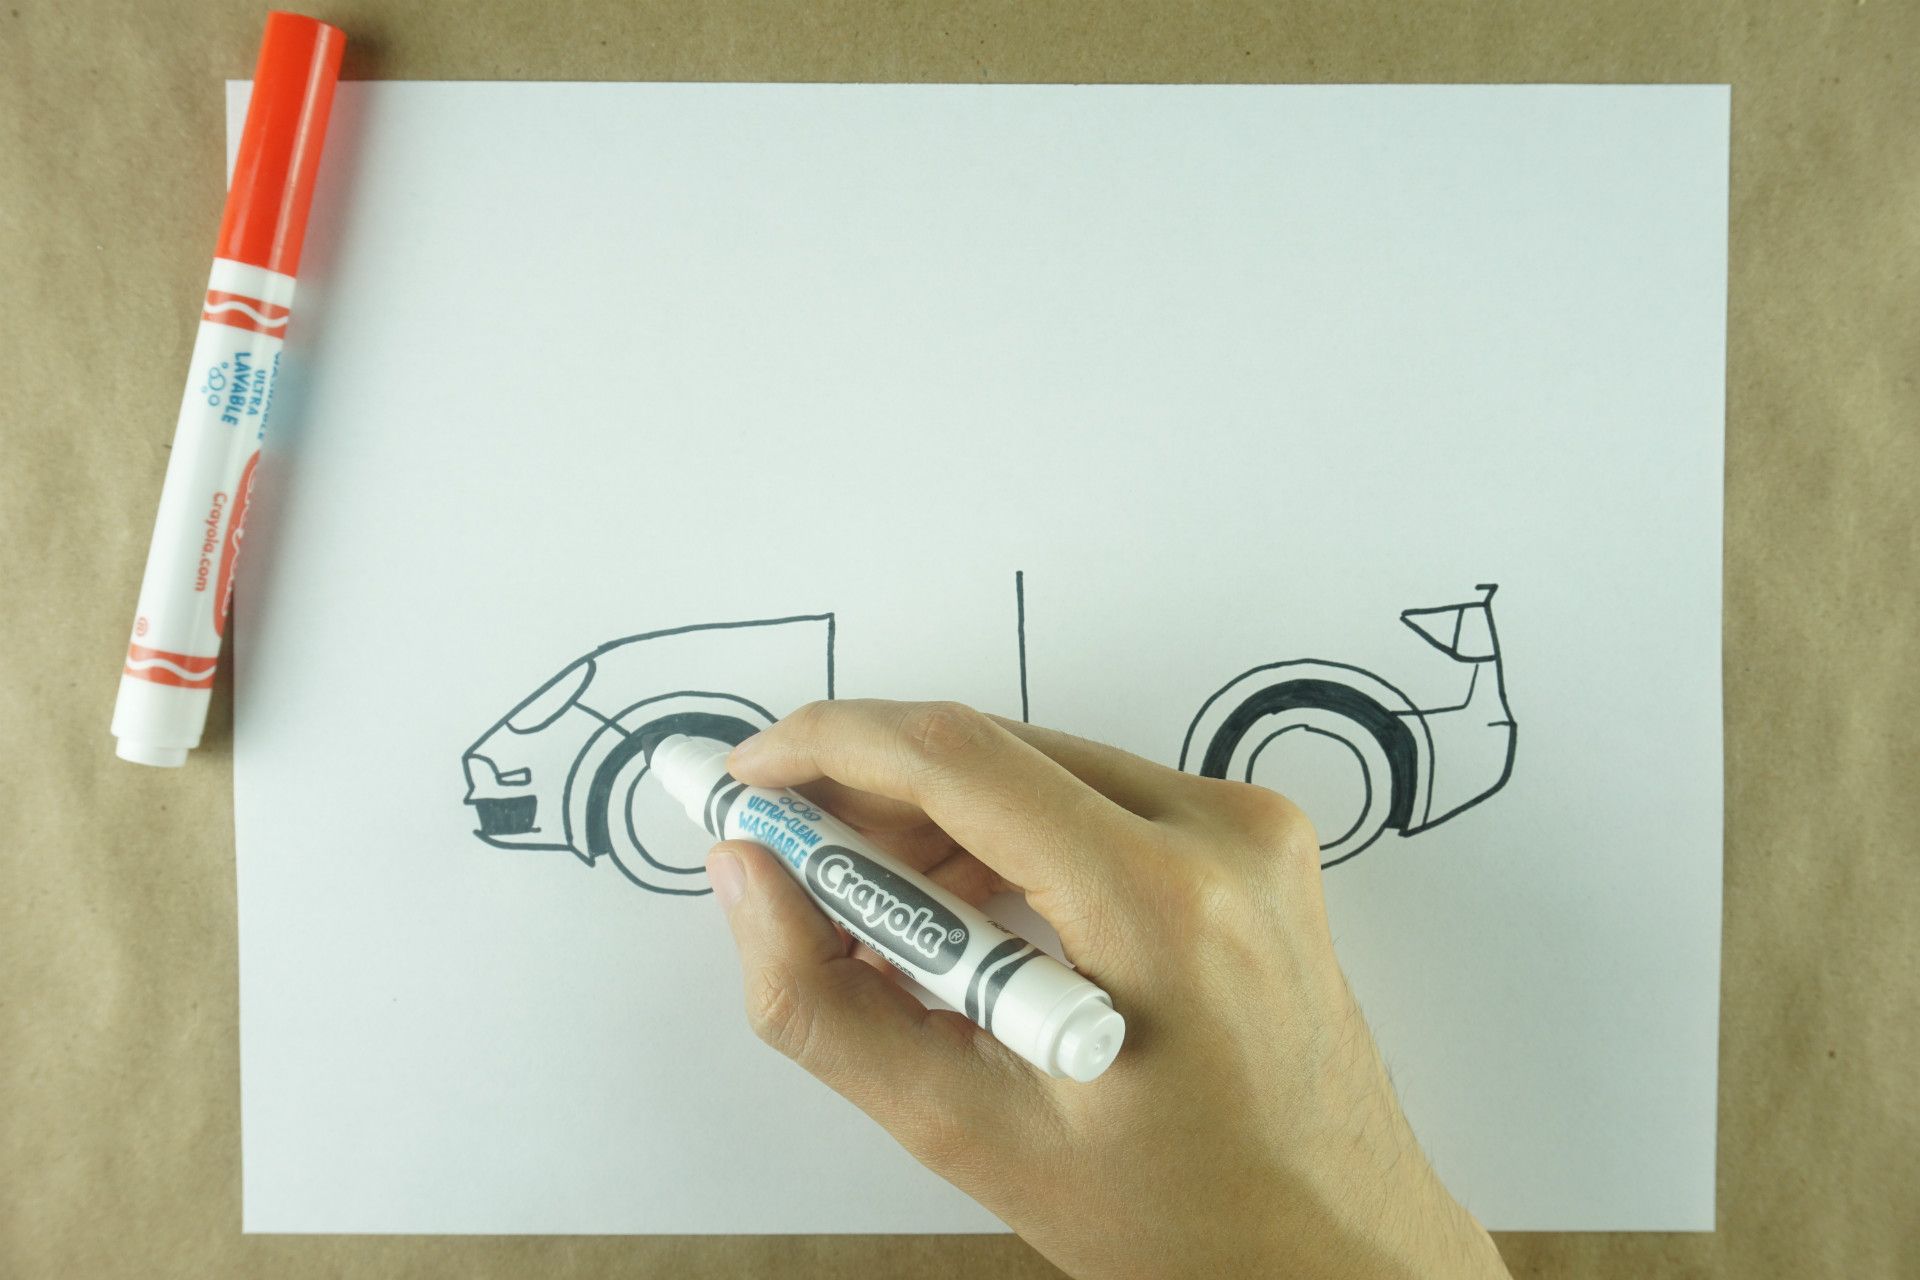
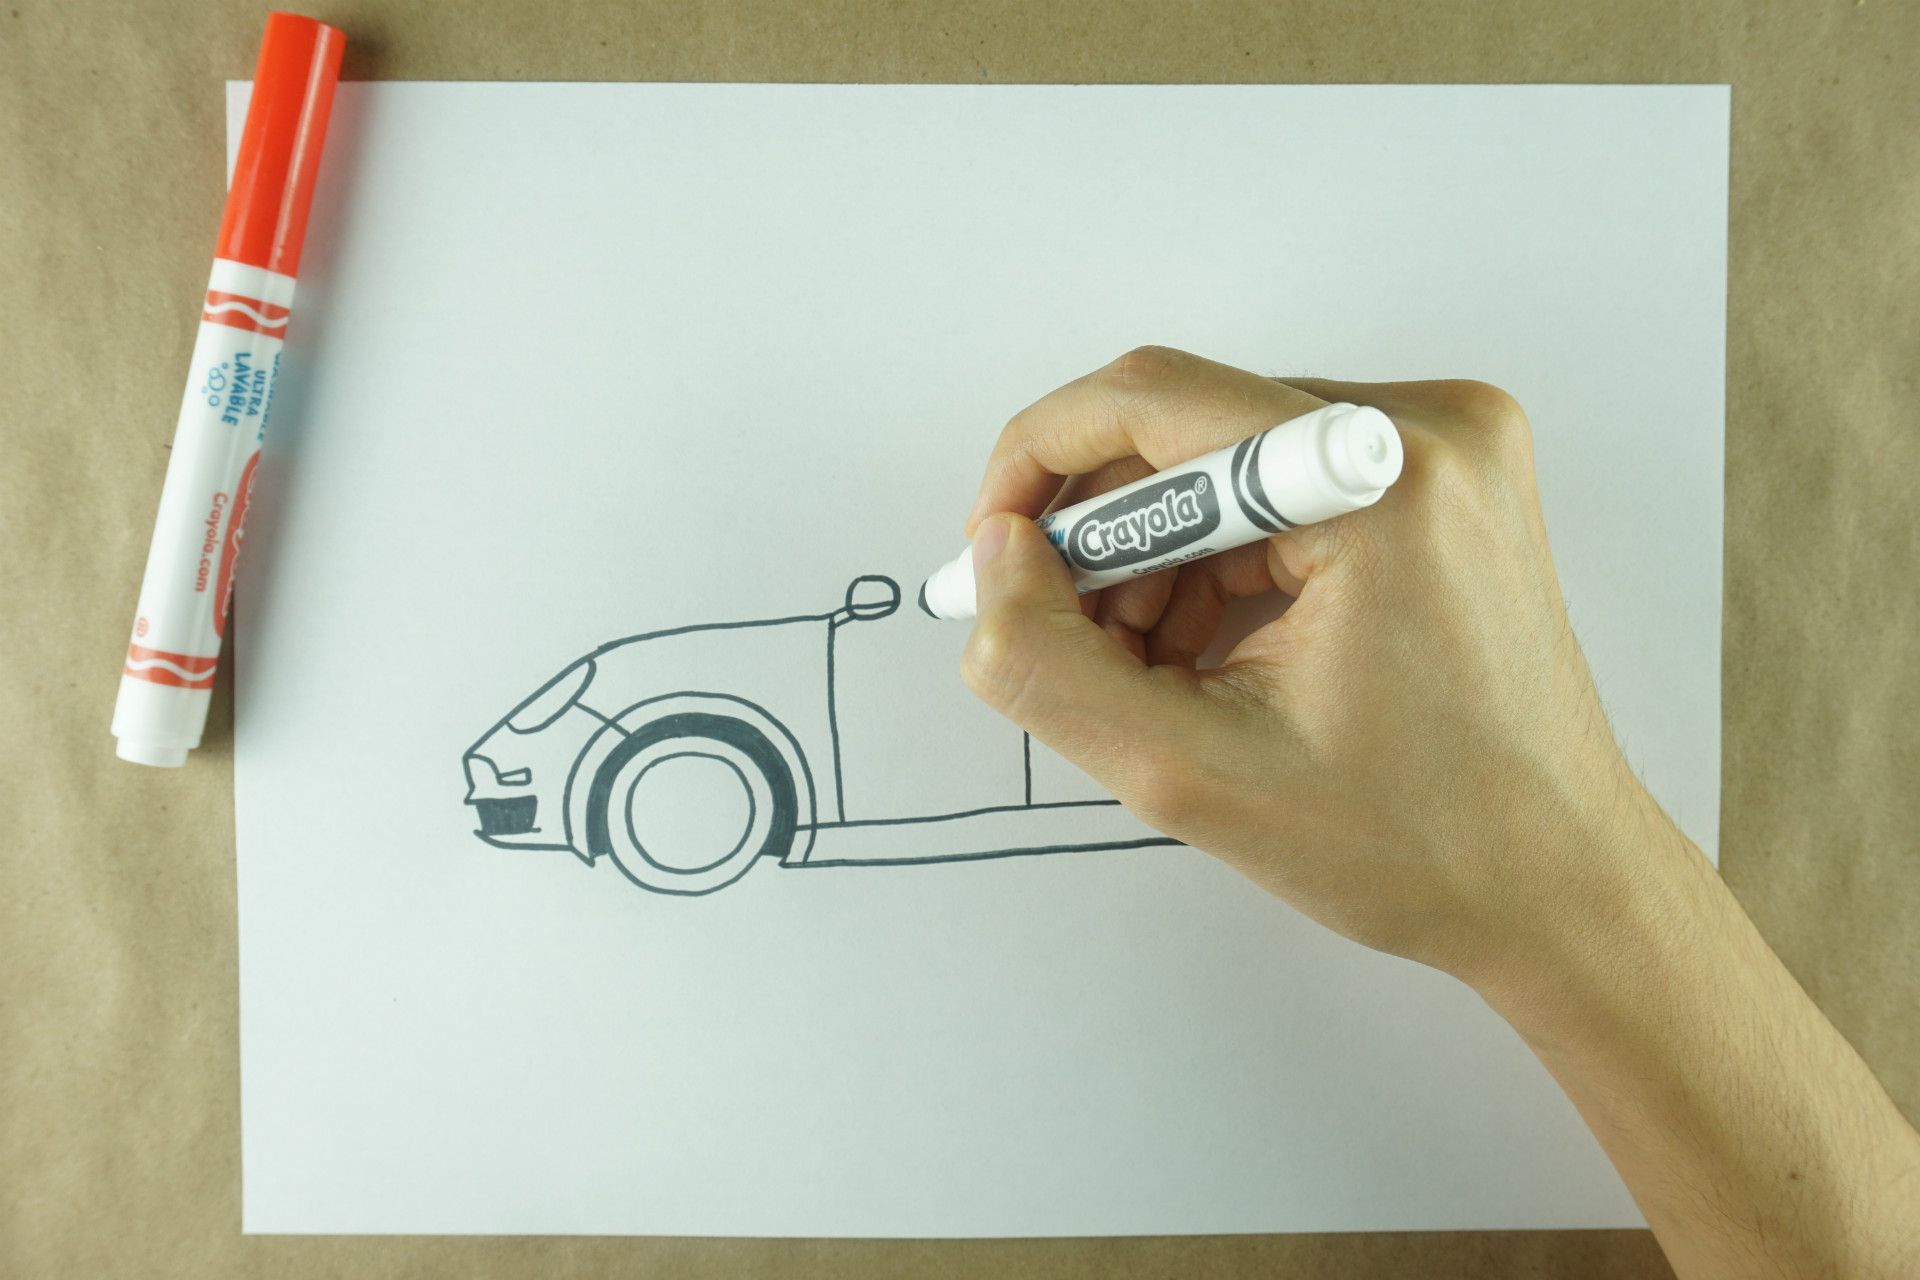
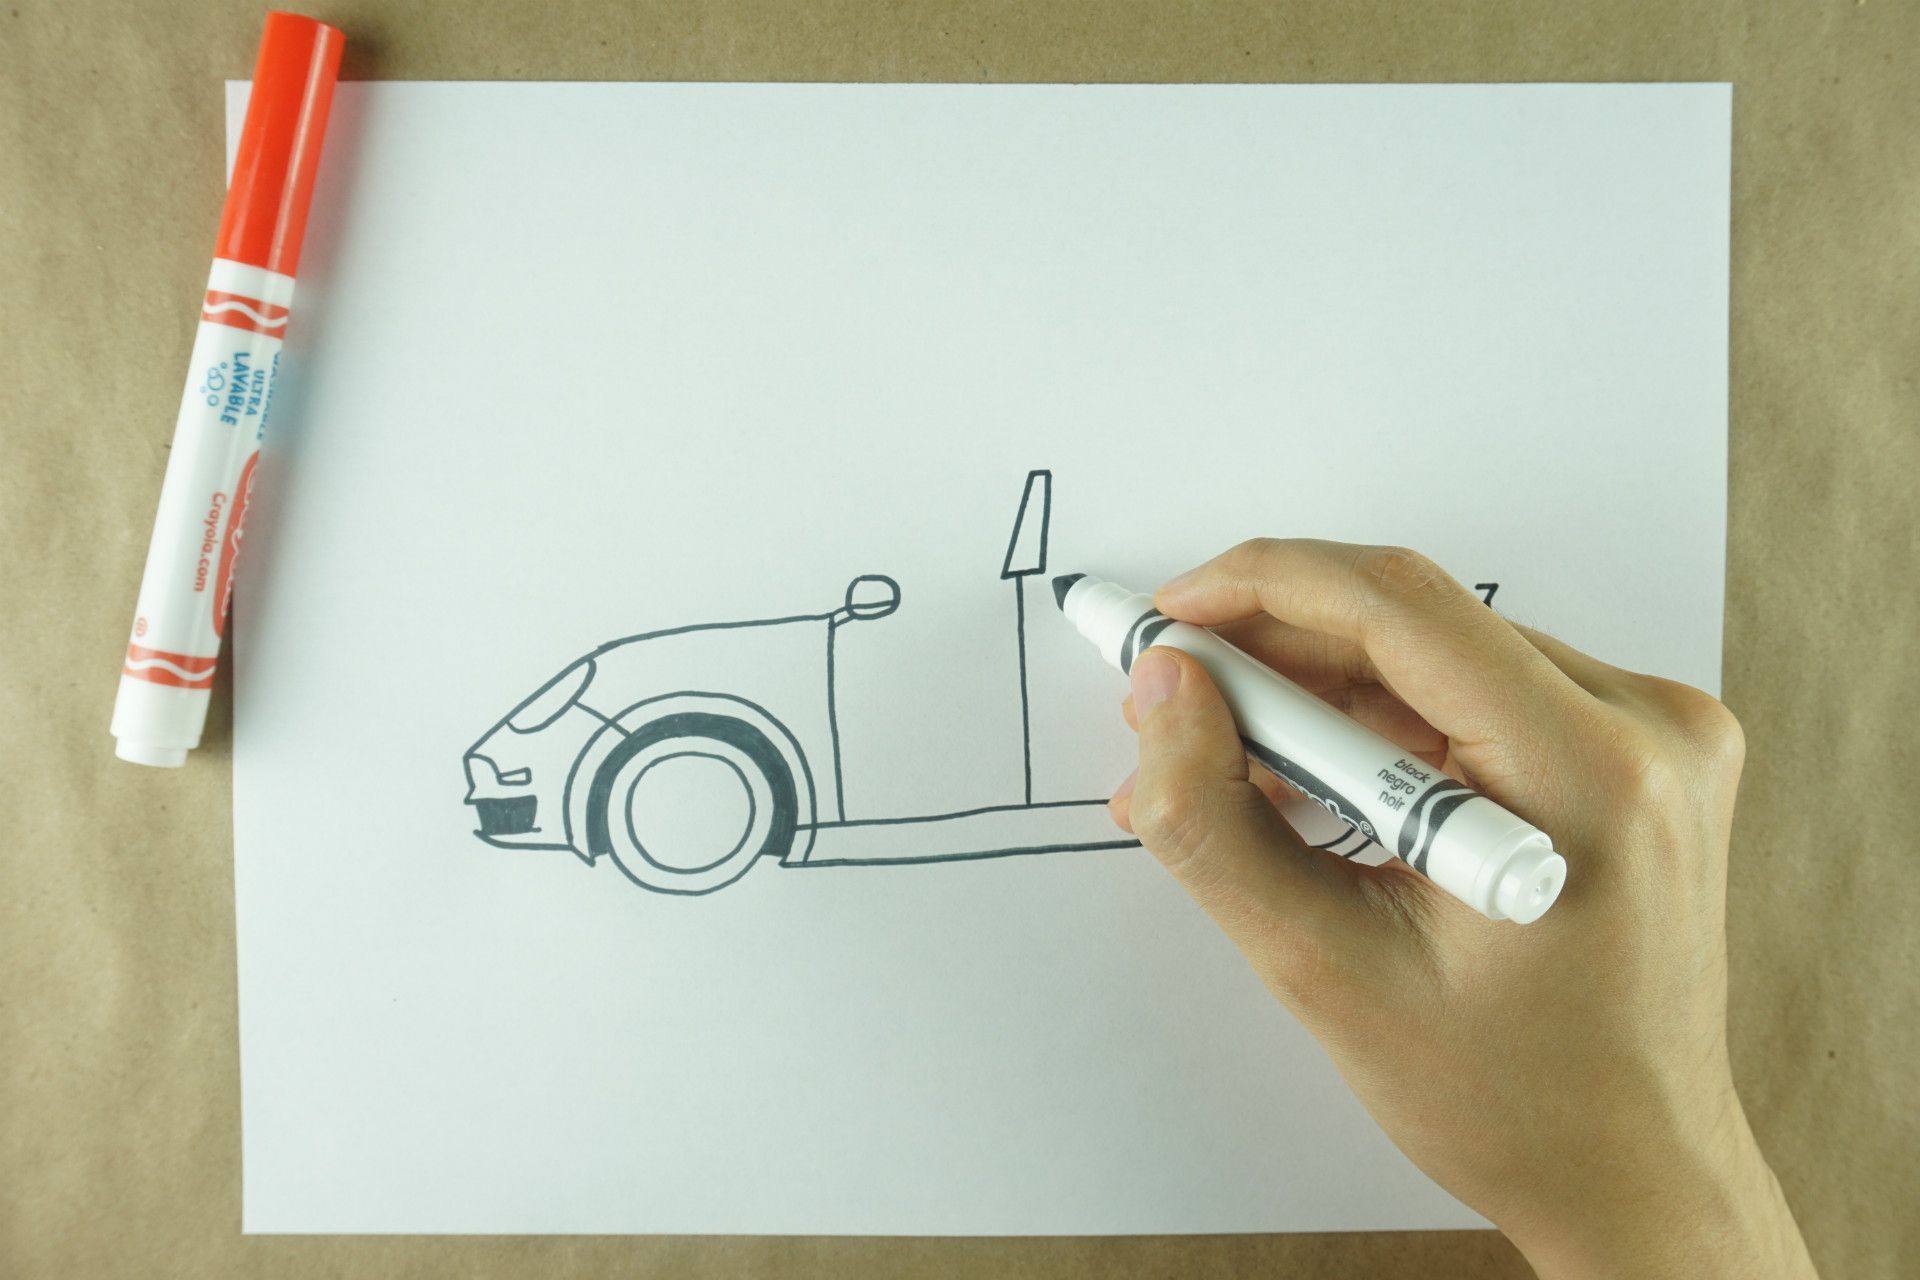
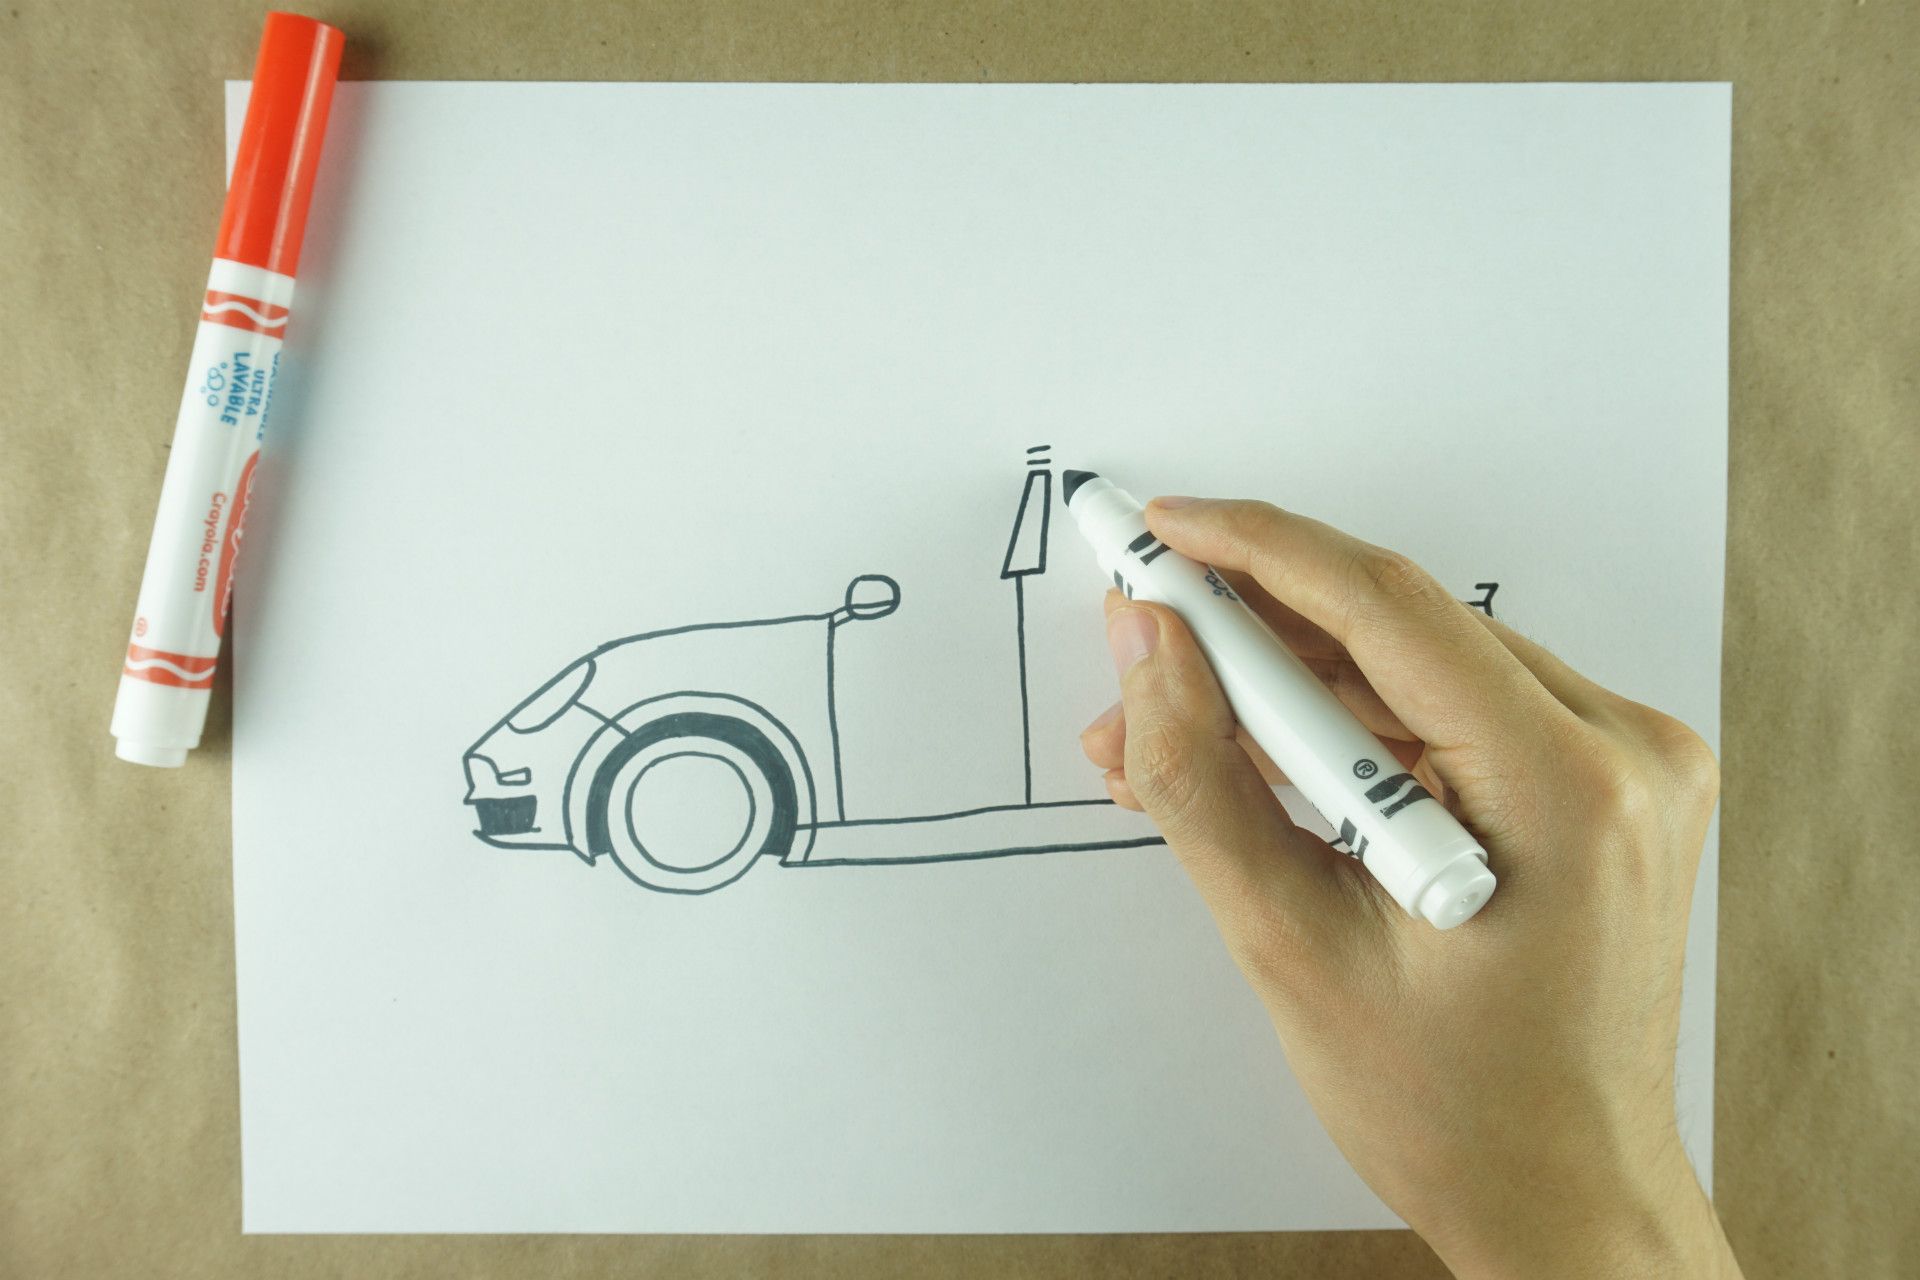
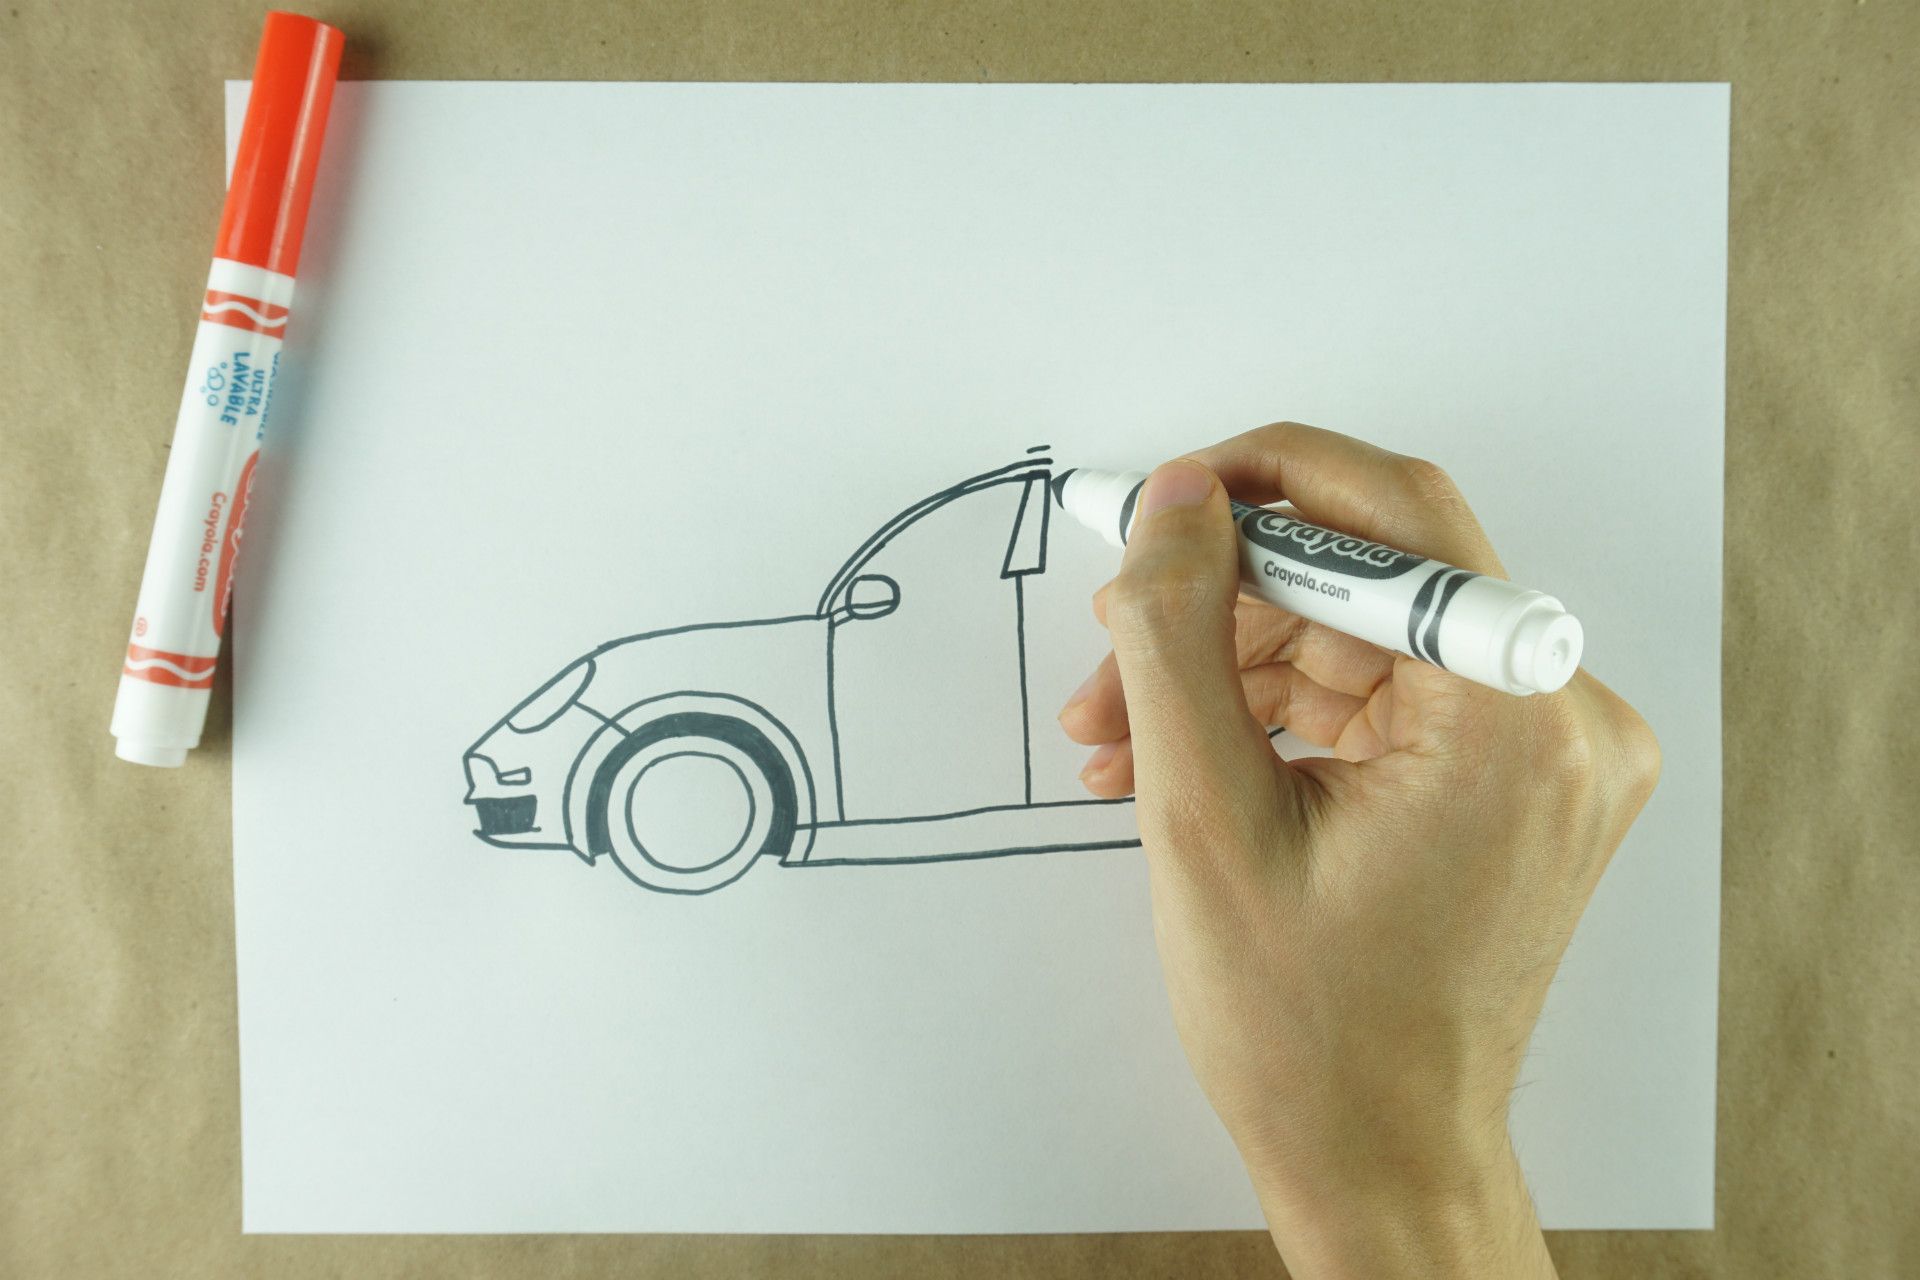
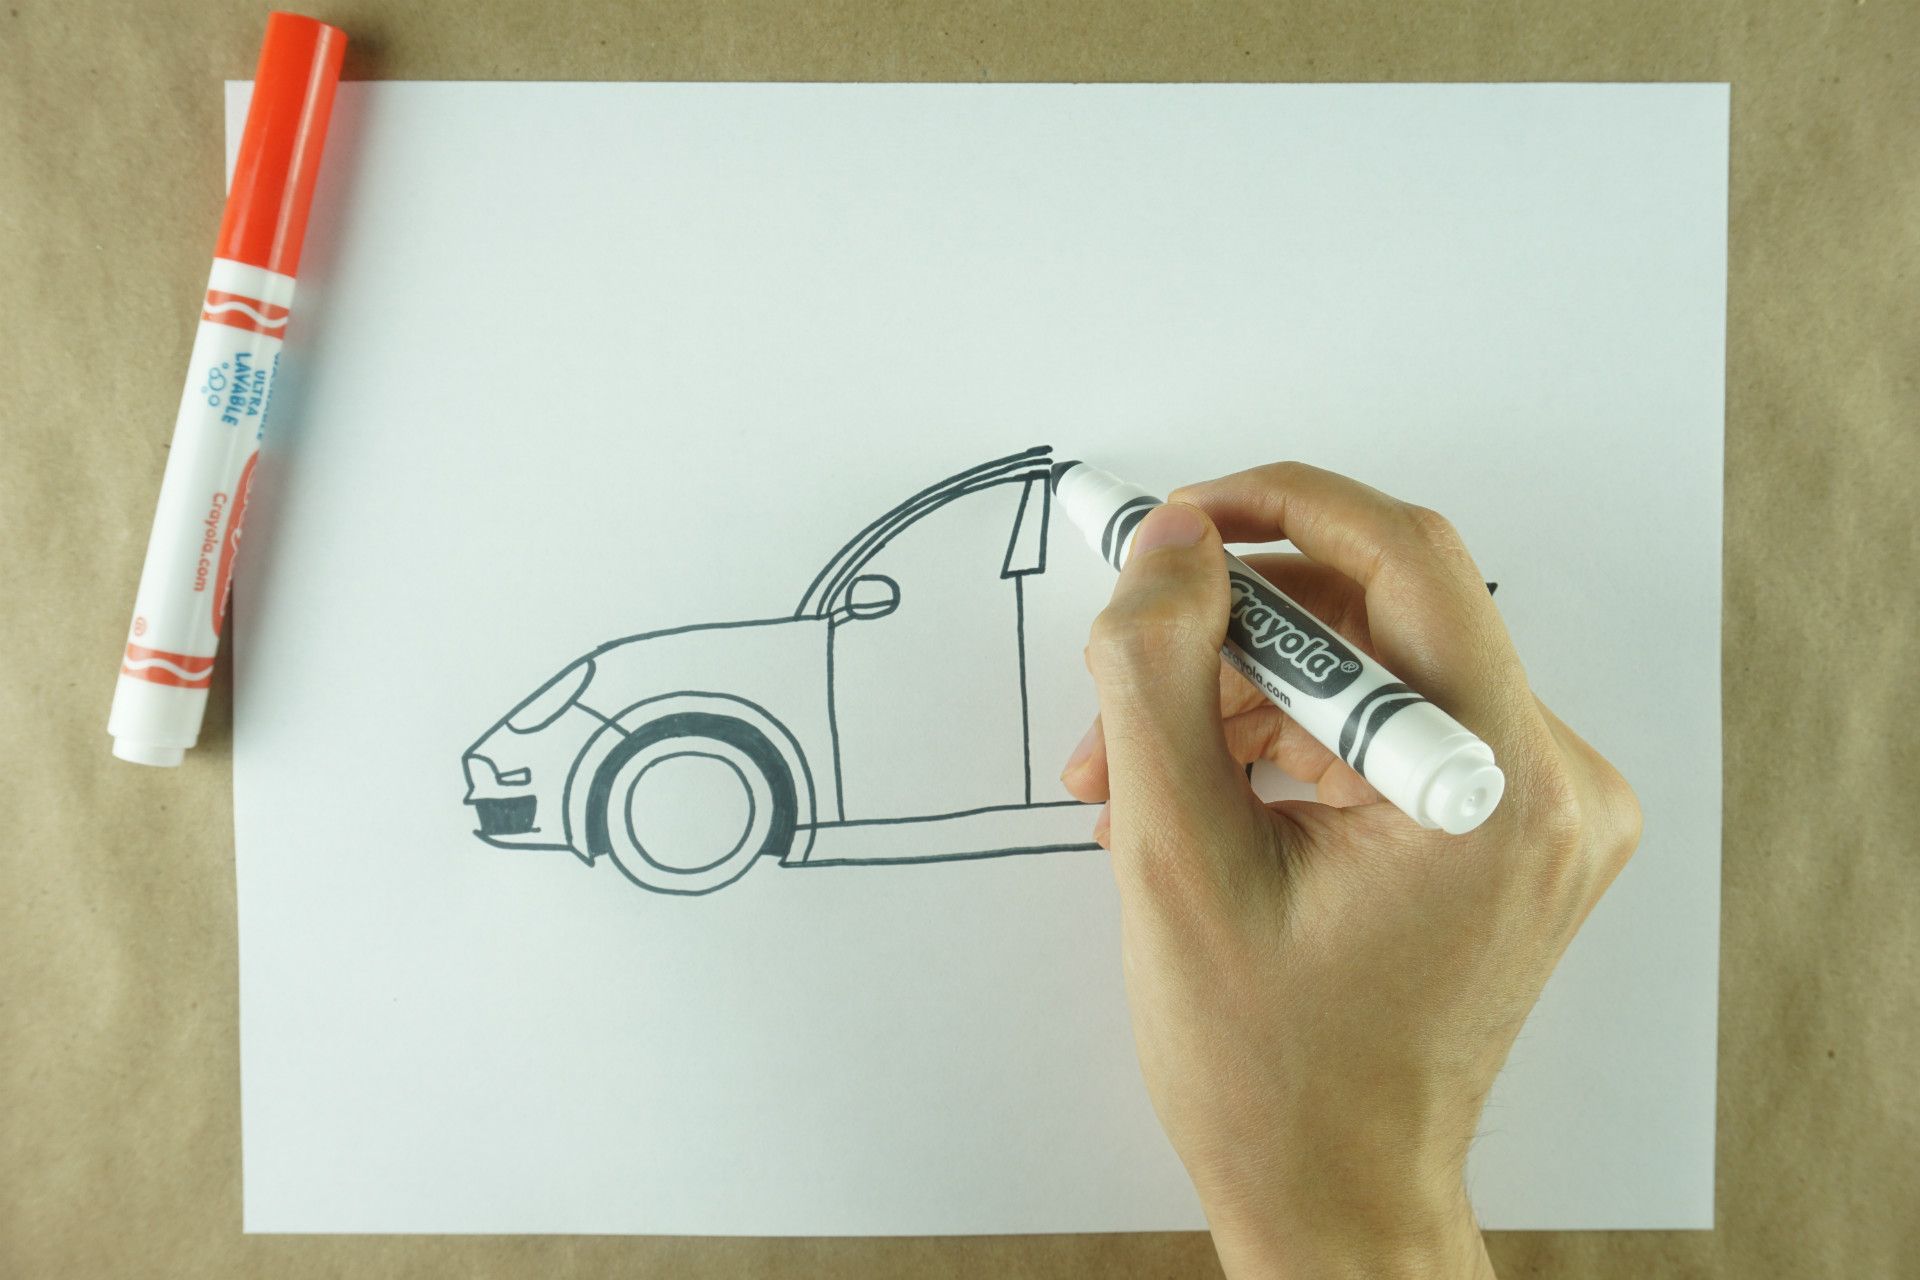
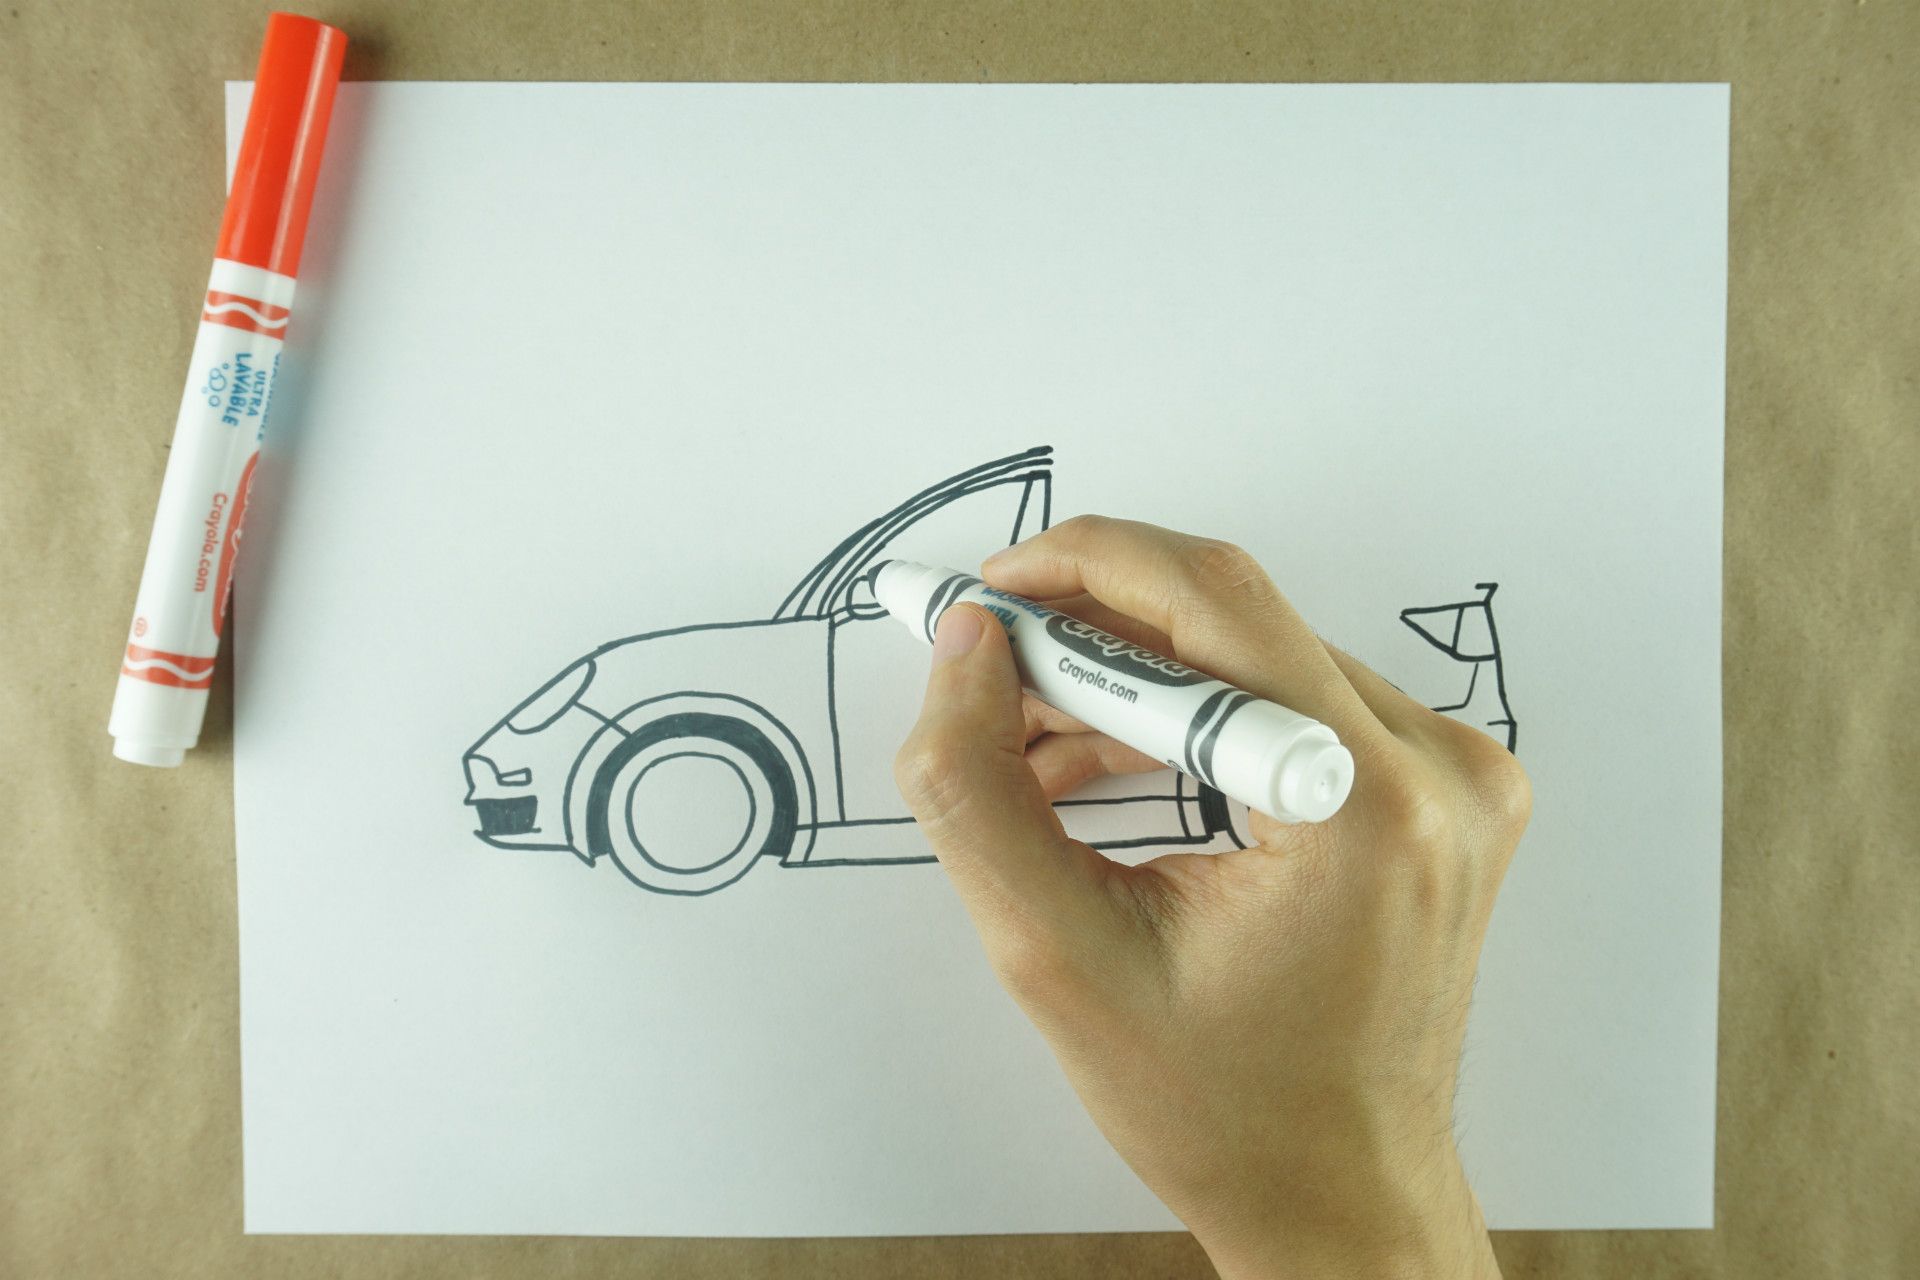
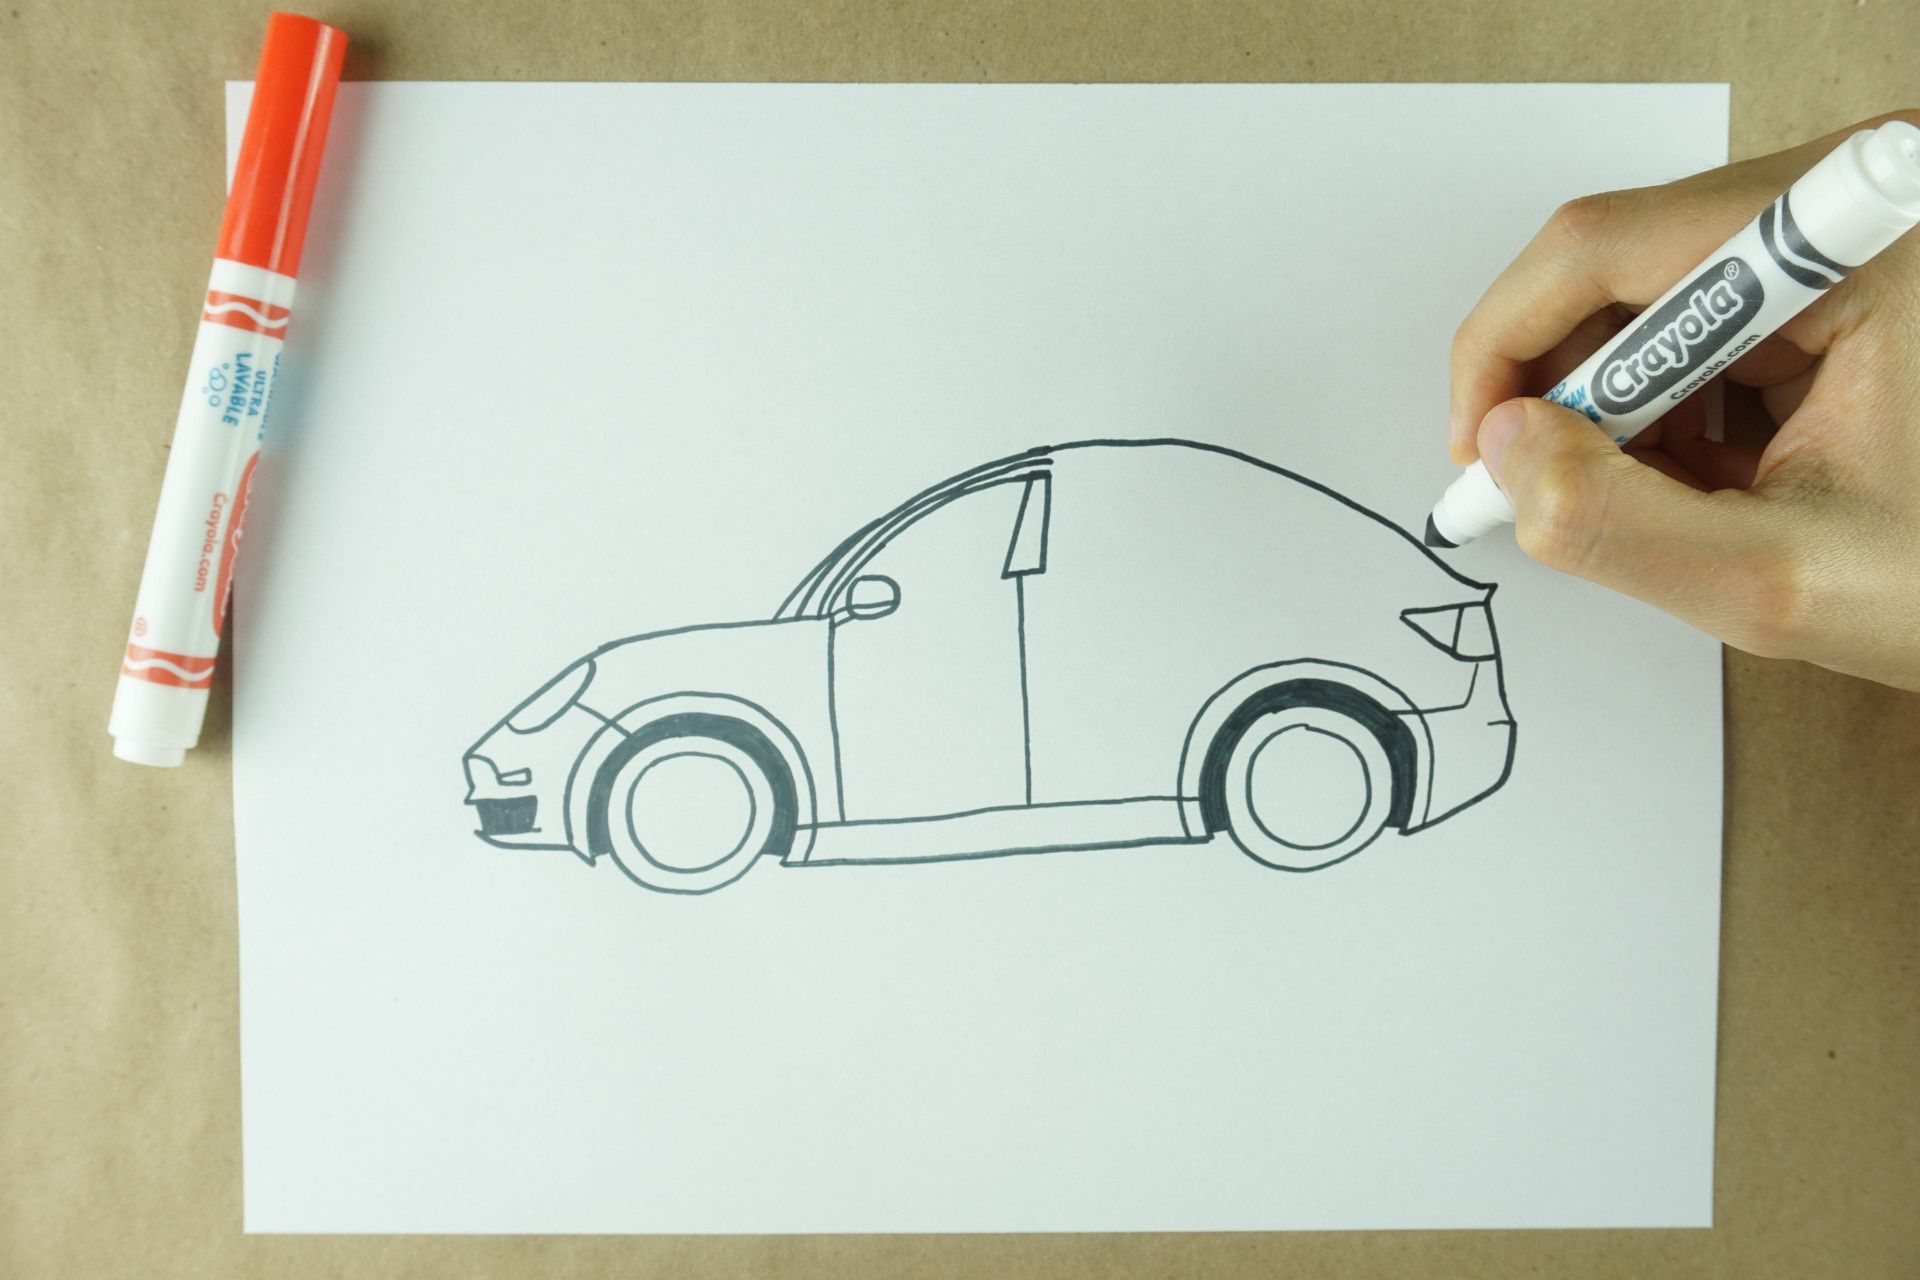
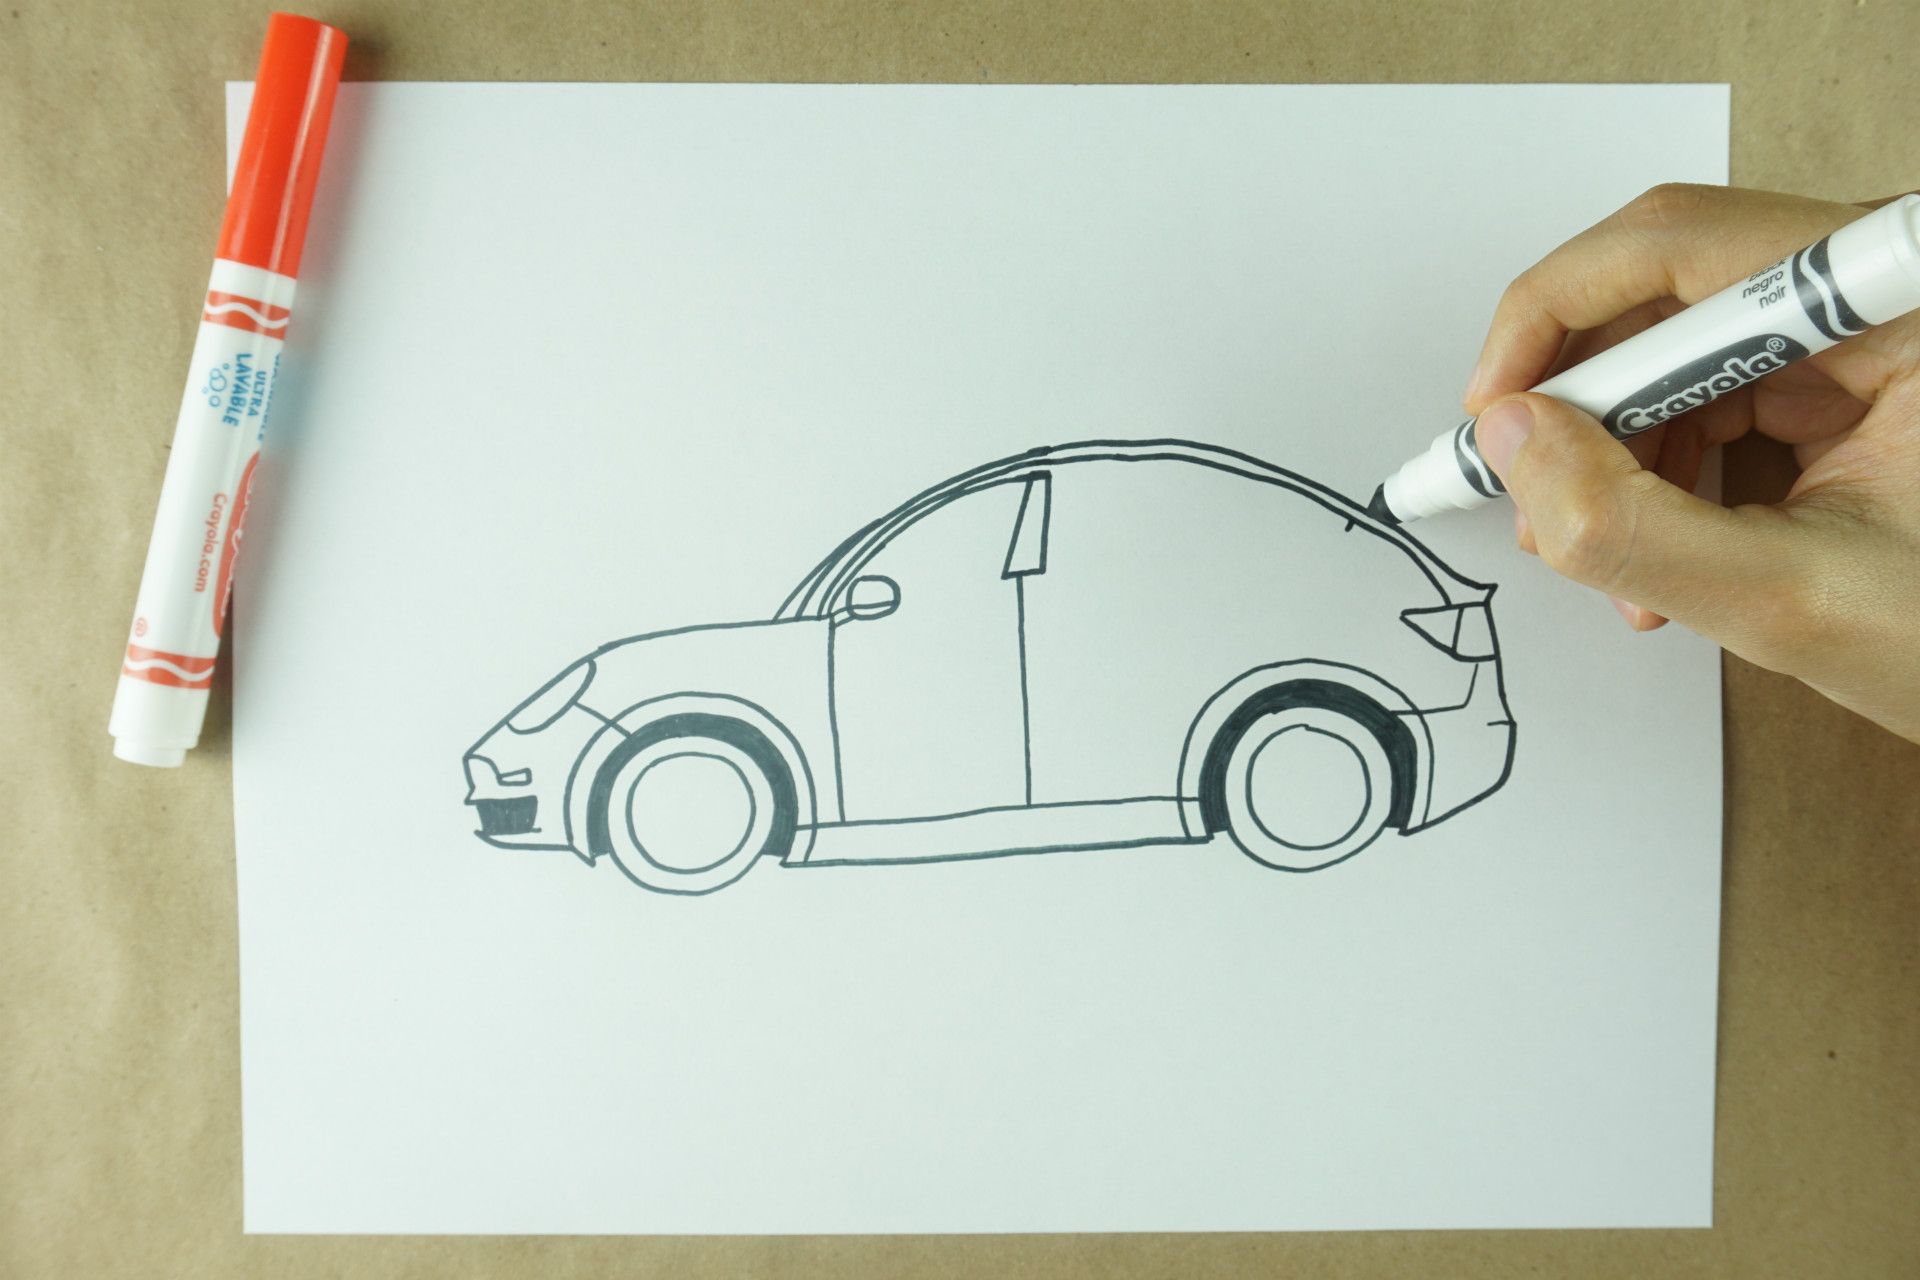
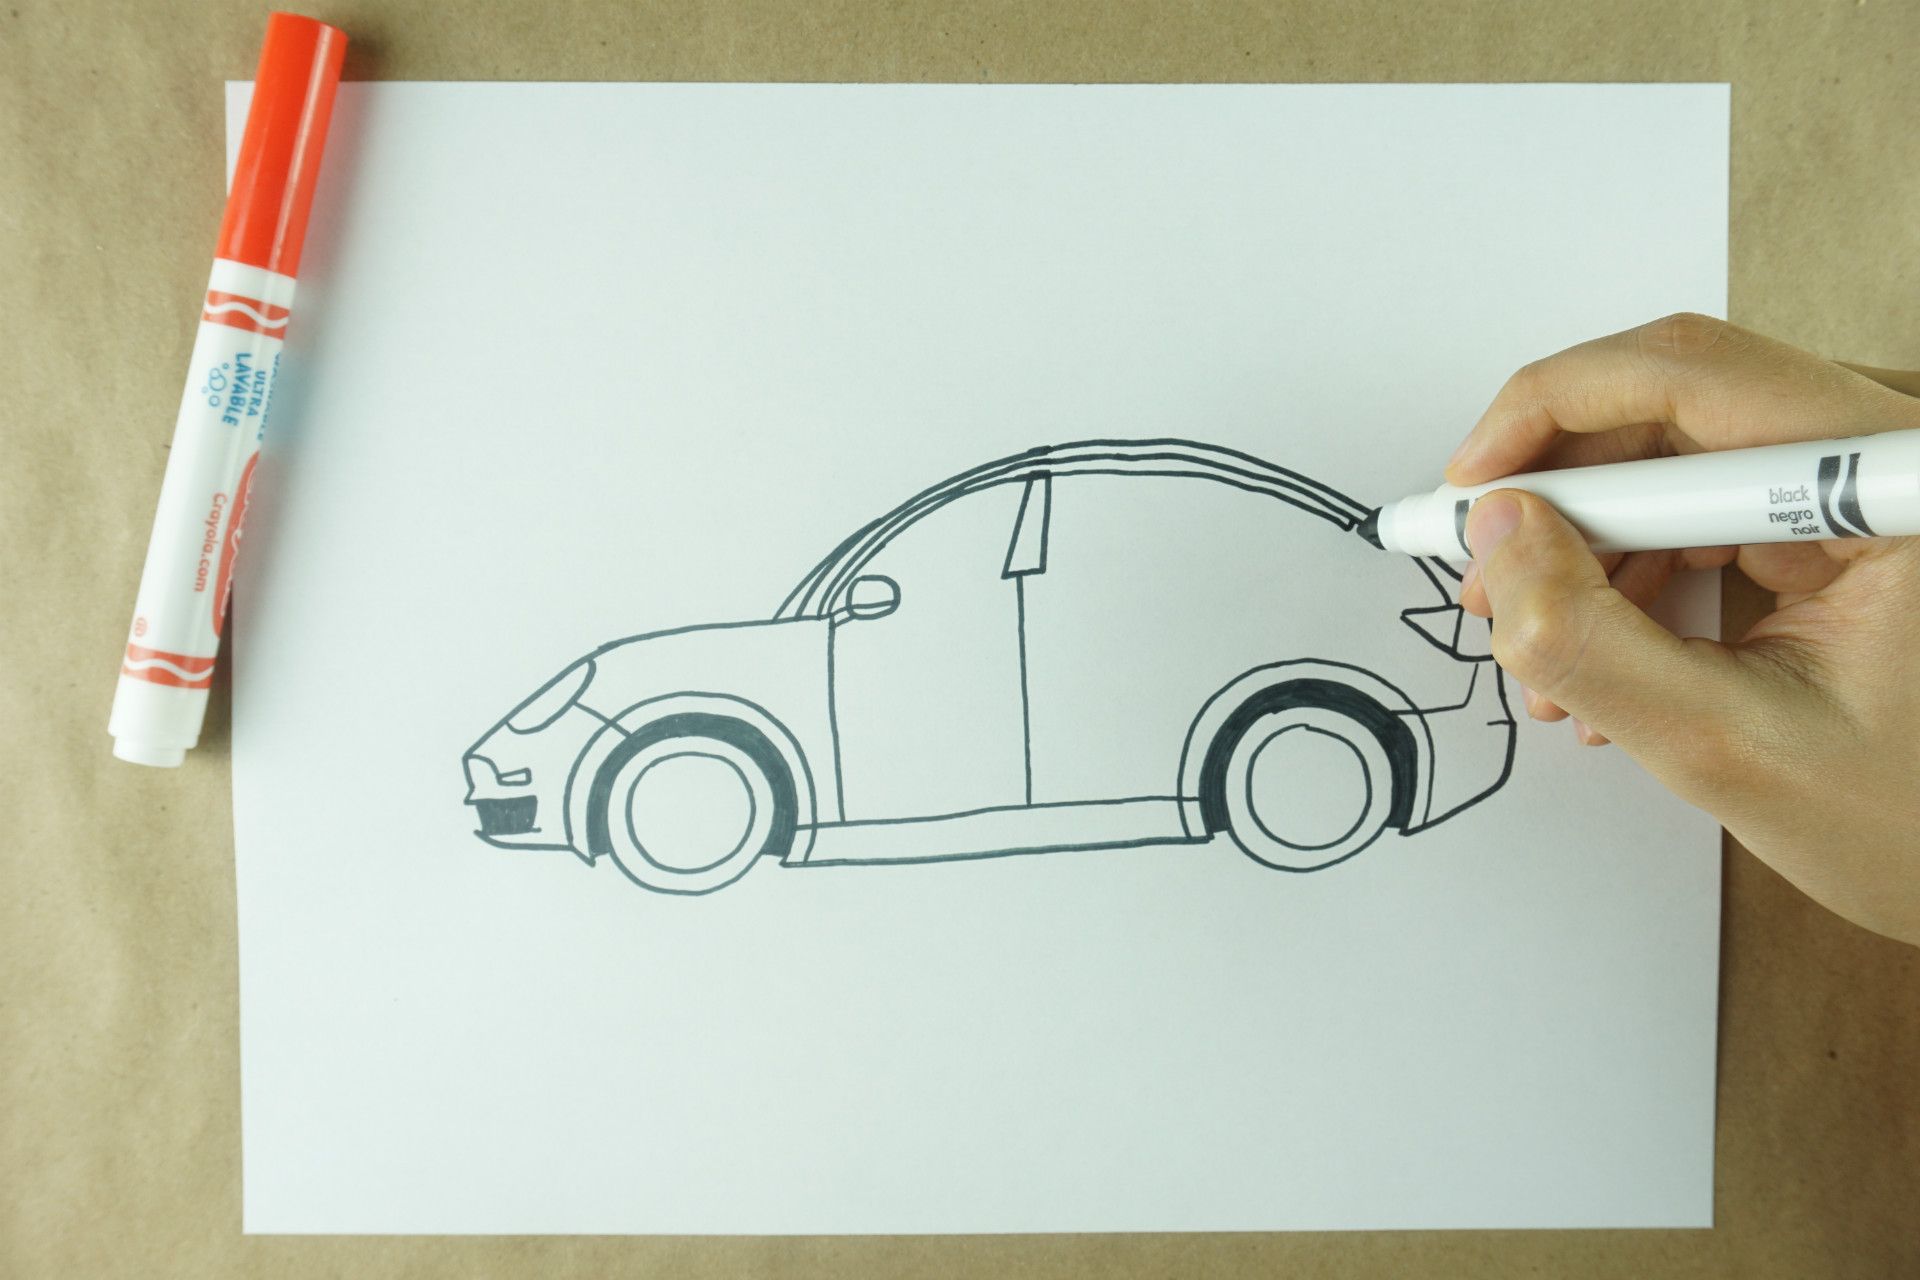
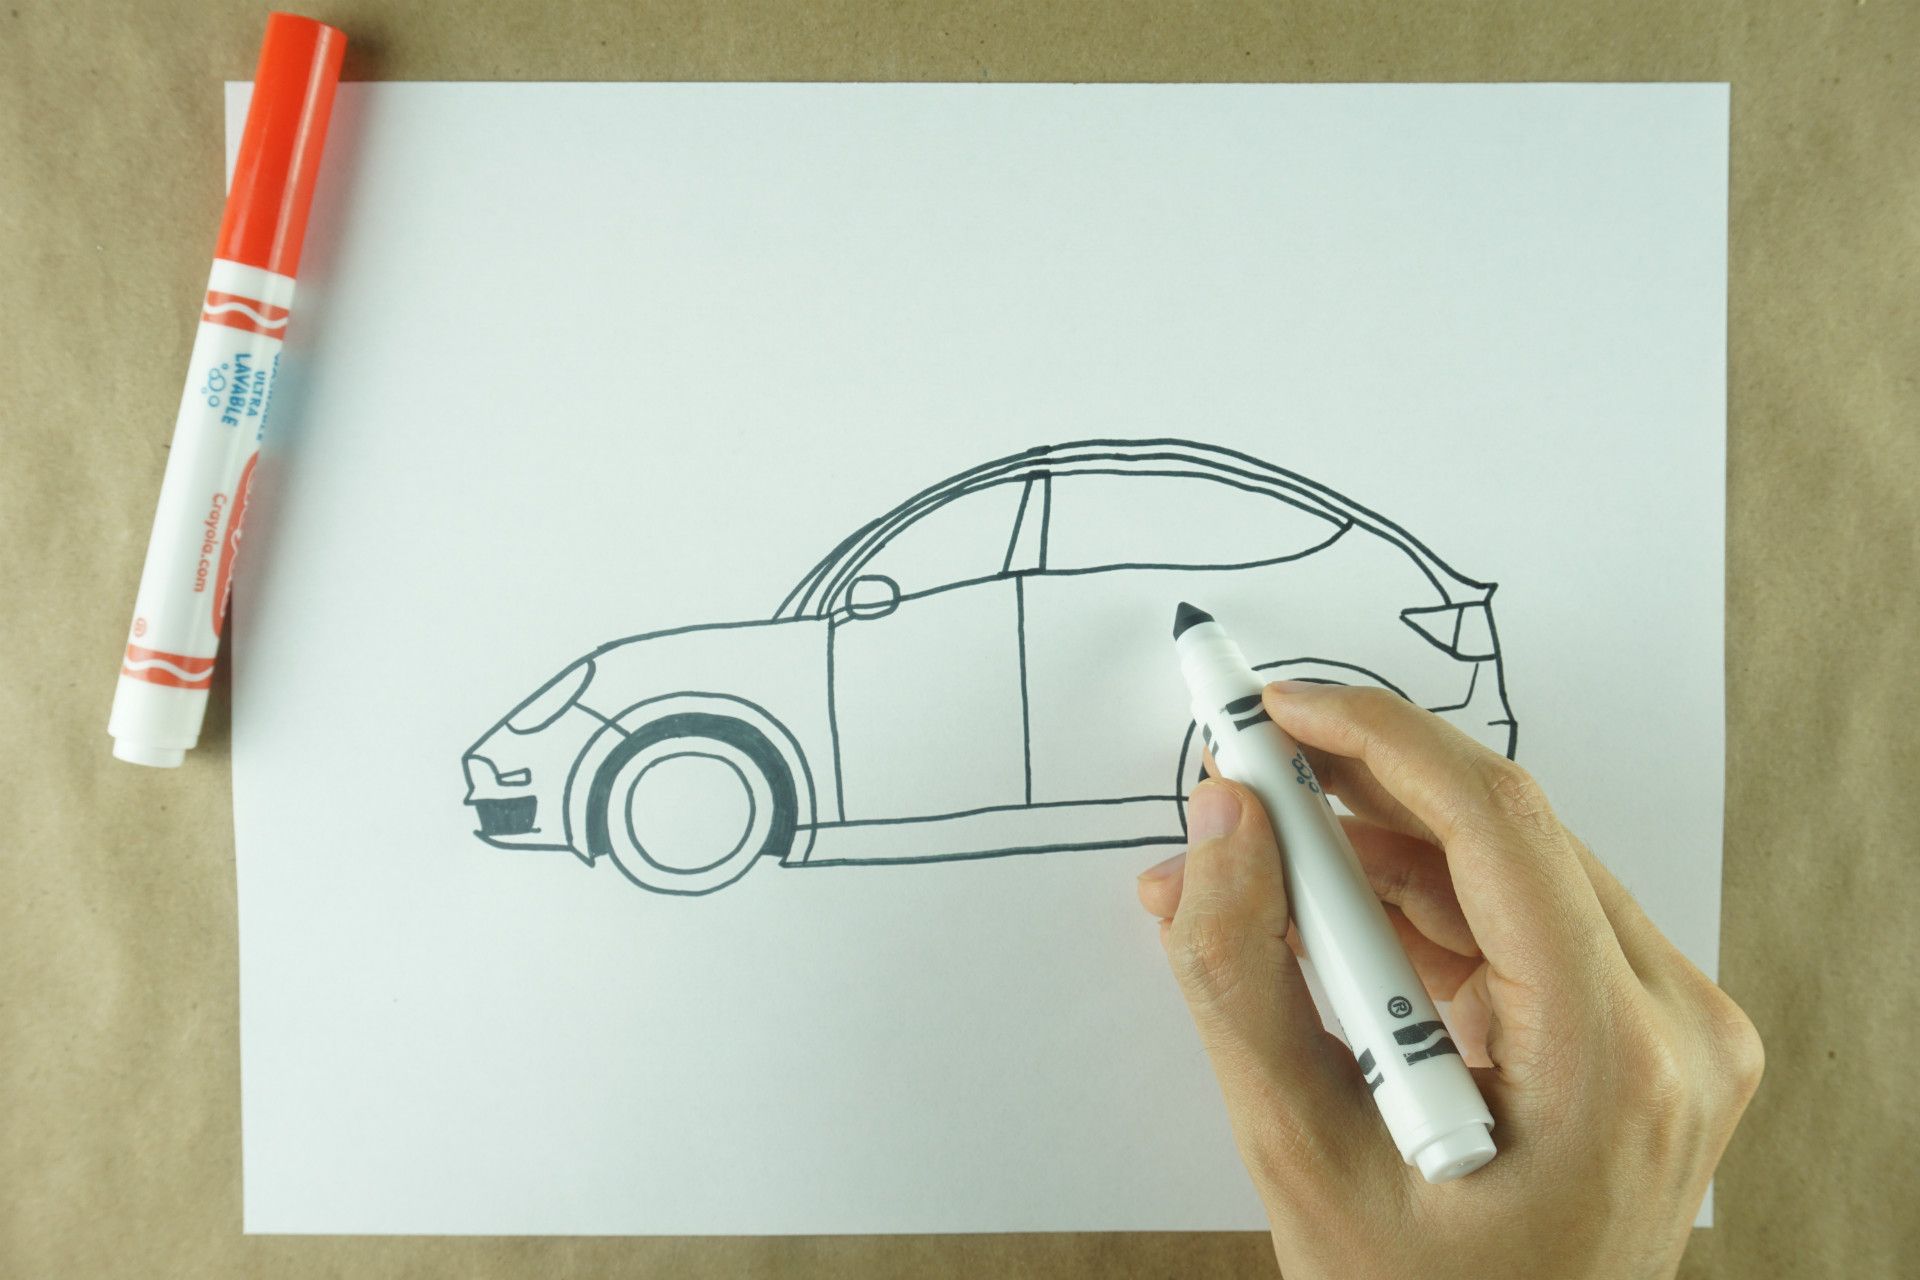
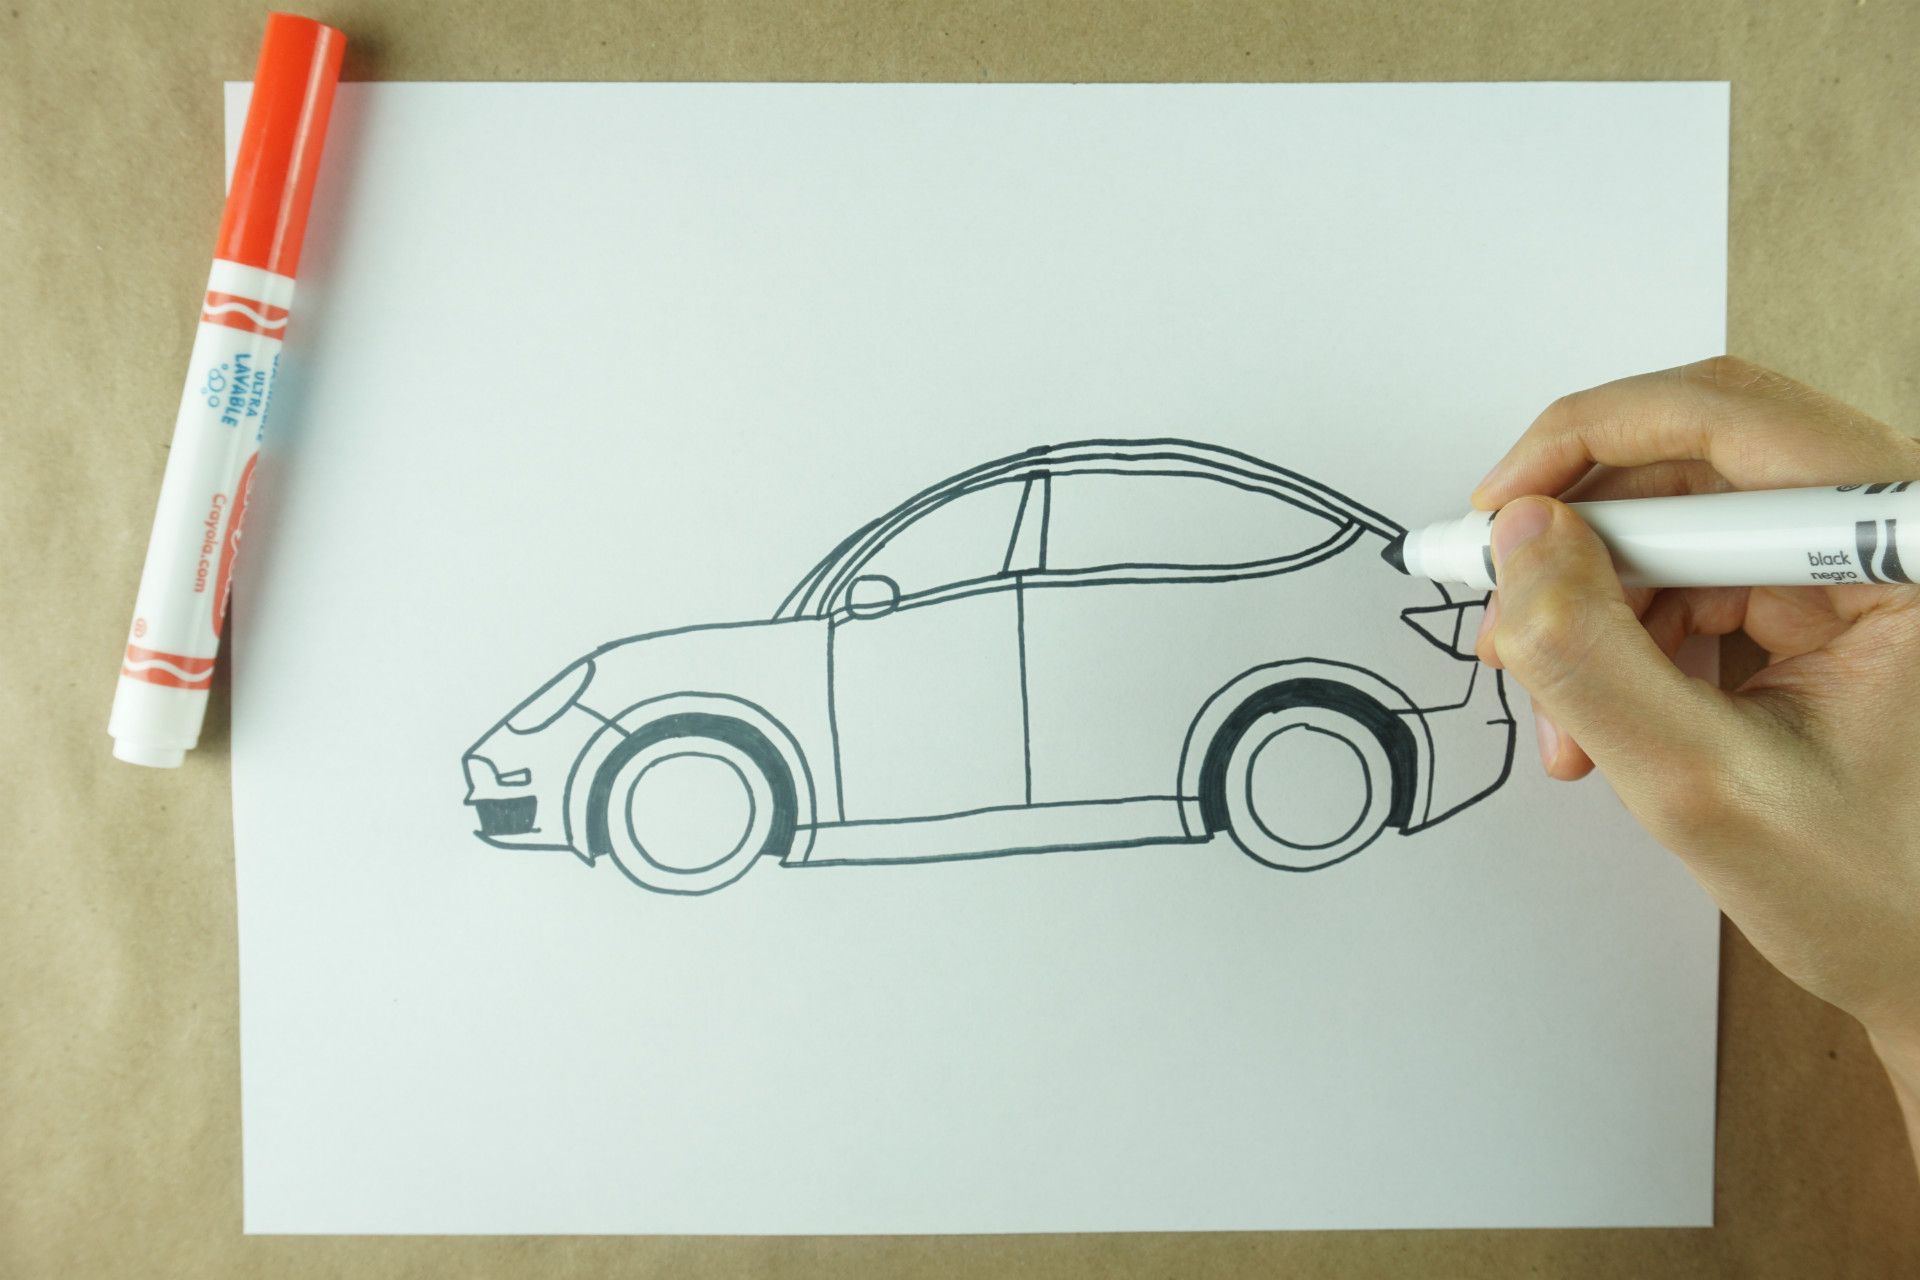
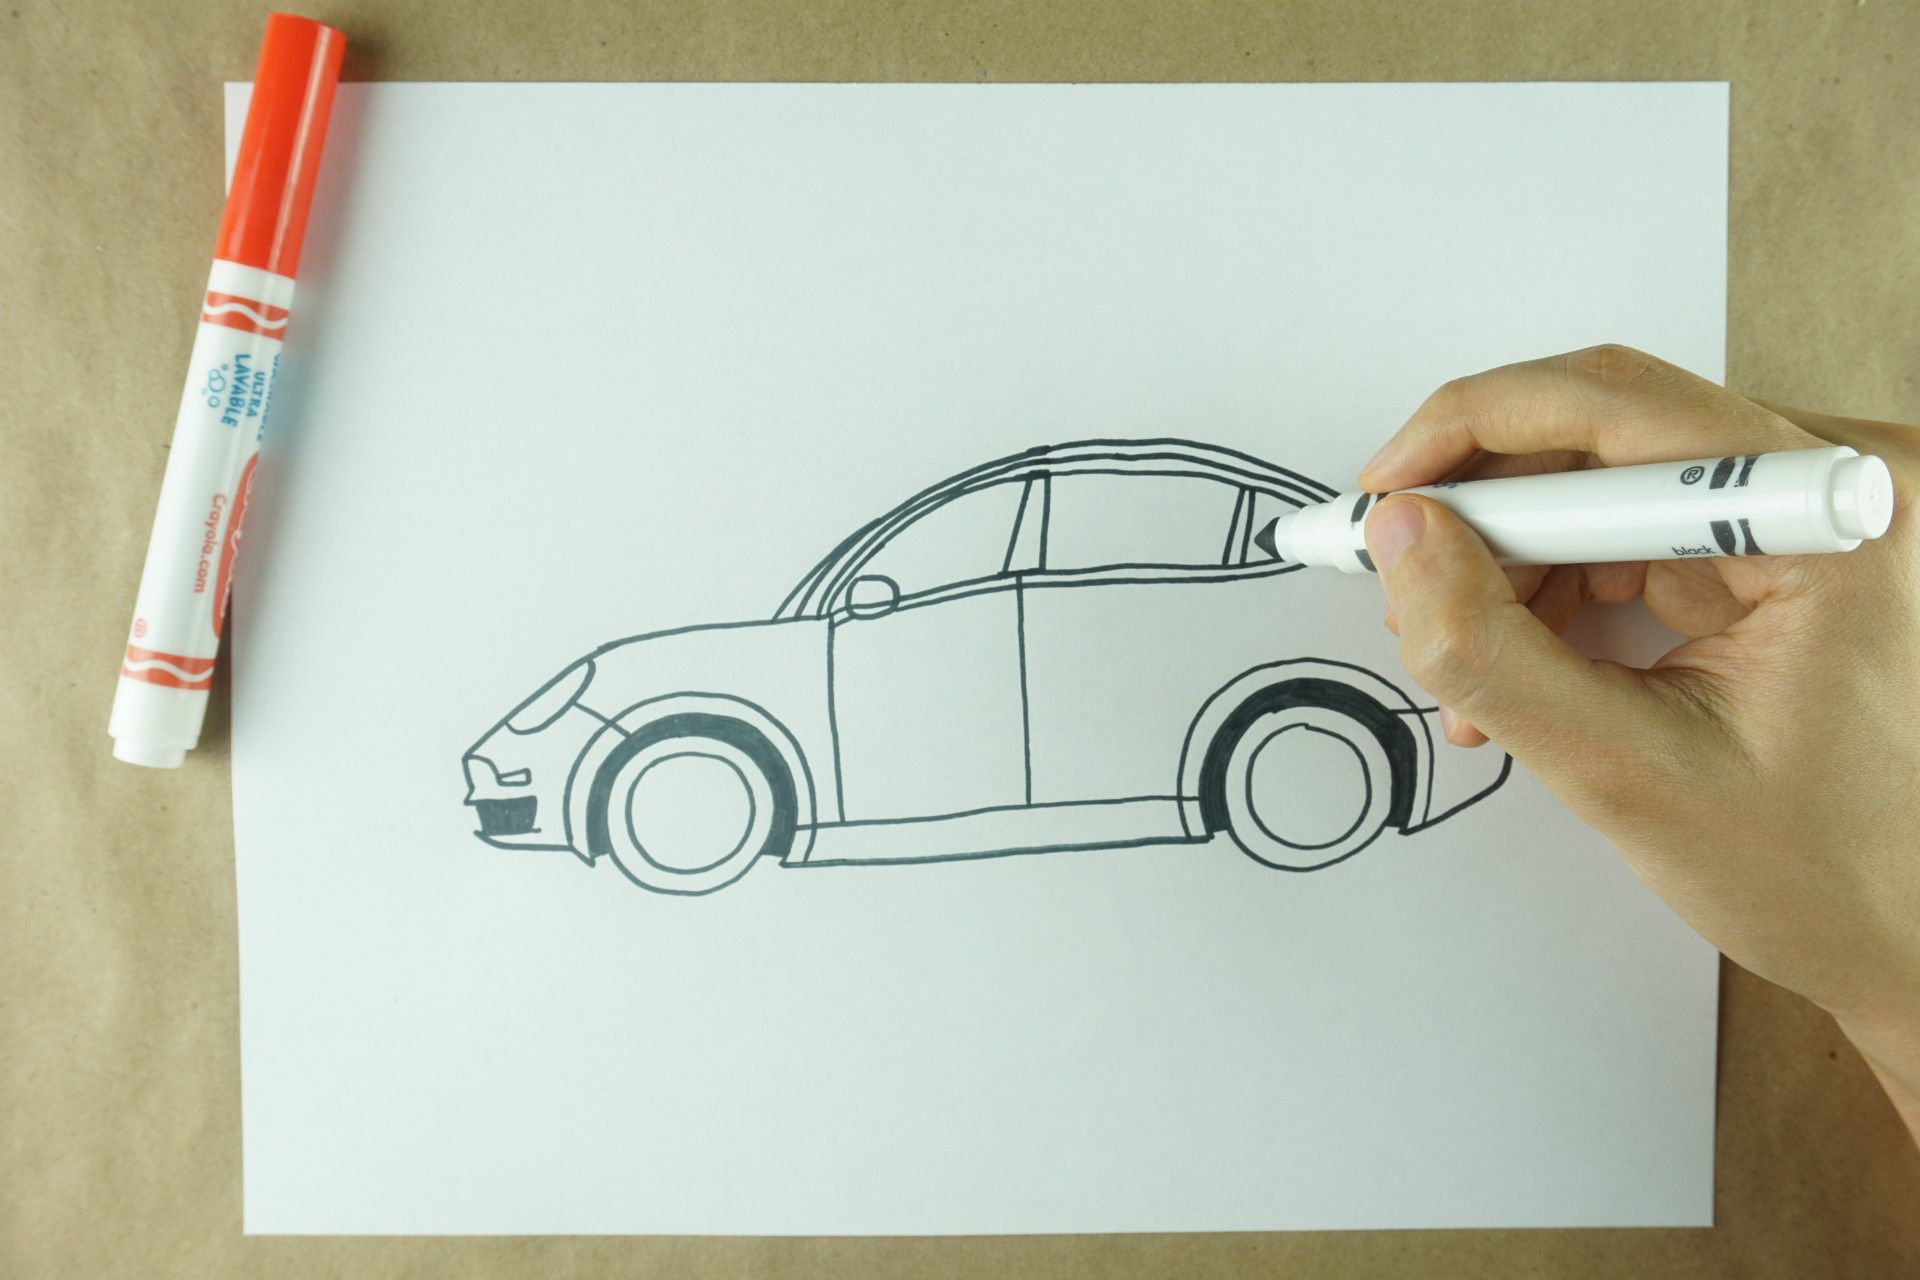
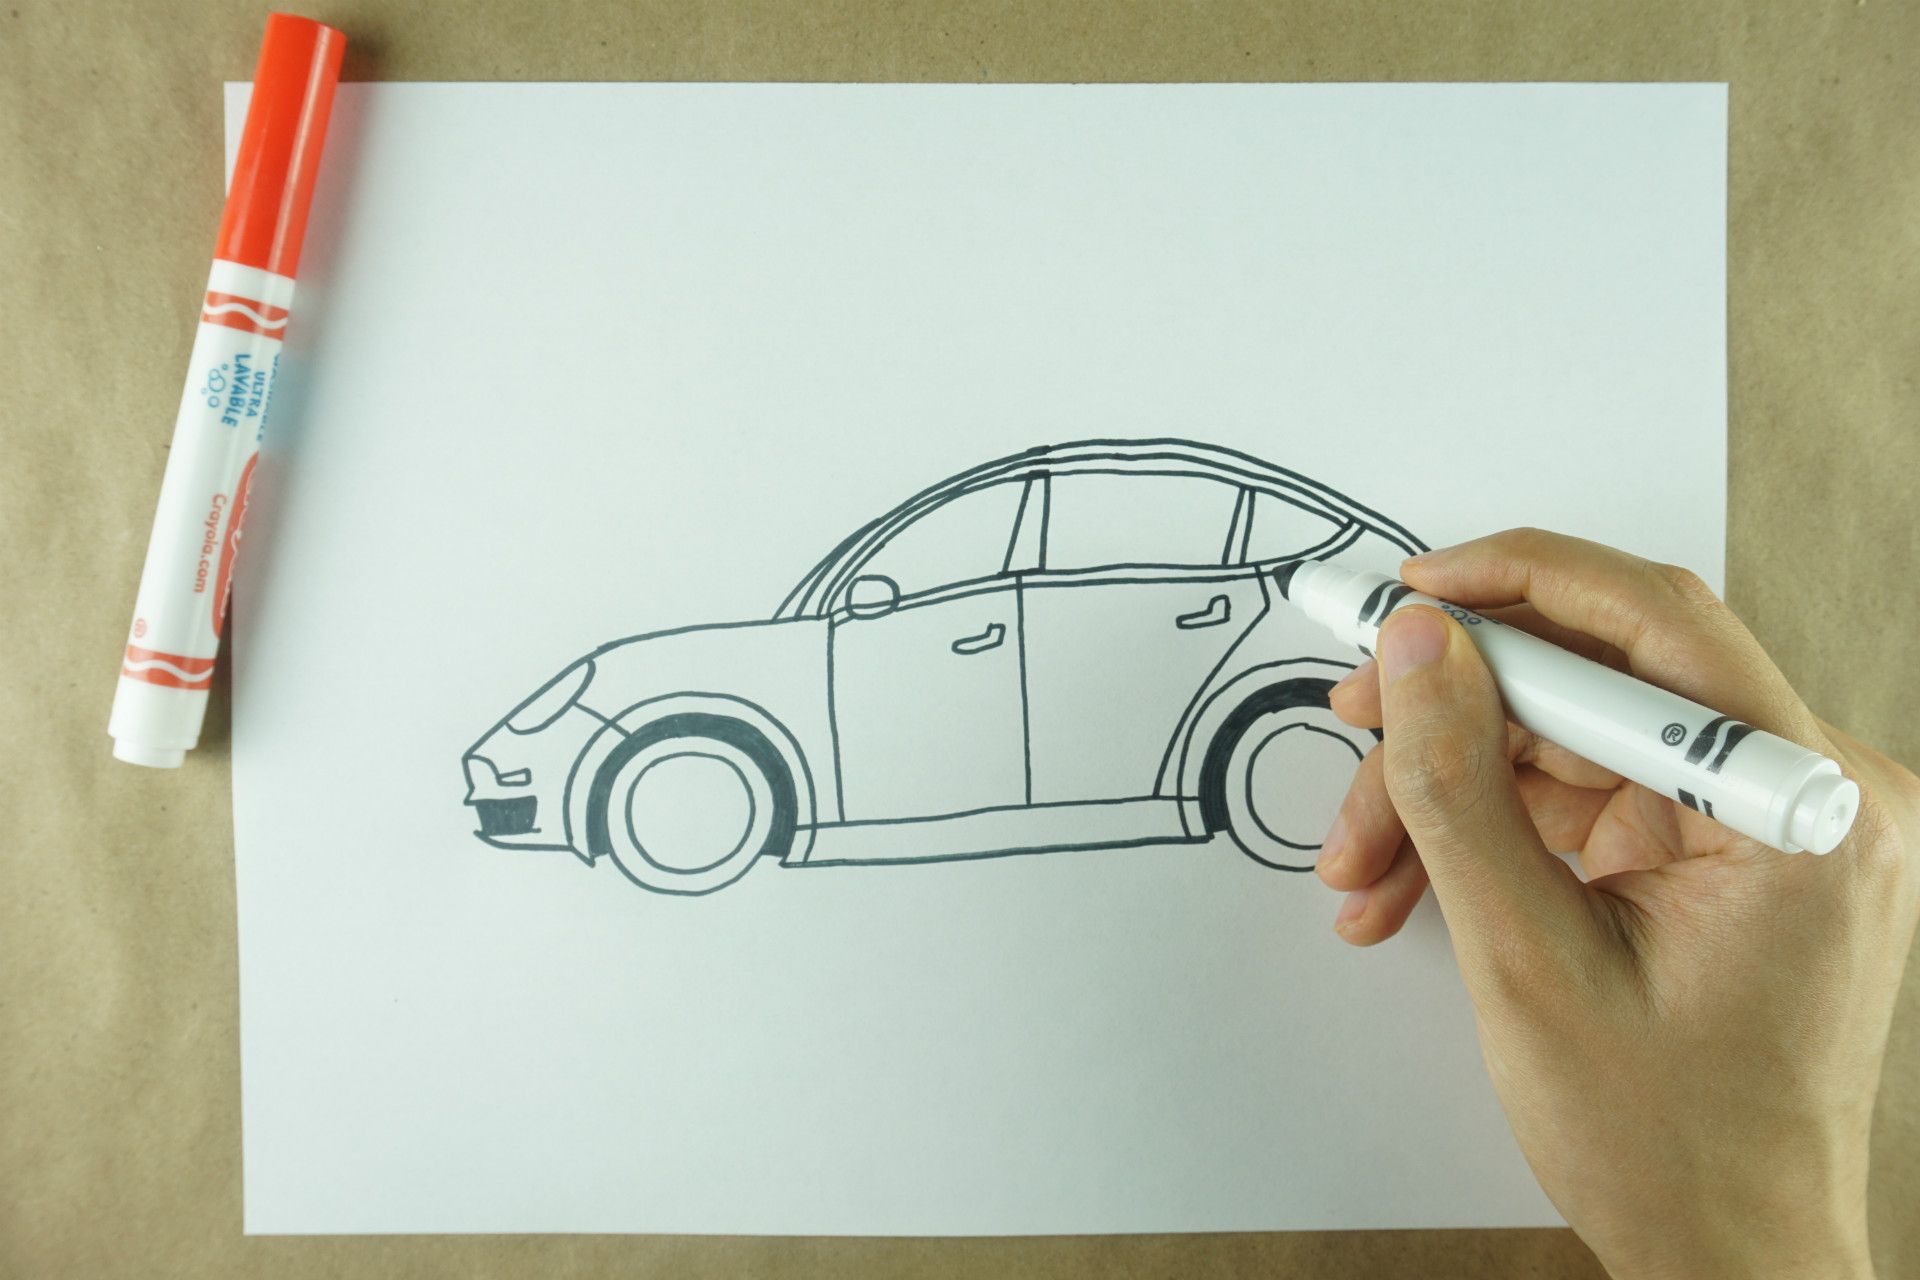
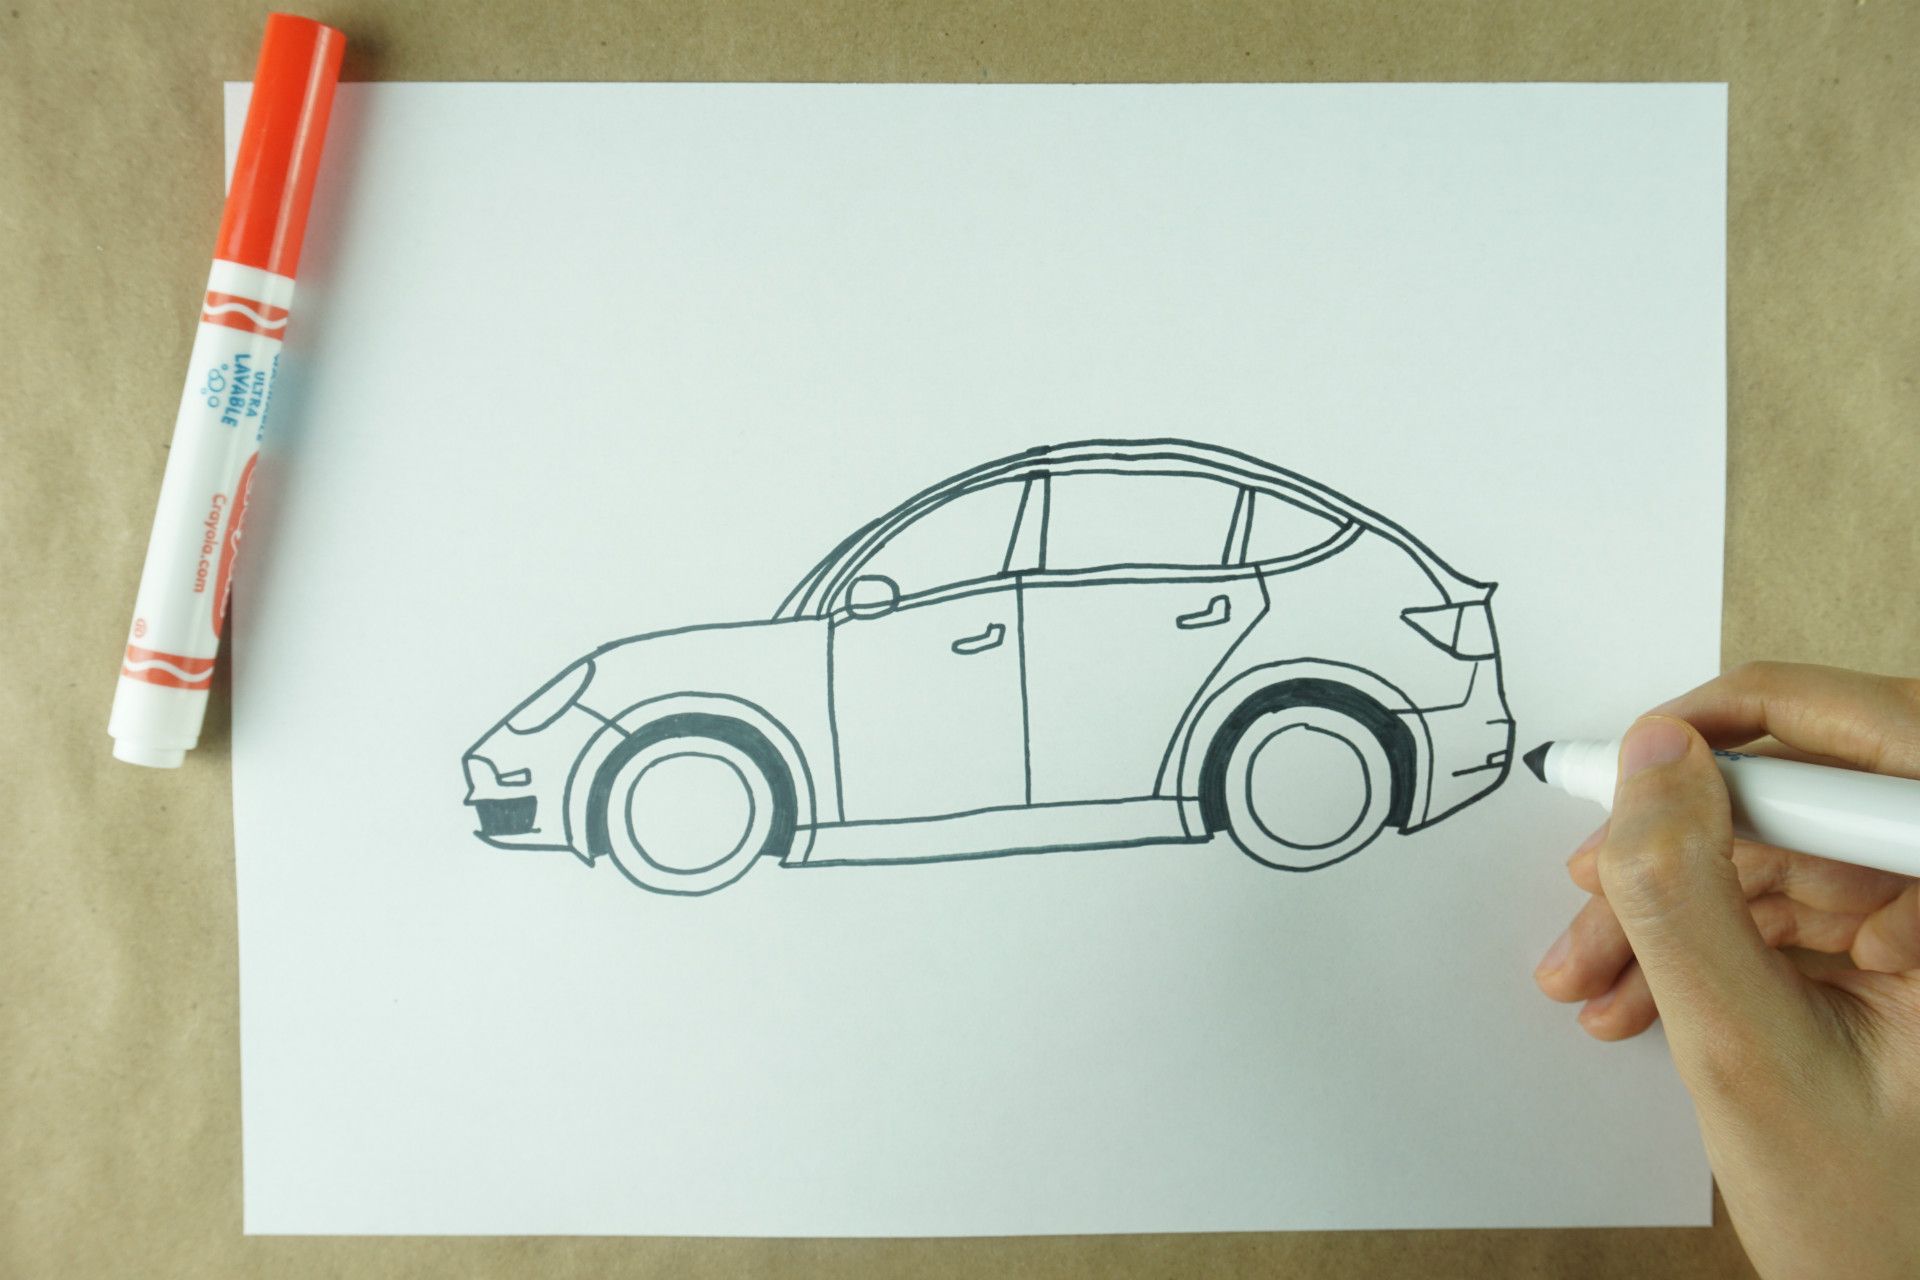
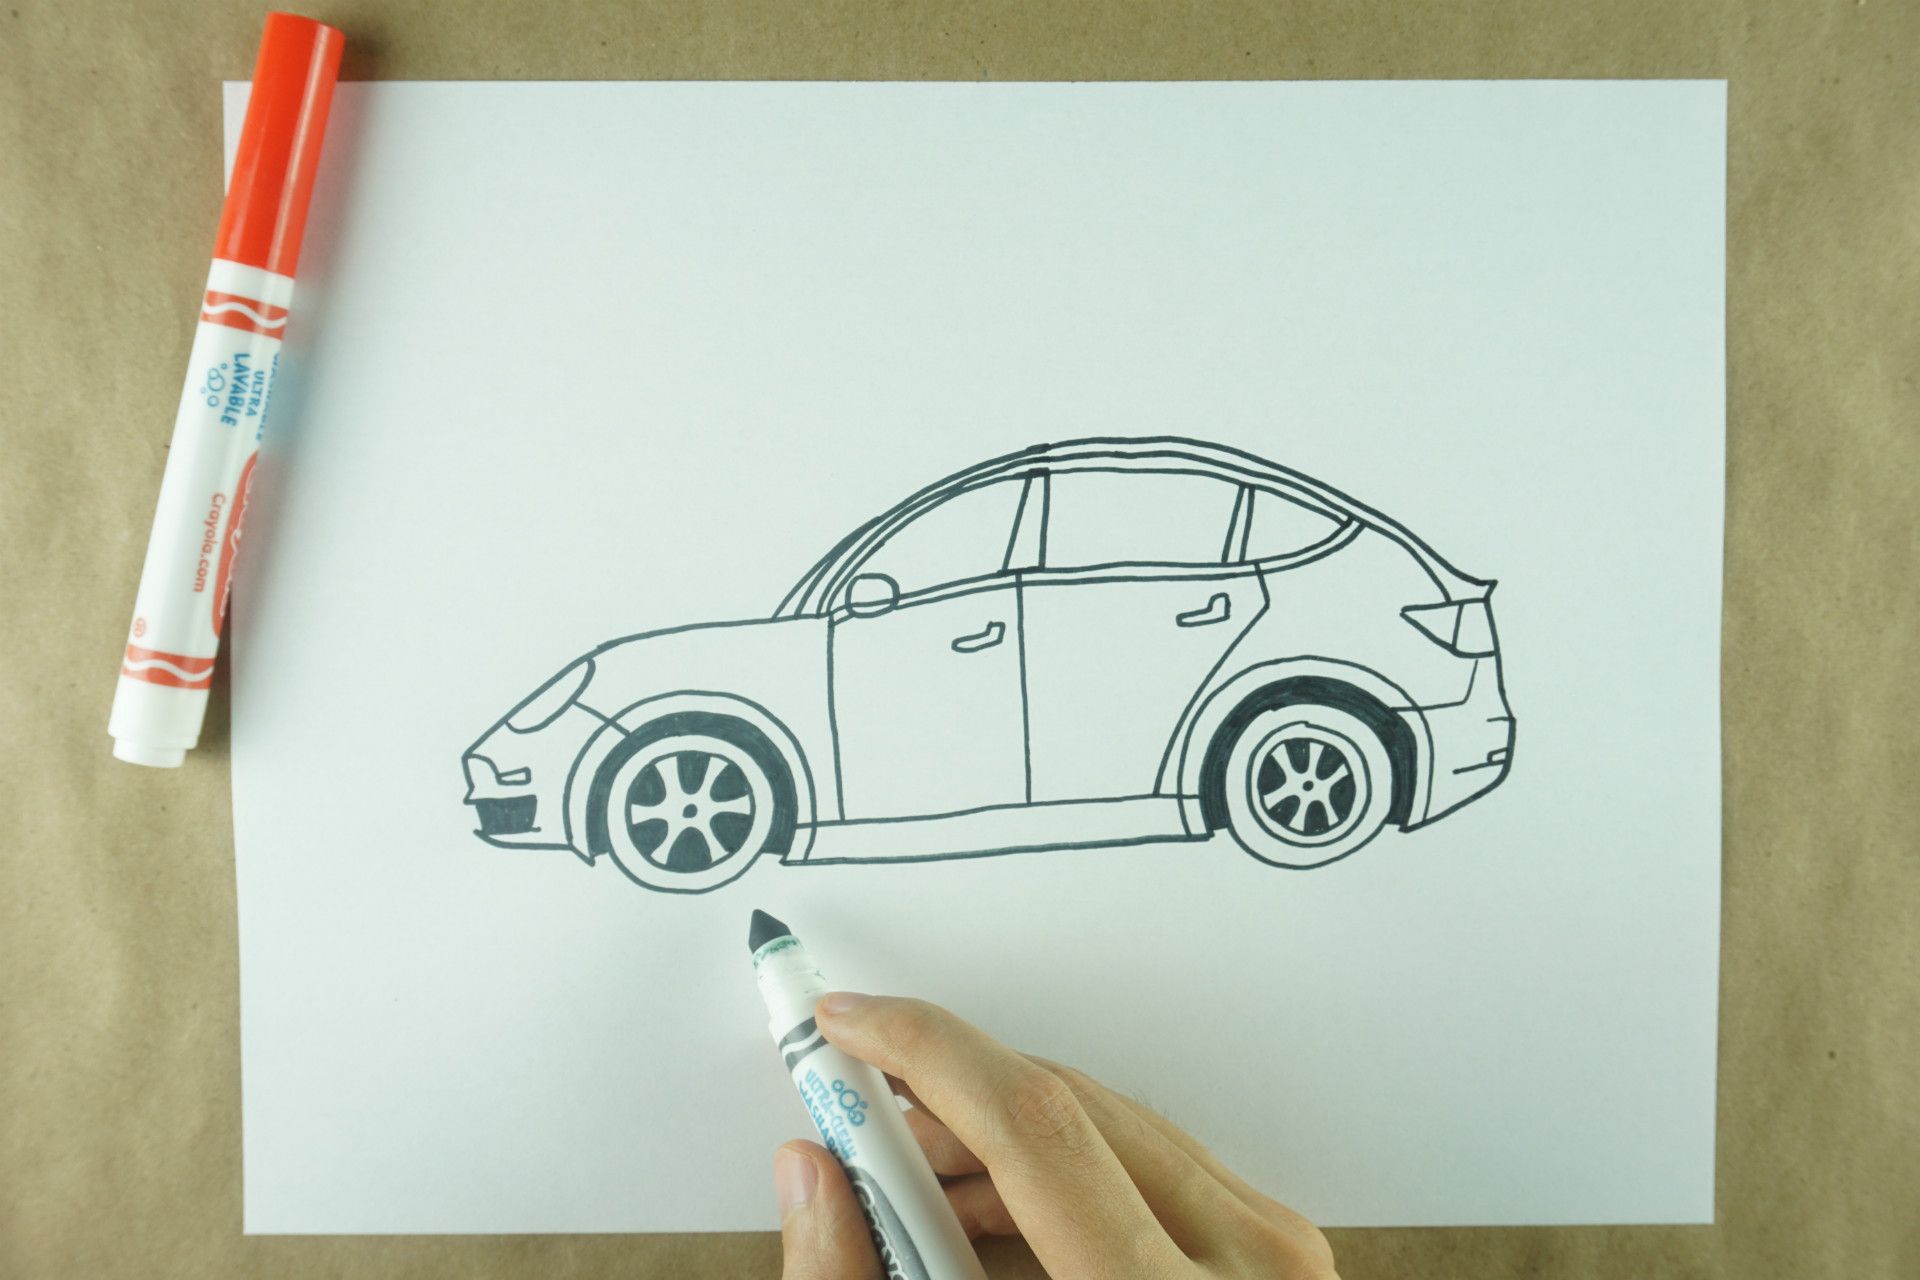
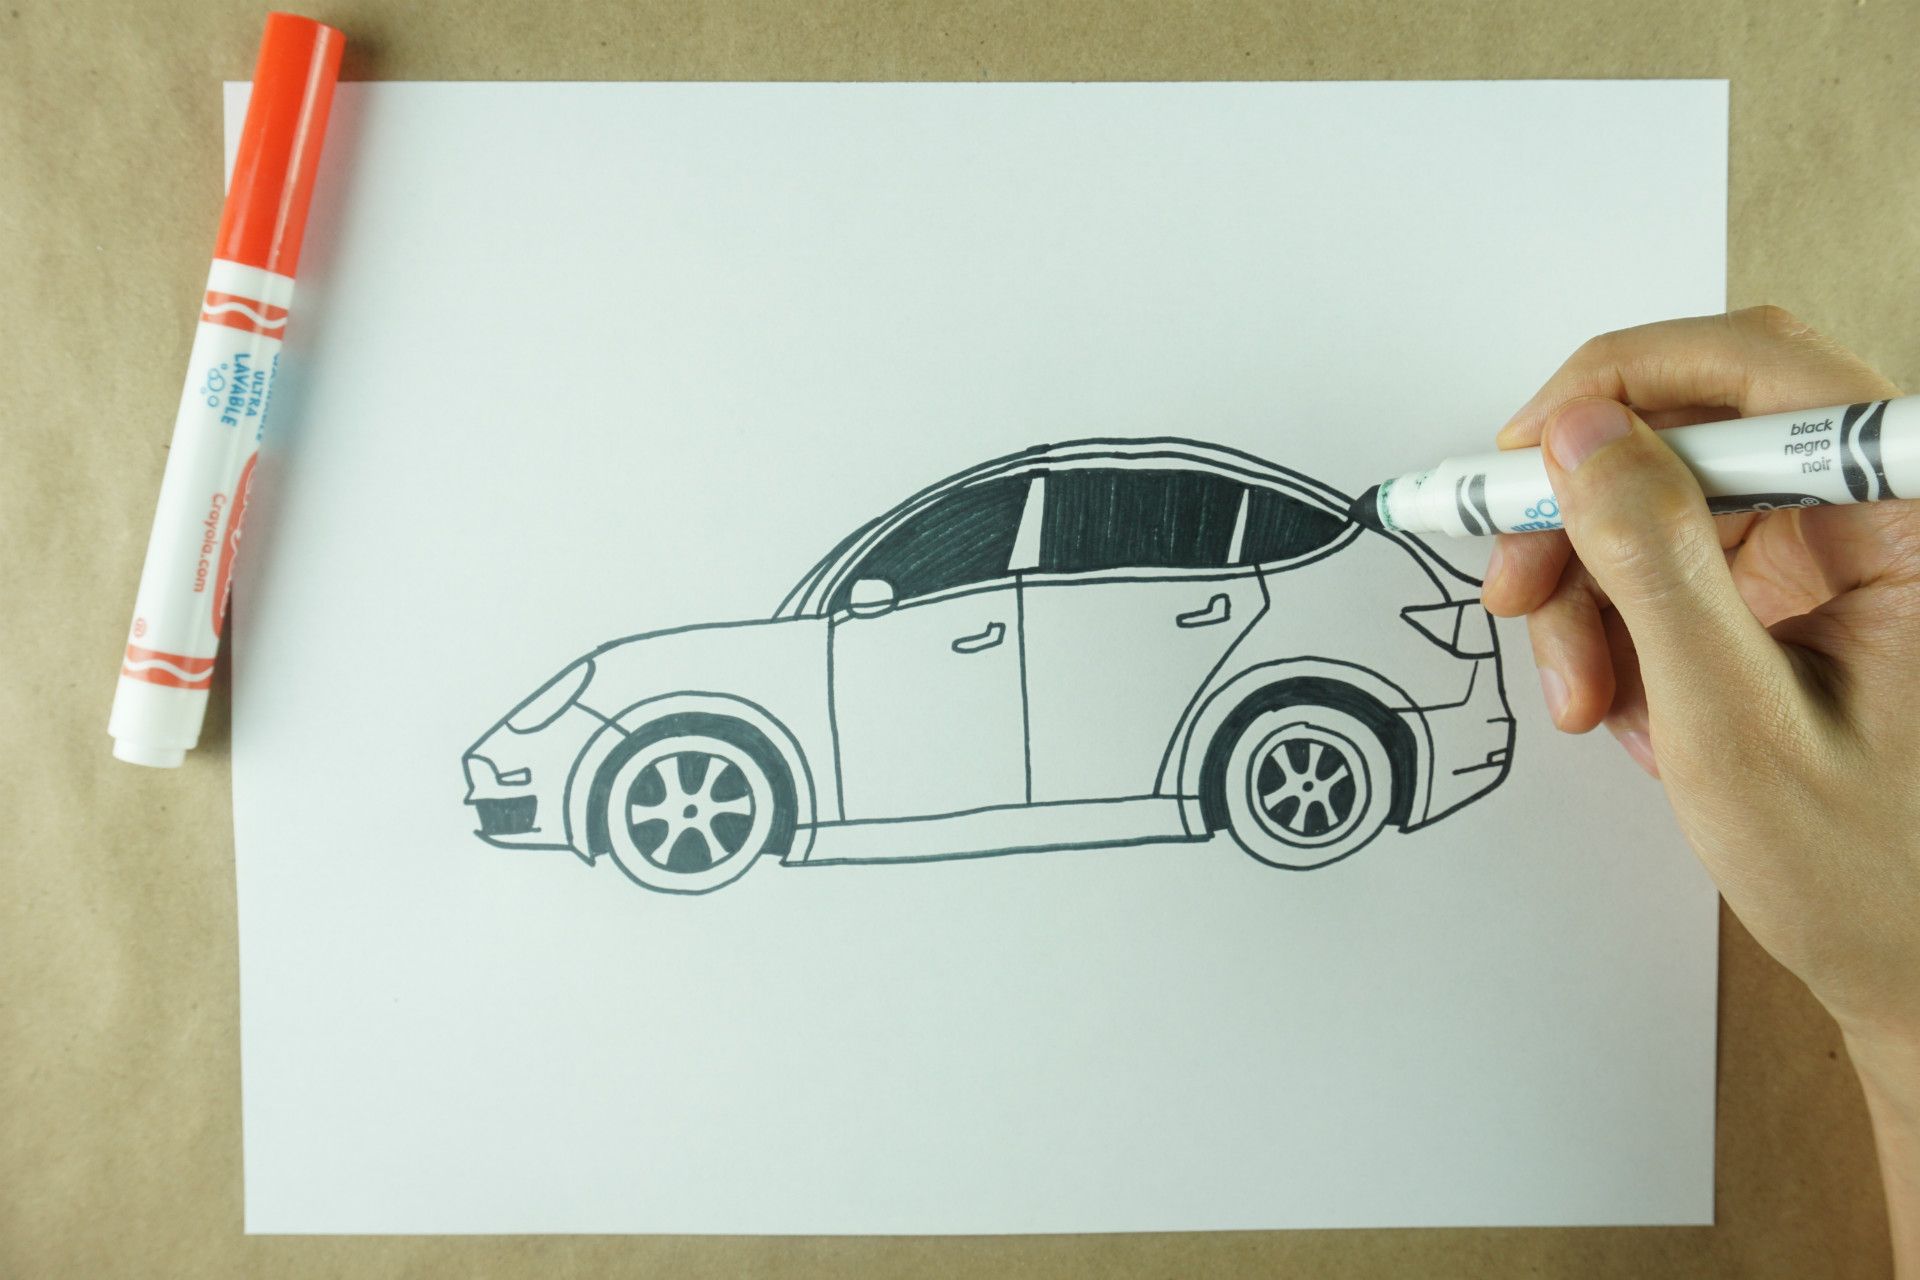
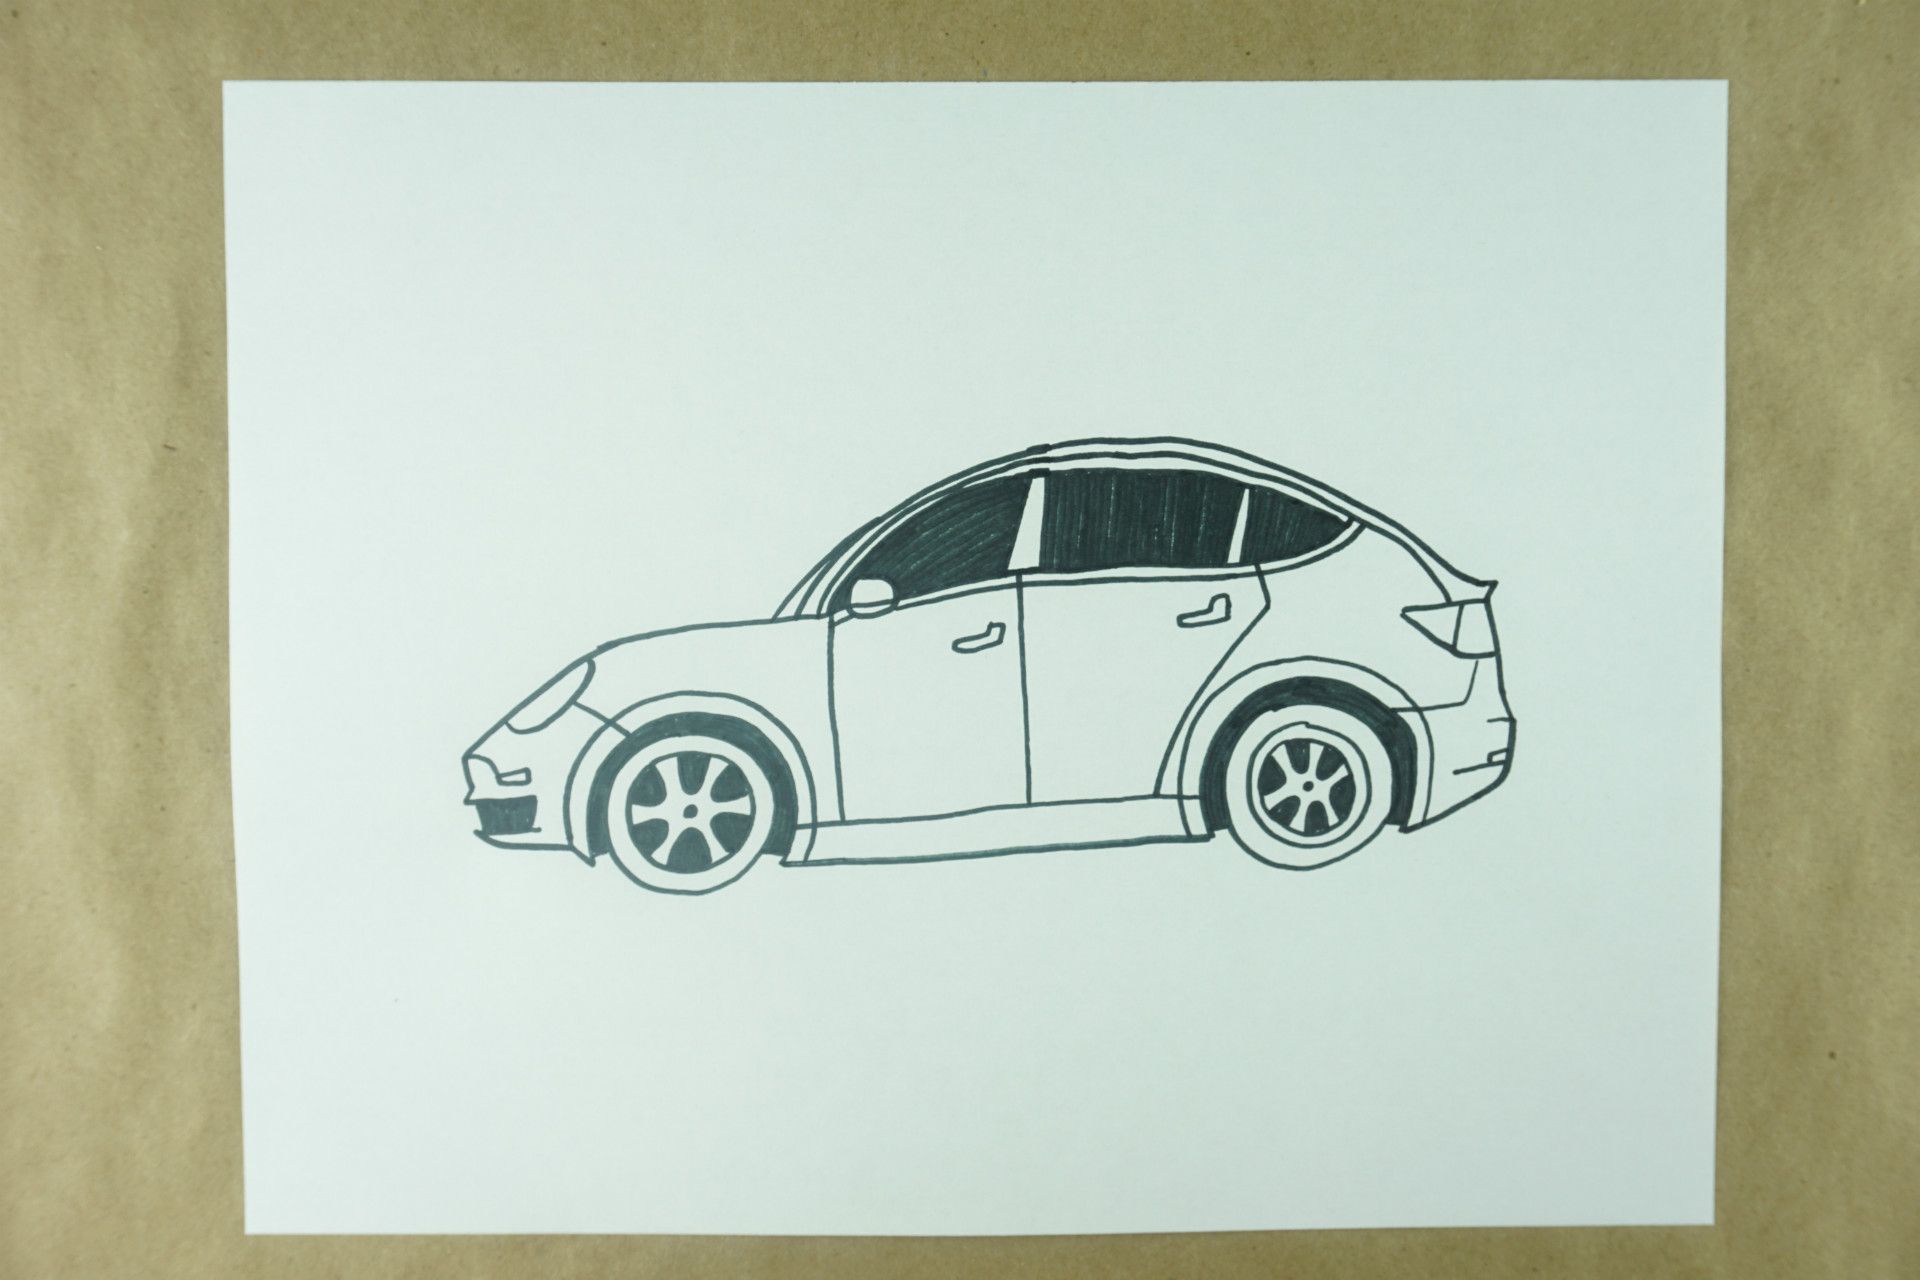
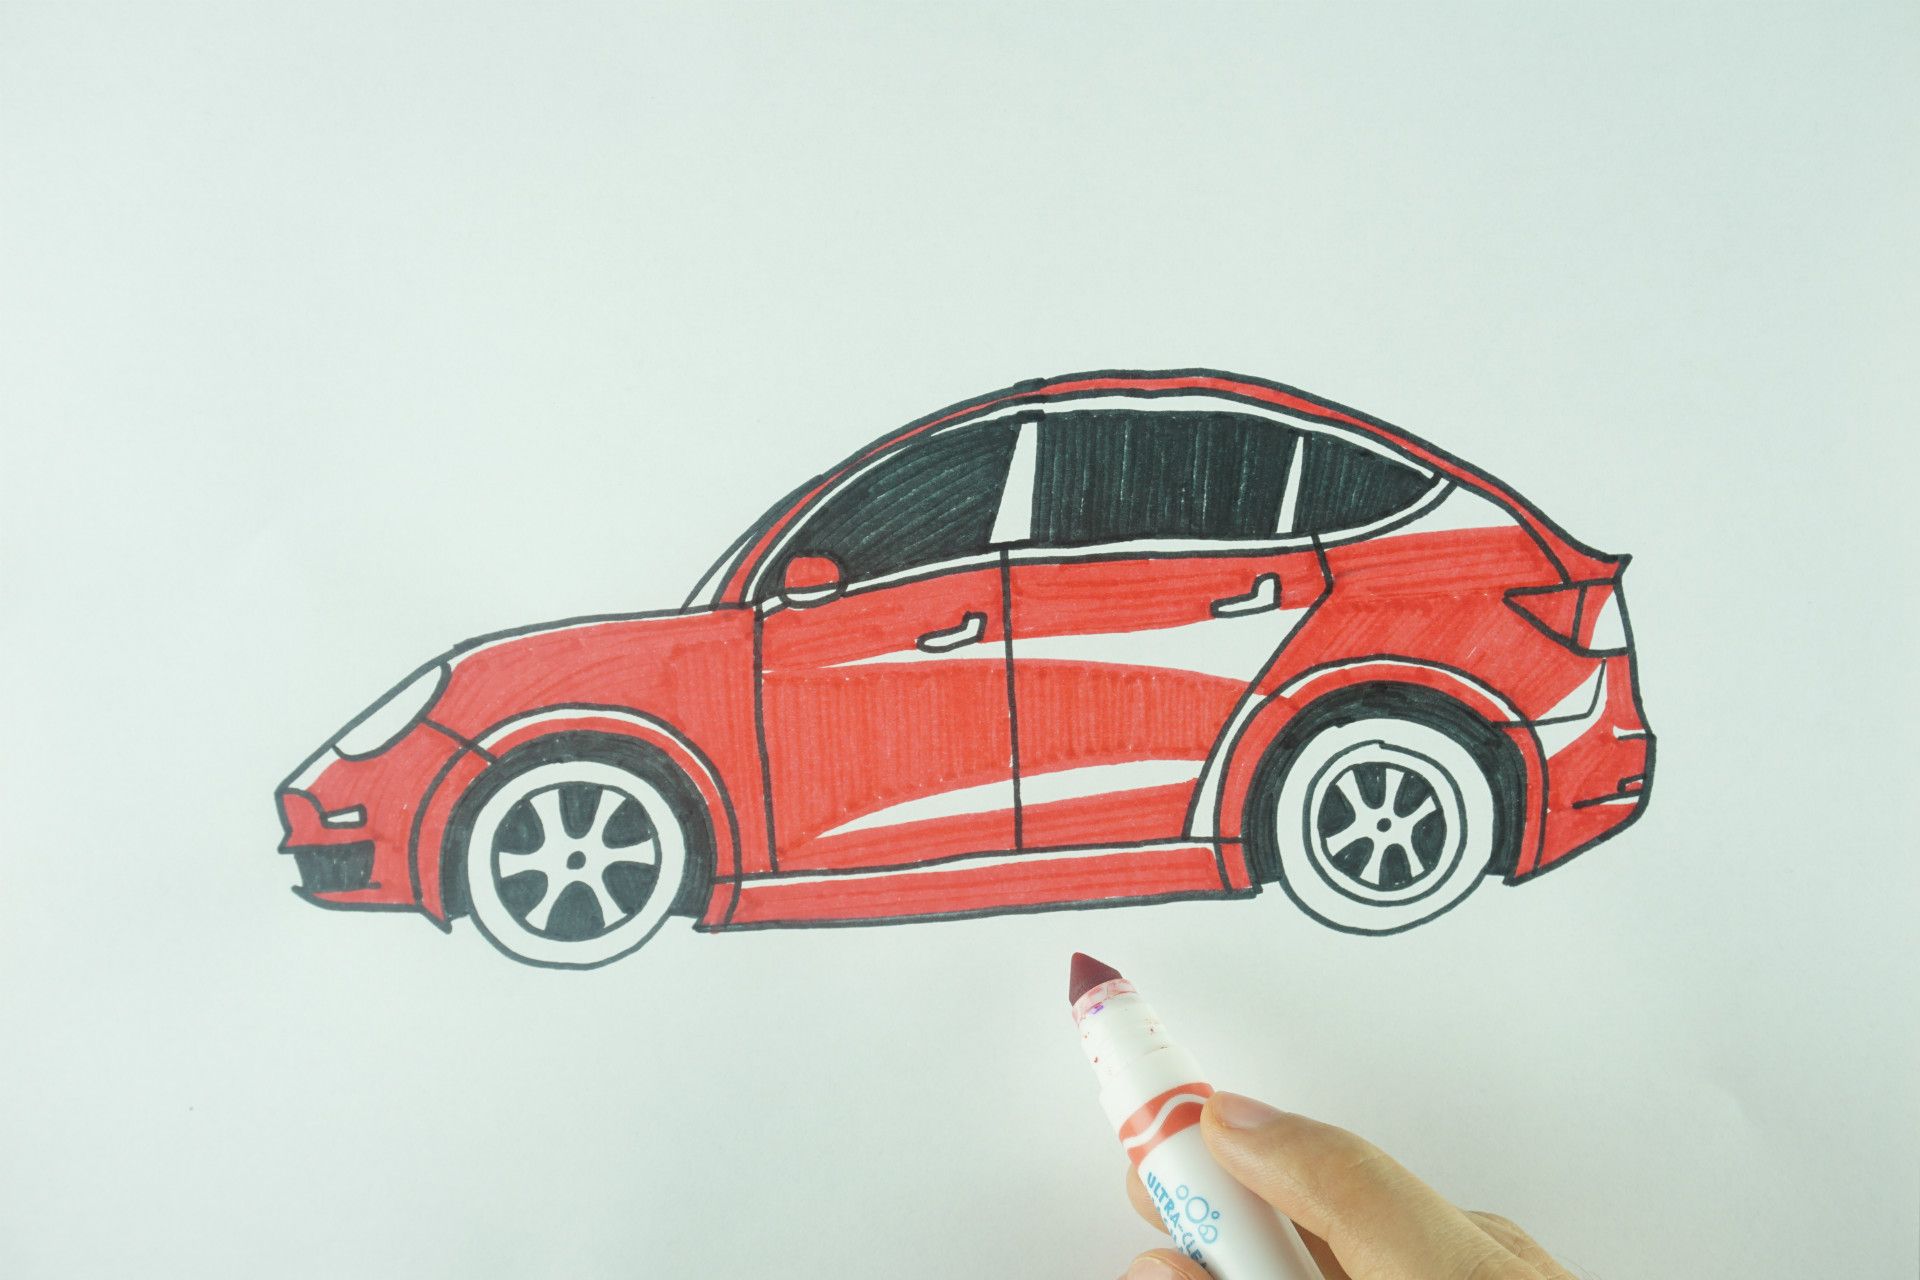
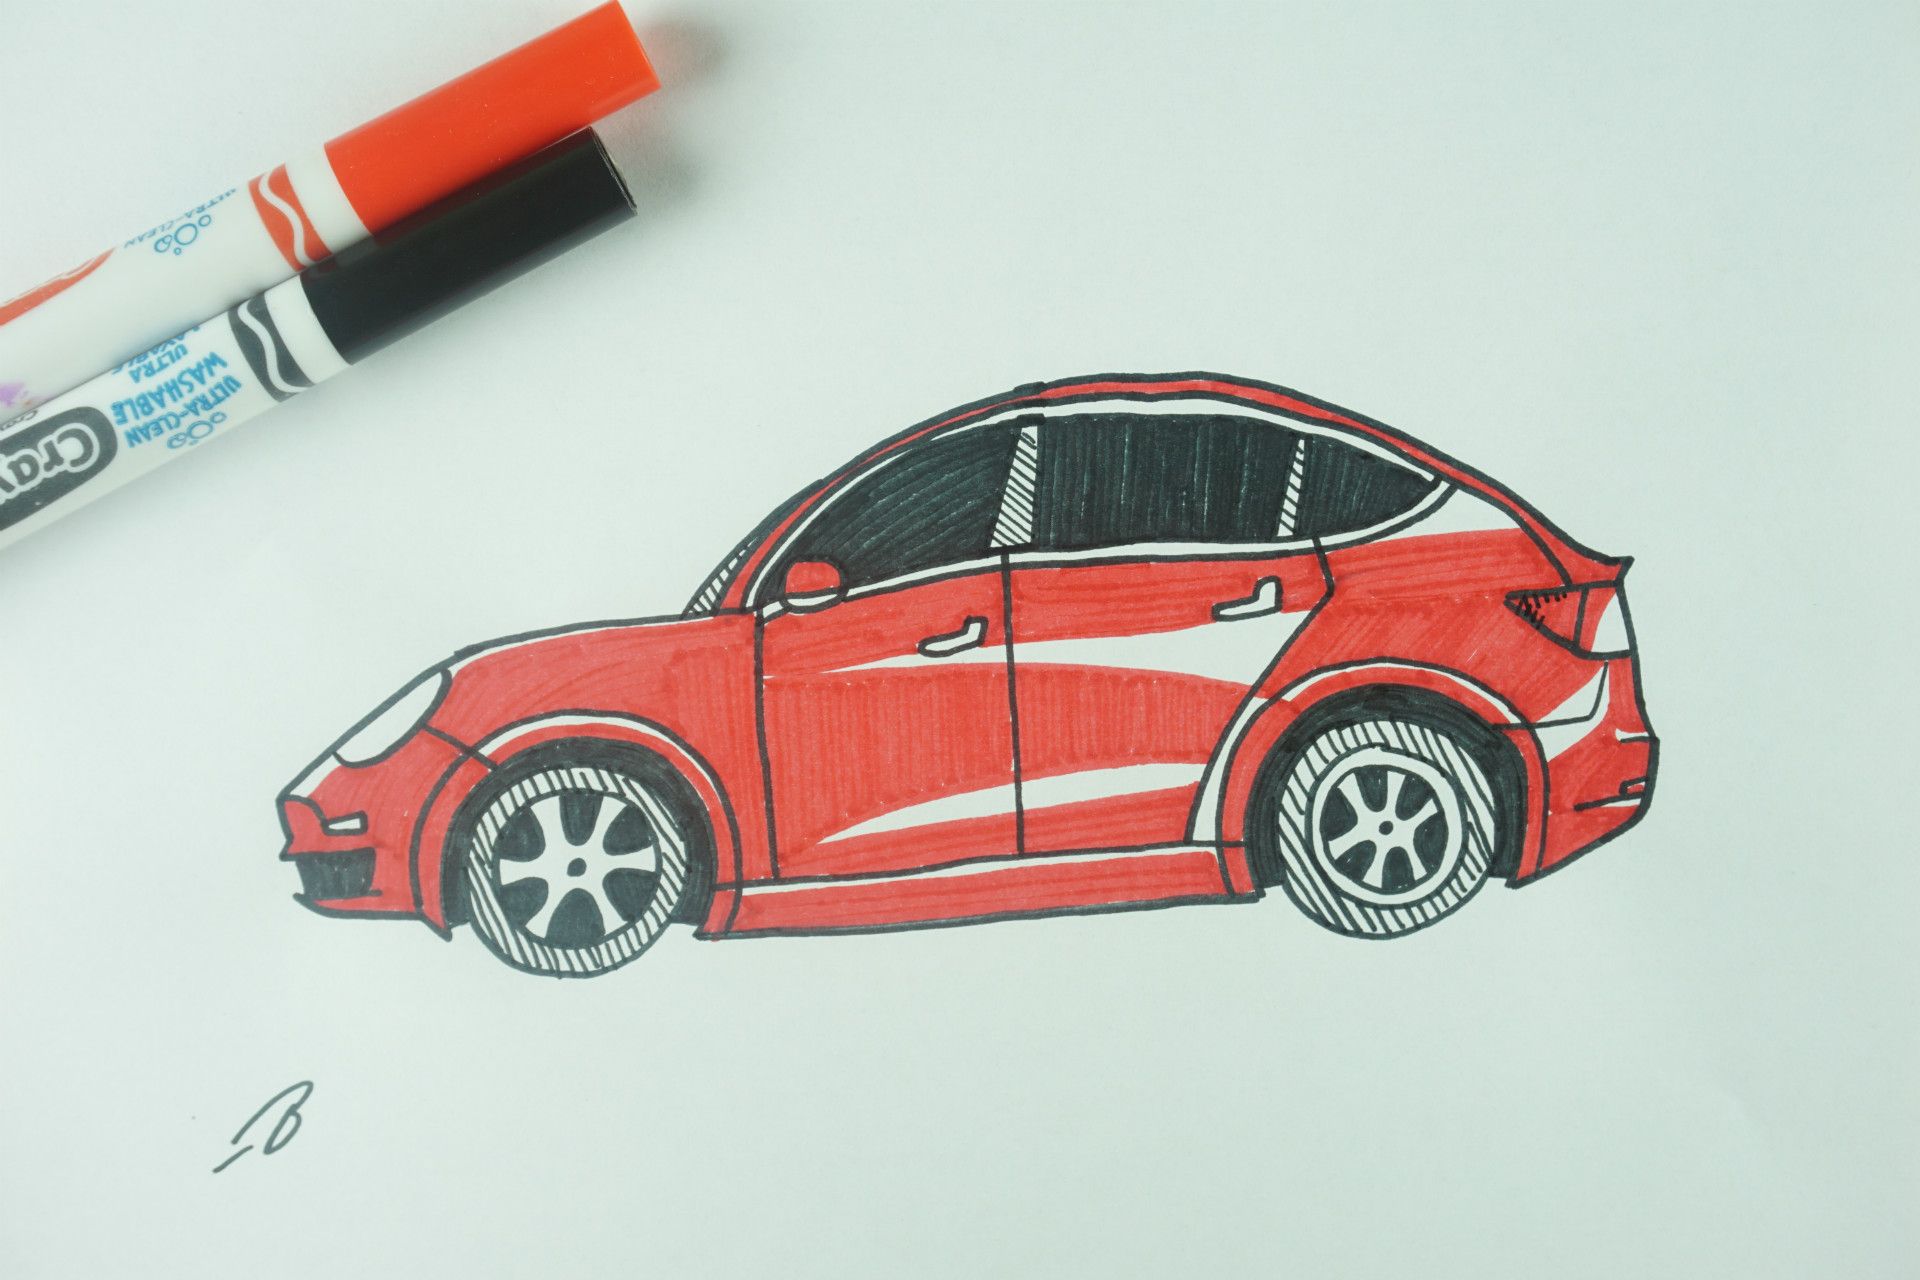
We'll use 2 colors for our car today, but feel free to choose your favorite color instead of red!Start with 2 circles.Then 2 more circles inside of those circles.Draw a half circle that goes around a little more than half way around the outer circles, then fill the shape in.Connect the bottom edges.Draw an upside down "L" shape, around the height of the inner circle, on the right side, then bend it in near the tire.Continue draw a line up from the right side and stop with a little triangle on the top.At the bottom of the triangle, draw a straight line going to the left, then a slant down and straight again.Cut out another triangle from that last shape, and connect an "L" shape from the middle of the right line, into the tire area.Draw yet another half circle around the back tire area, then draw another straight line above the middle line.Do a similar outline for the front tire, but stop a little higher than the bottom edge.Draw a small slant up to connect the bottom, and then draw a small shape, almost like a knife.Draw a line above that line, connect it on the back side, and fill it in.Draw a small rectangle and then wrap the left side of it up and around to the left edge of your car.Draw 2 lines coming out from the center area. The middle line should be a little higher than the left.Use the left line to connect the front bumper with a long, curved line.Add a headline and connect a line into the tire area.Add a little mirror on the right corner of the left line.Add a tall, but thin, trapezoid center on top of the middle line.Draw a pair of tiny lines, one above the other, with a little space in between.Use the bottom 2 edges to make a "rainbow" type curve into the corner from before.Do the same for the top line too. Don't worry if it gets a little messy, it was hard for me too!We'll add one more curve in the front, this one doesn't have to curve all the way to the top.Using the top most line again, draw a long curve shape, now connecting to the back of the car.Do the same with the 2nd line from the top, but connect that one all the way down to the tail light. Draw a small line coming out about 2/3rds of the way to the back.Now connect the top of the trapezoid to the end of the previous tiny line with another curve.Now bring out the tiny line as a bottom edge through the trapezoid, up to the mirror.Then curve back from the bottom of the mirror, back to just behind the tiny line's starting point.Draw another pair of lines in the window area to create a small window in the back.Draw a line coming out from that small line, and then curving around the back tire to make a door. Add handles to both doors.Let's add a small rectangle on the back bumper, and a line that doesn't quite touch the tire area.Draw in your tires. Look at the ones on your parent's car for an example!Fill in the windows.Are car is all ready for colors! Remember, you can use whatever colors you want.I filled mine in red, but notice I left some areas white, to show highlights! Since I didn't have a gray marker, I just used the black marker and made lines to fill up my tires, and the bars on the window. You can just use a crayon or colored pencil too. Once you're done, sign your drawing. Your car is complete! 🎉
You've successfully subscribed to Draw With Me, Mr. B
Great! Next, complete checkout for full access to Draw With Me, Mr. B
Welcome back! You've successfully signed in
Success! Your account is fully activated, you now have access to all content.