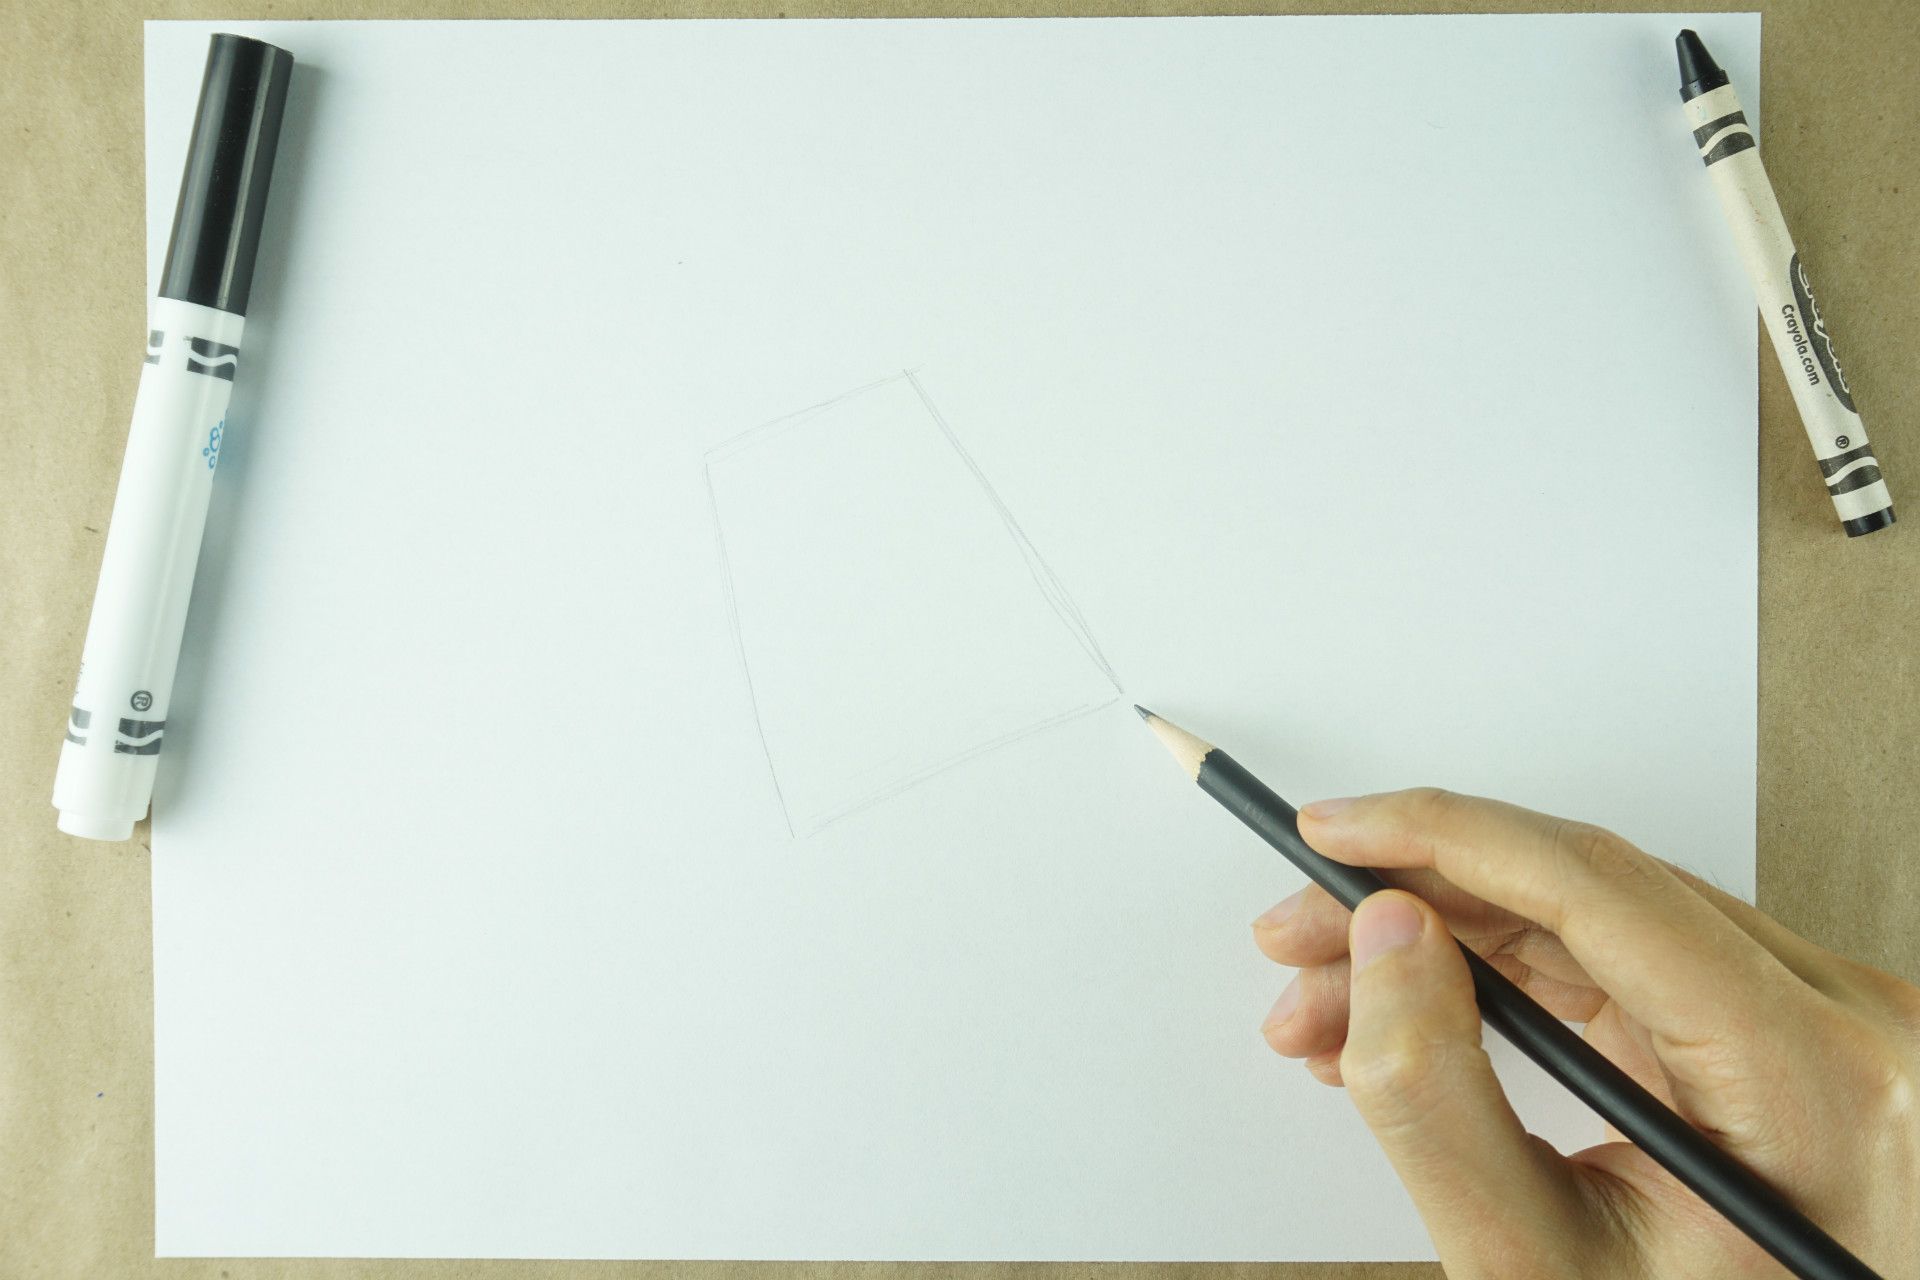
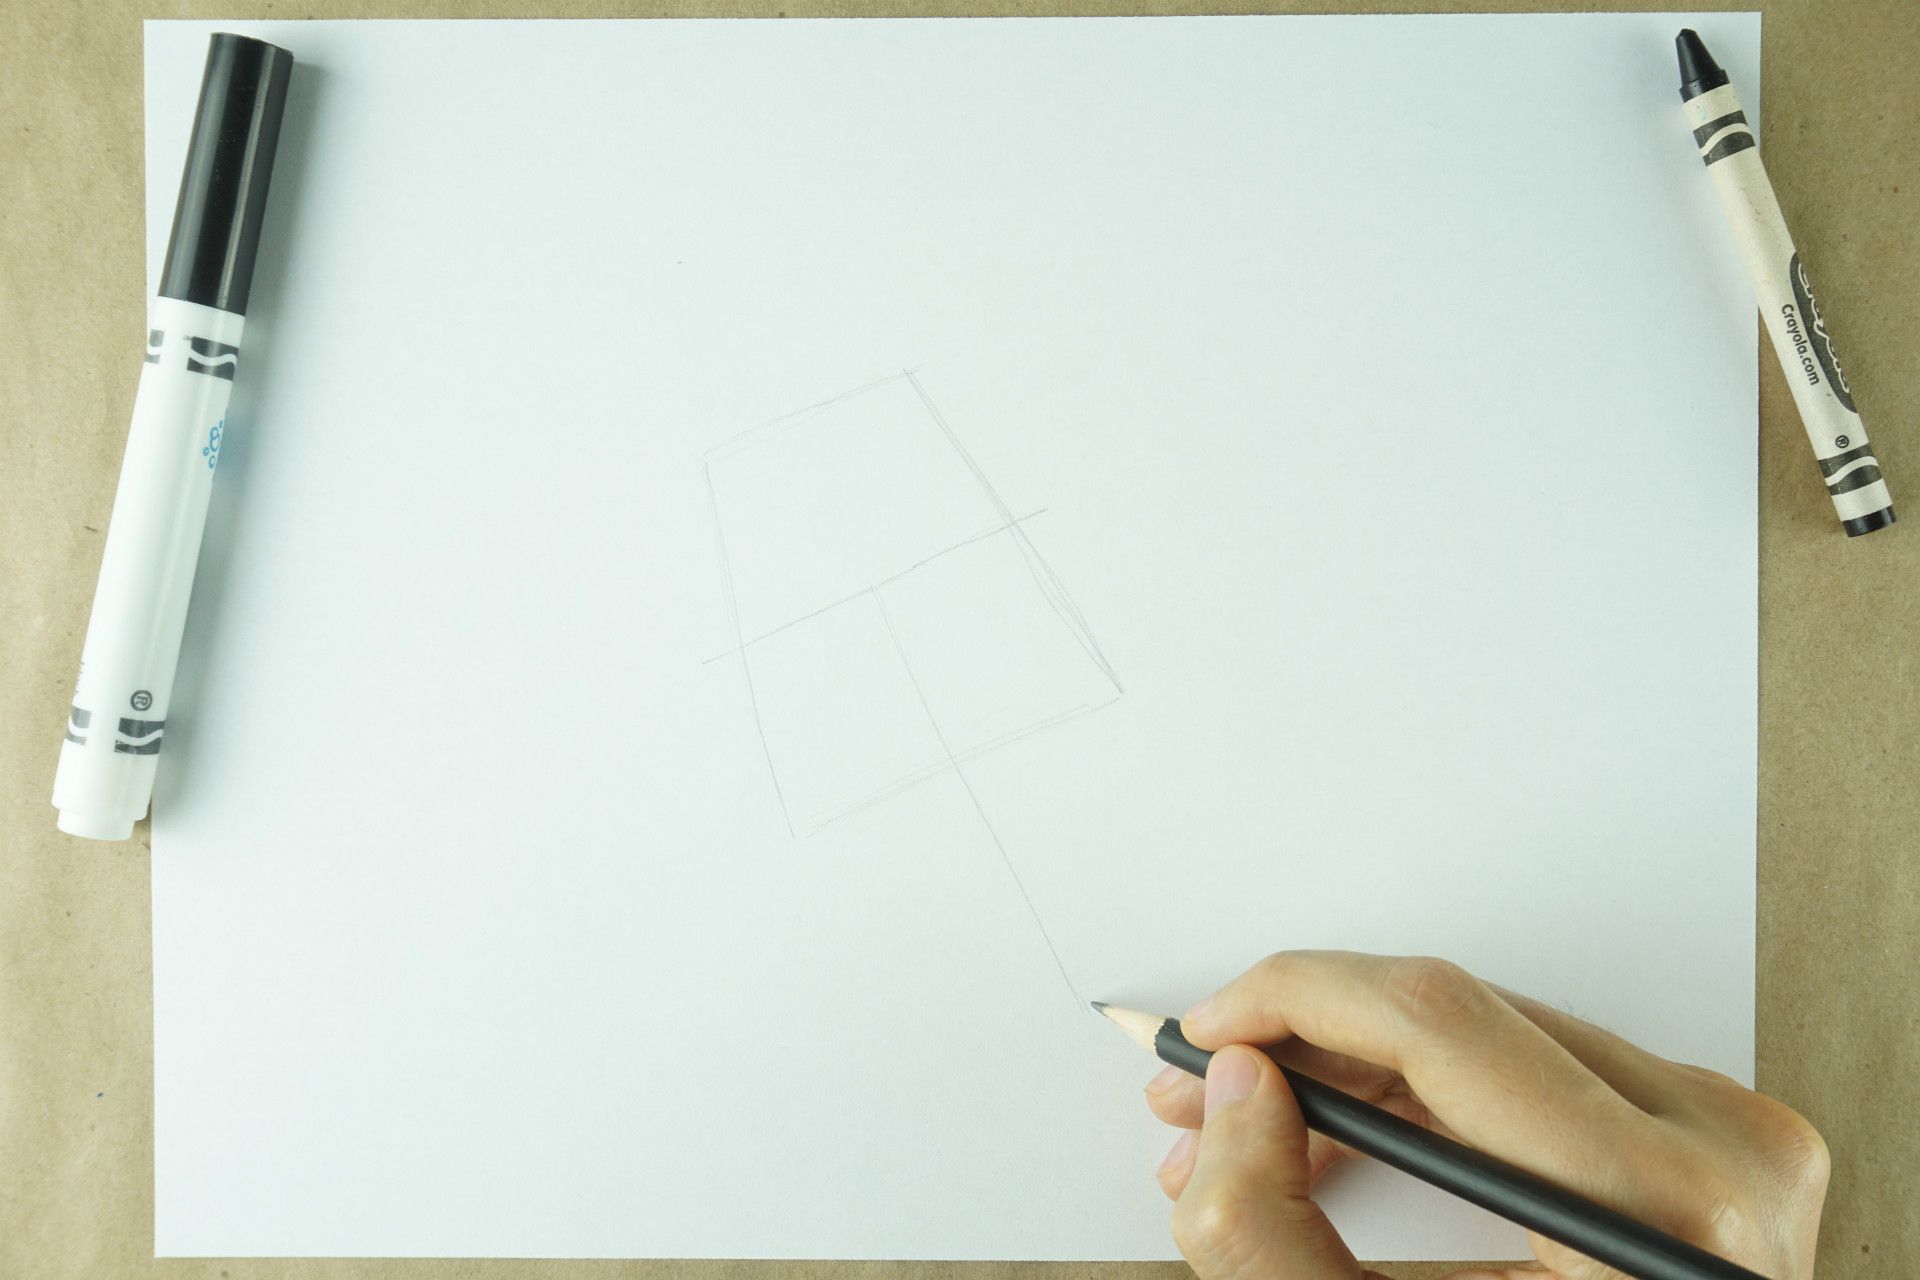
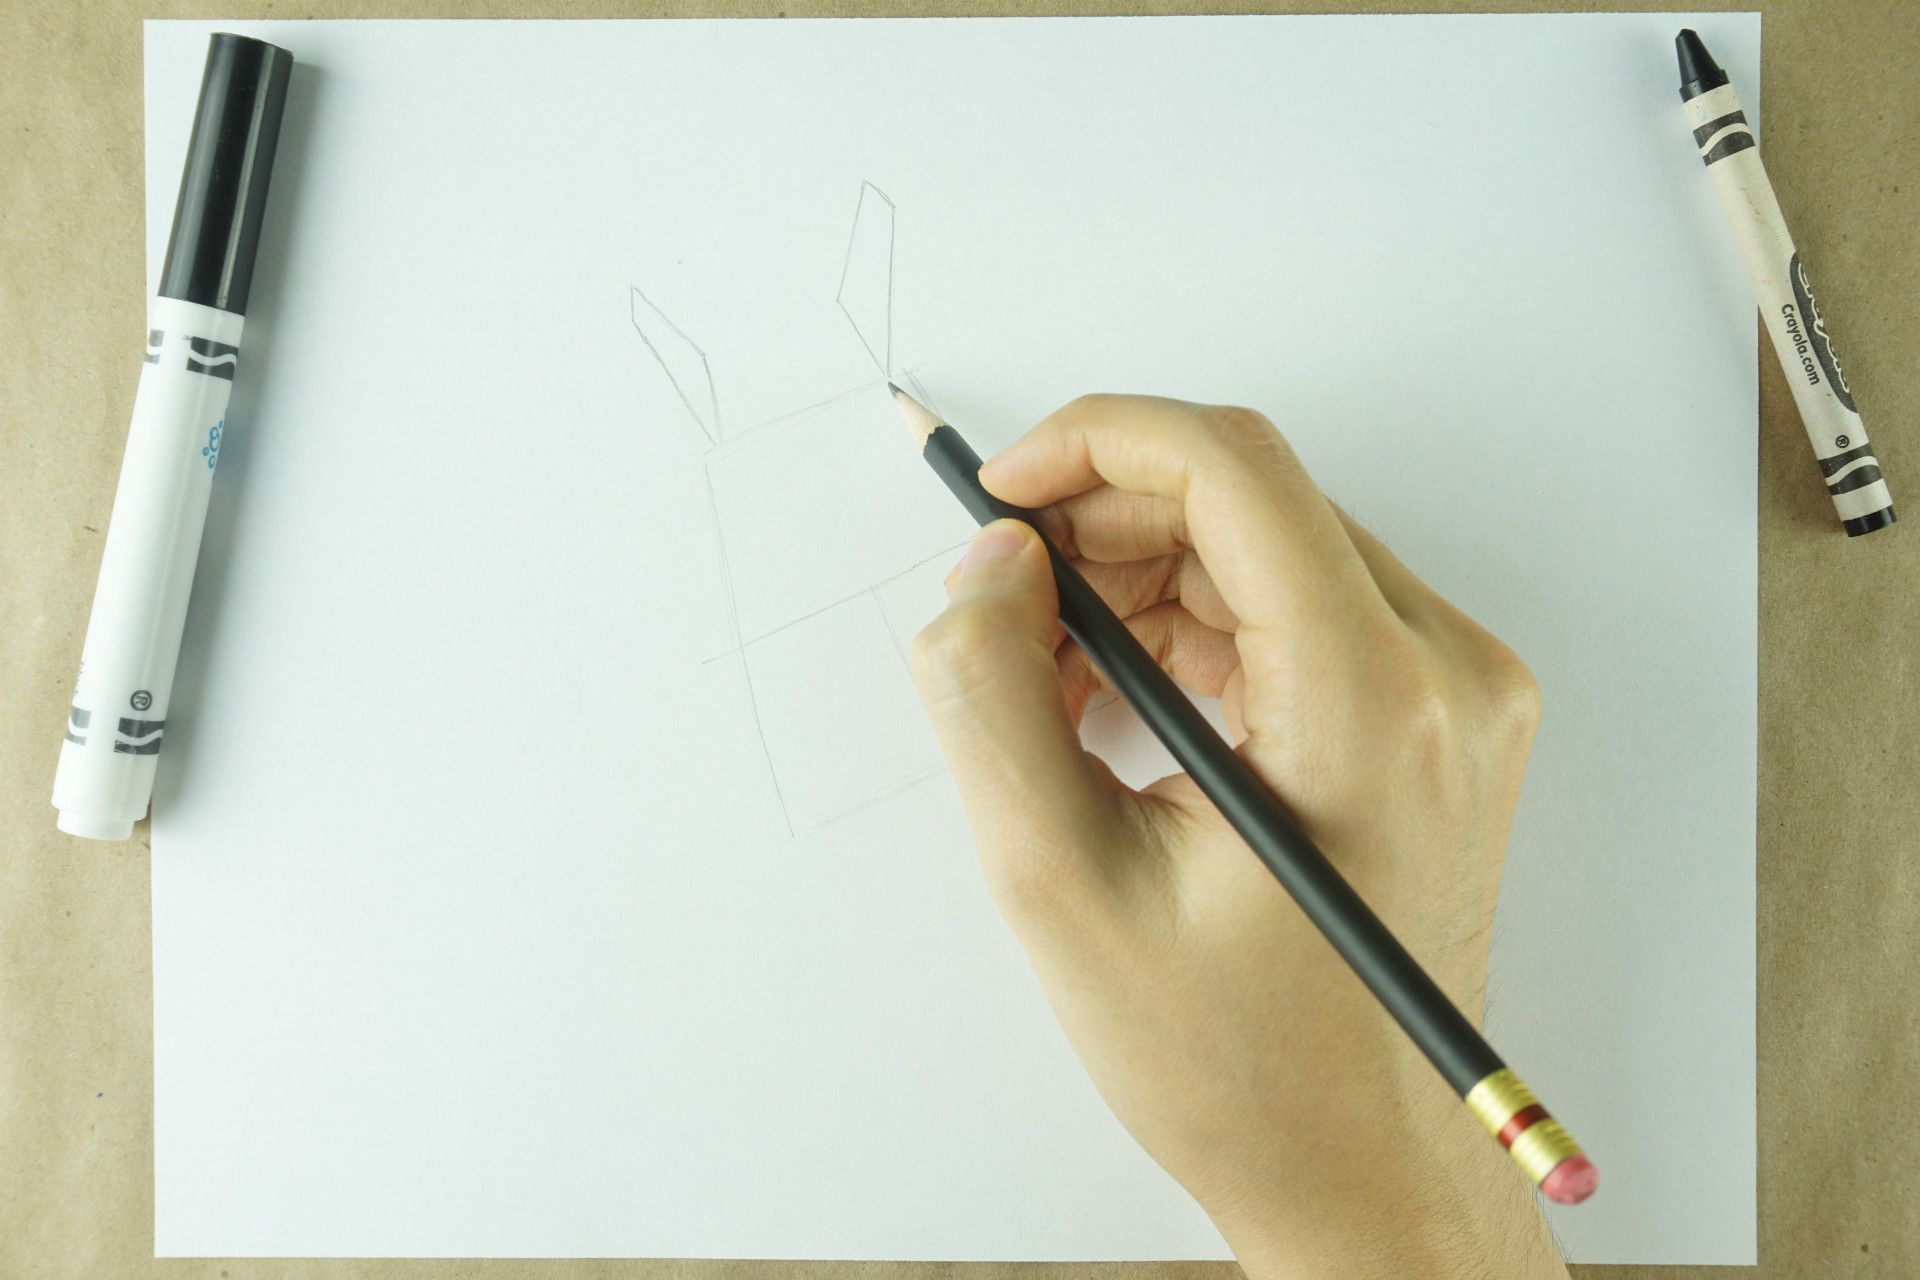
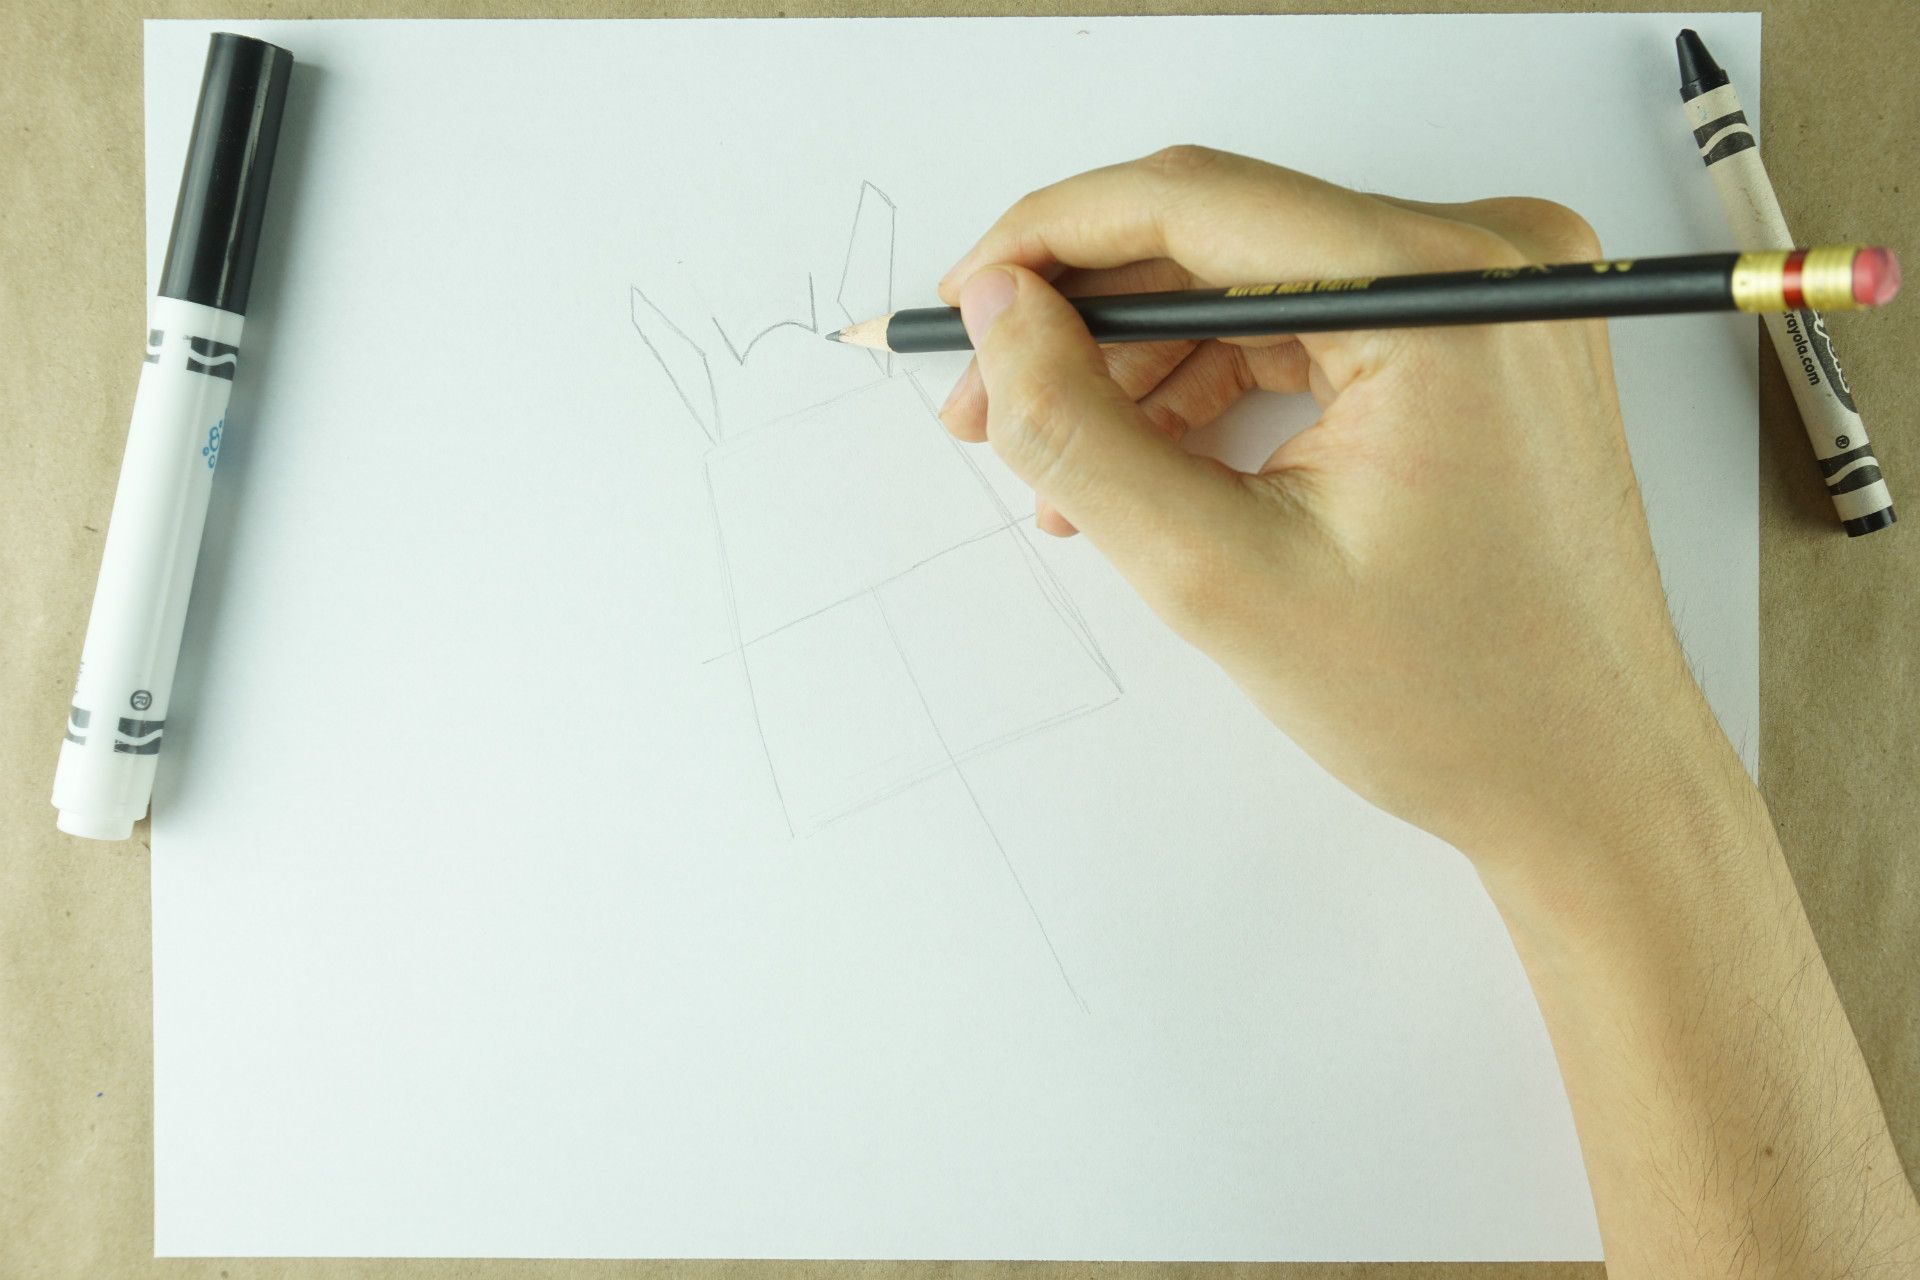
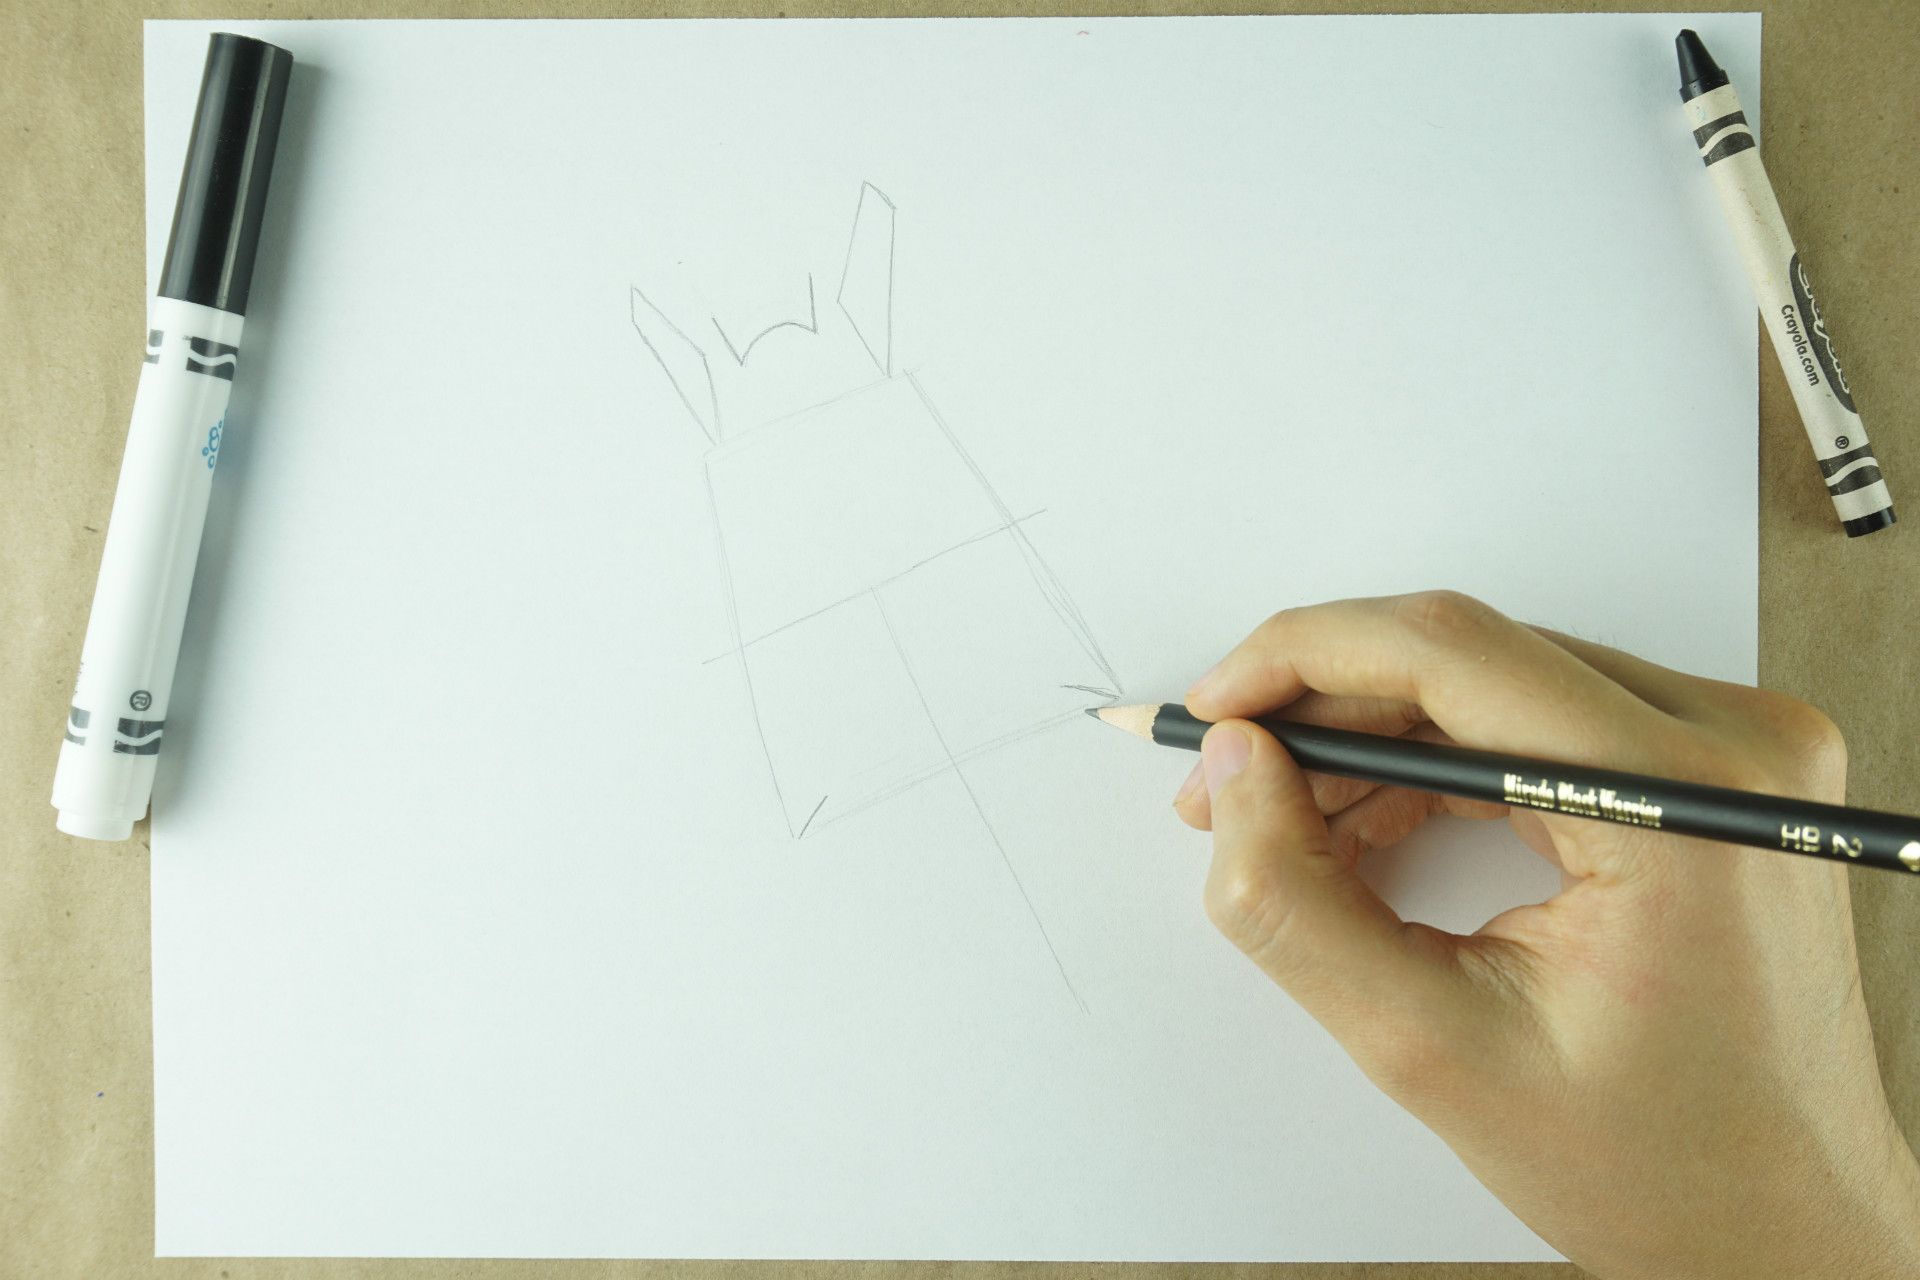
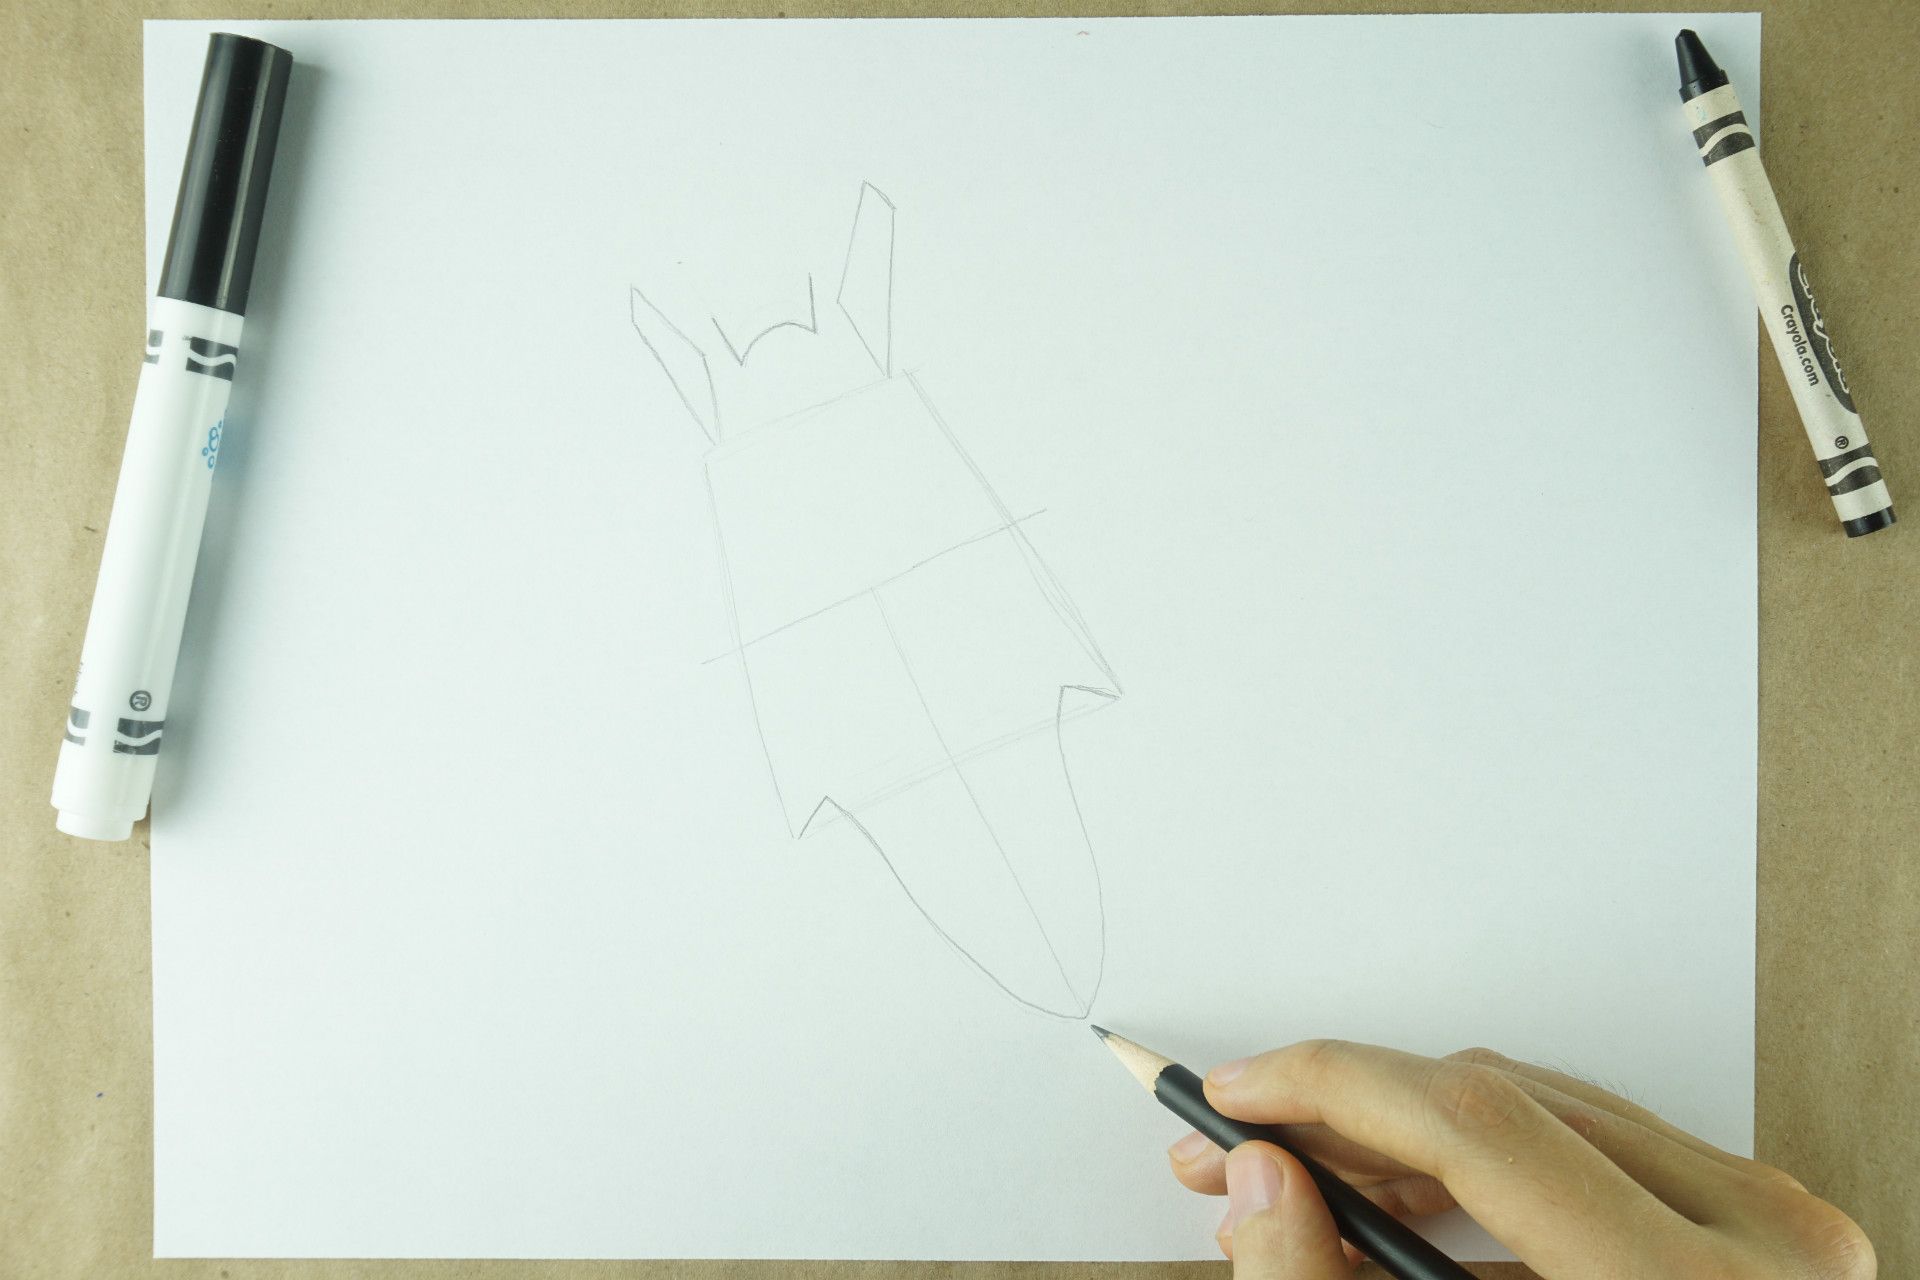
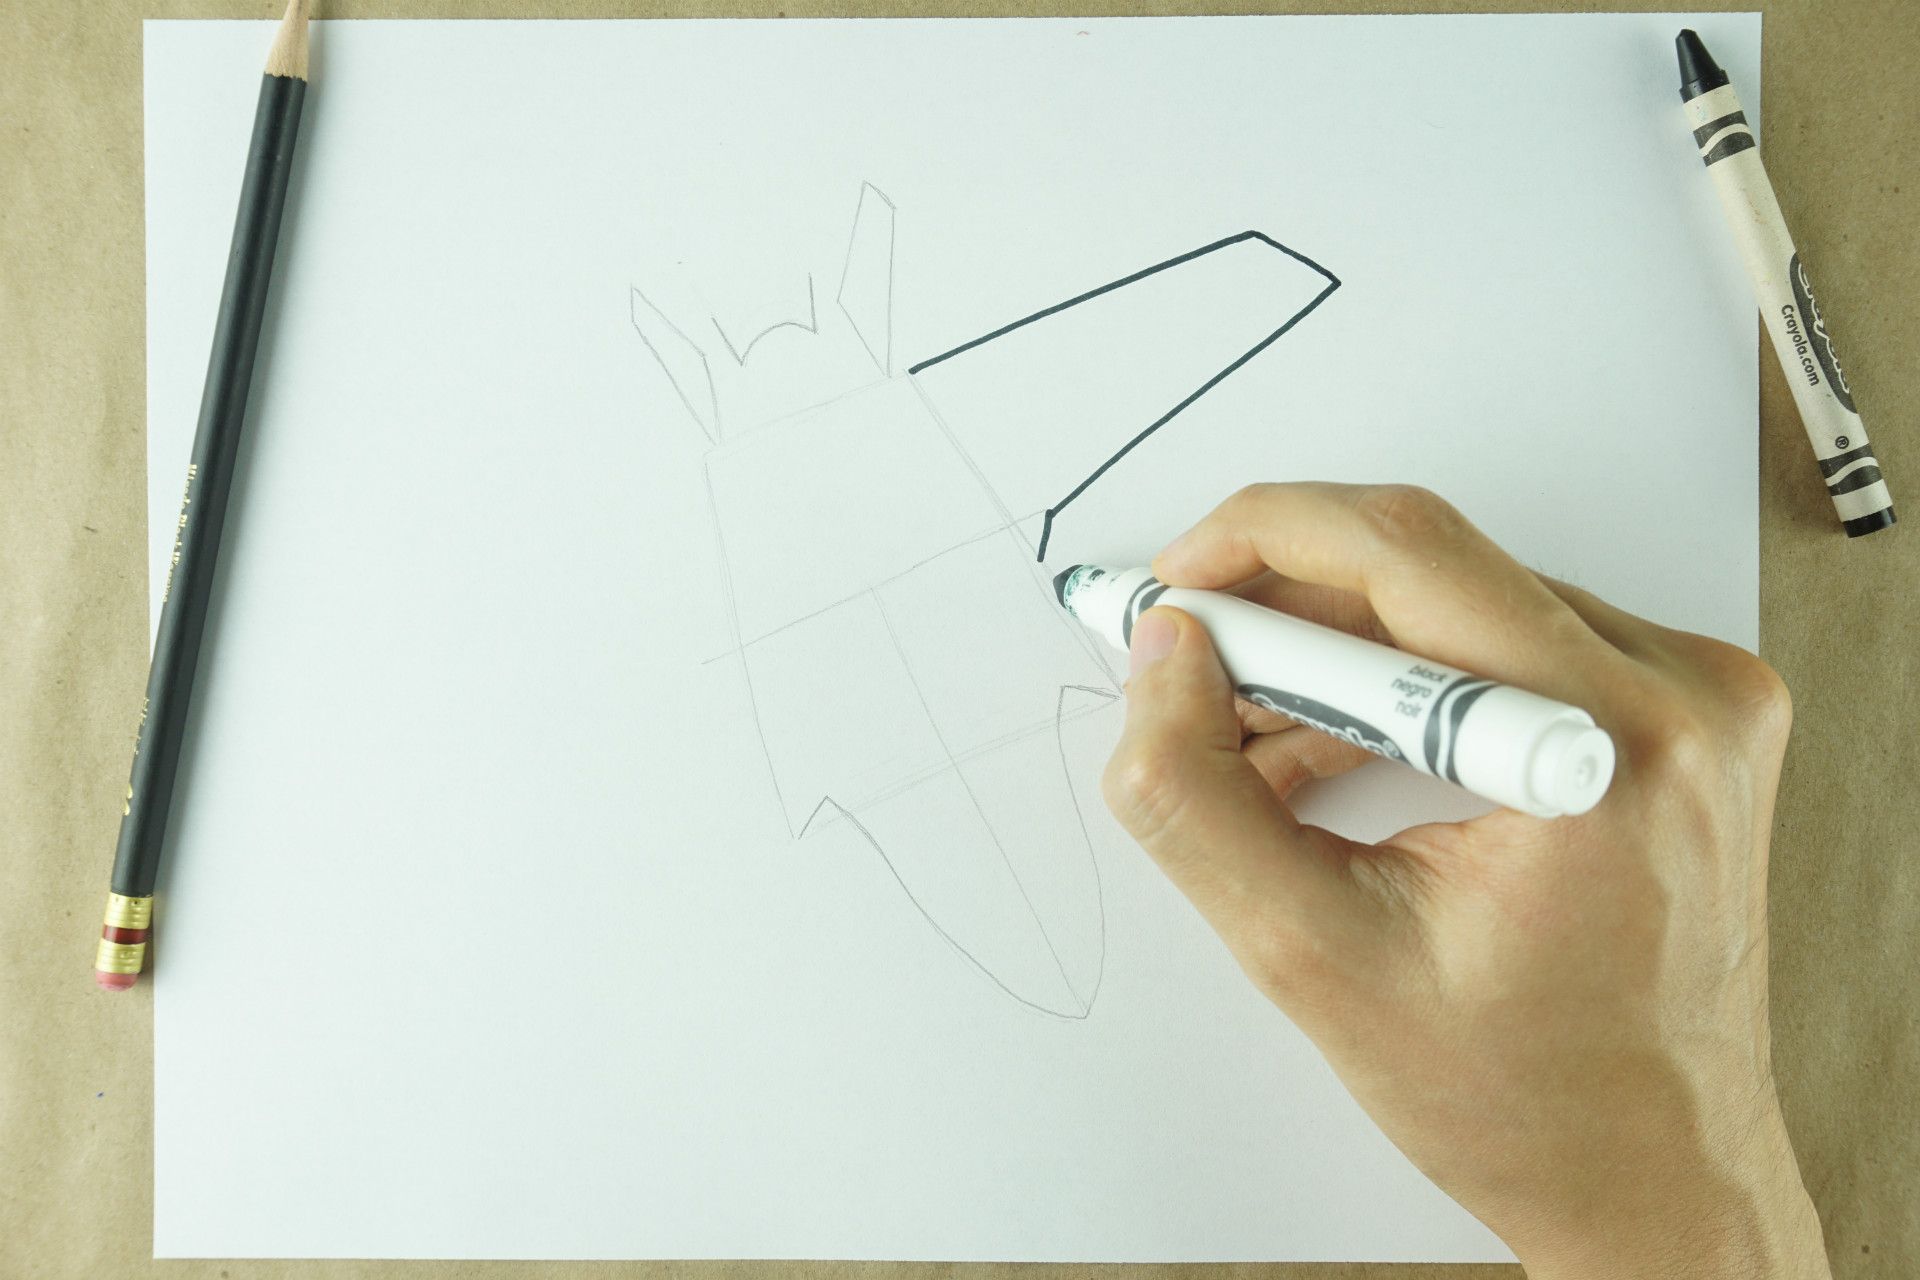
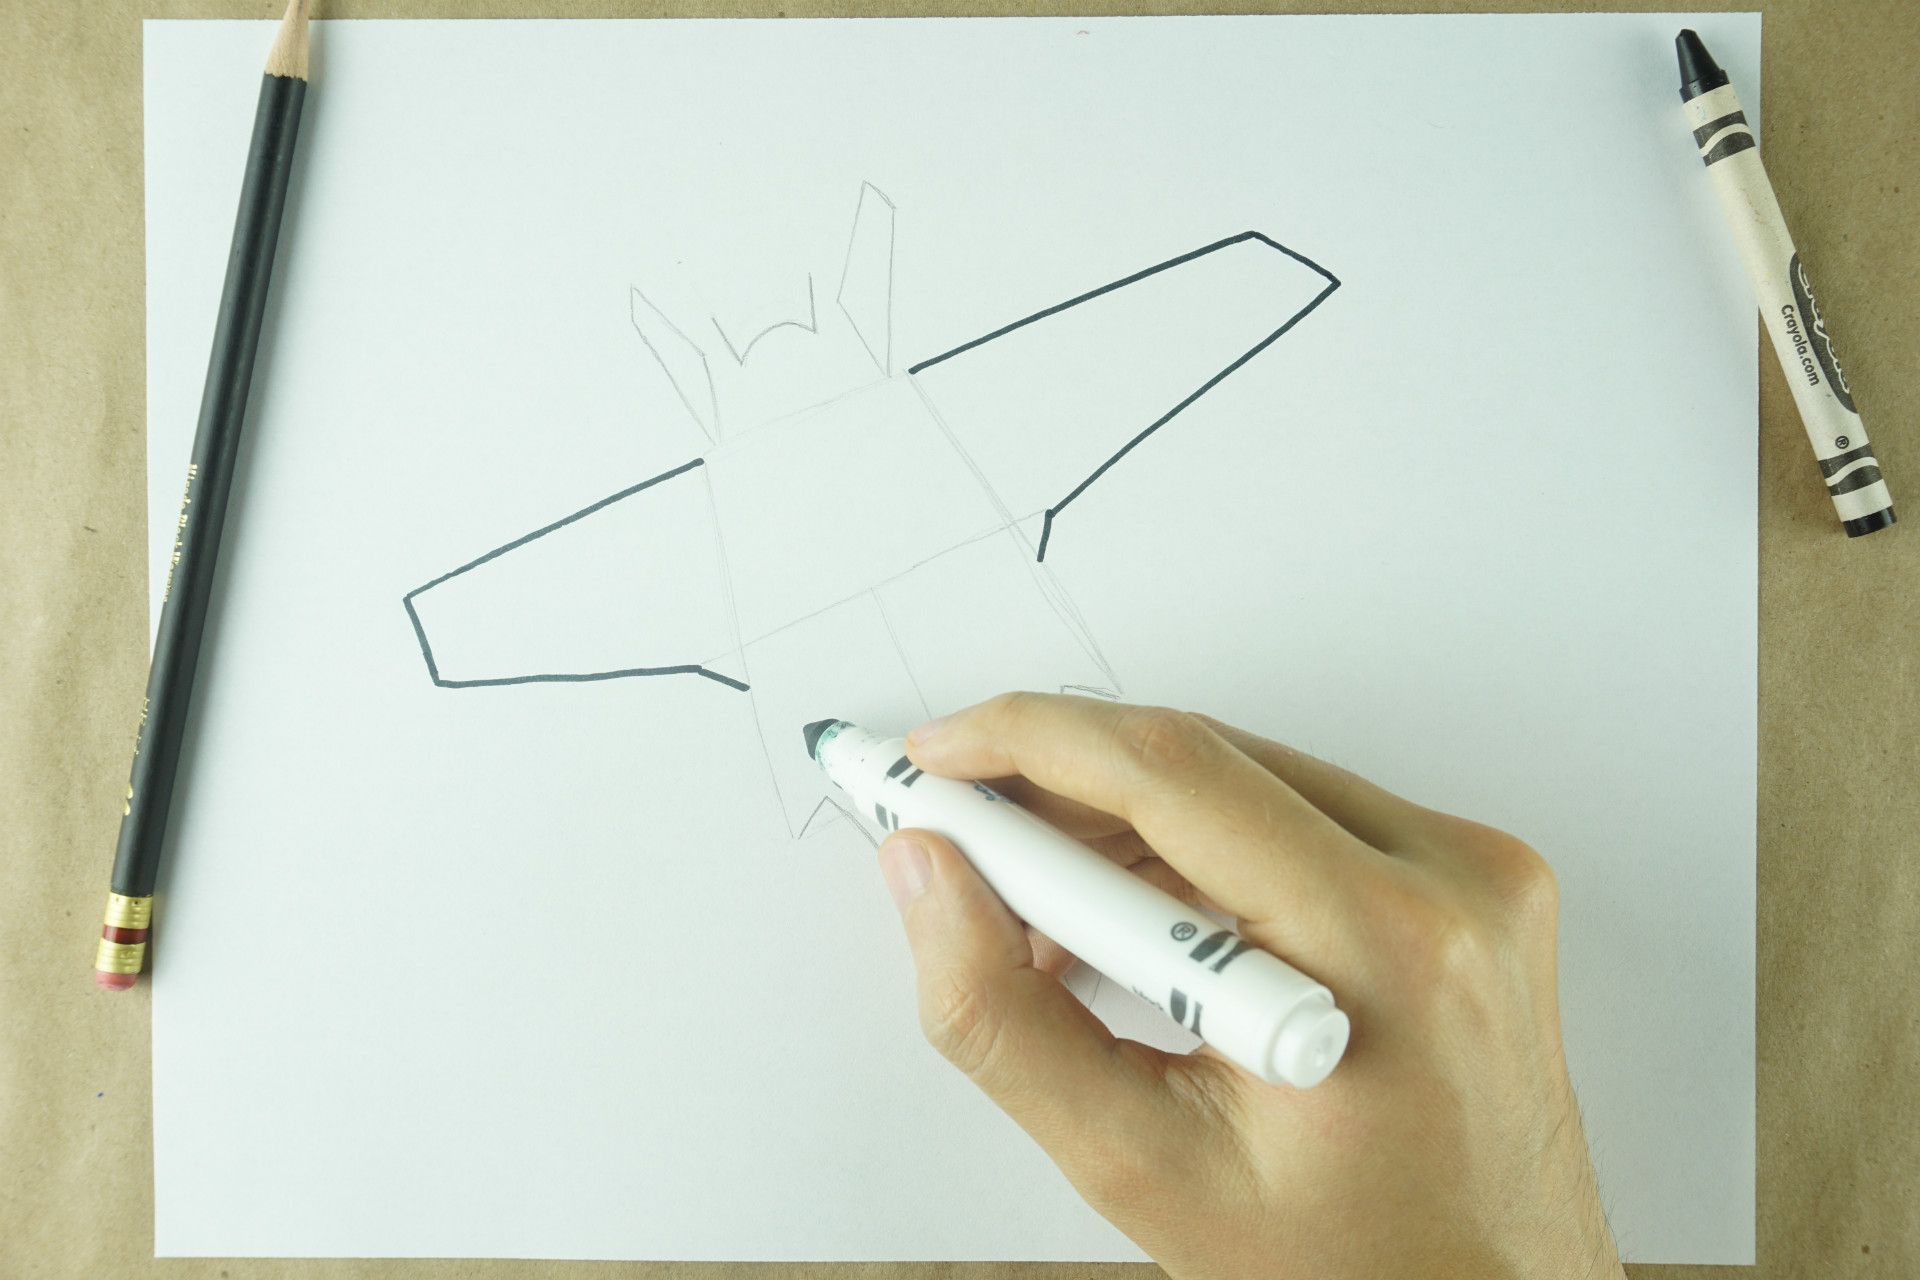
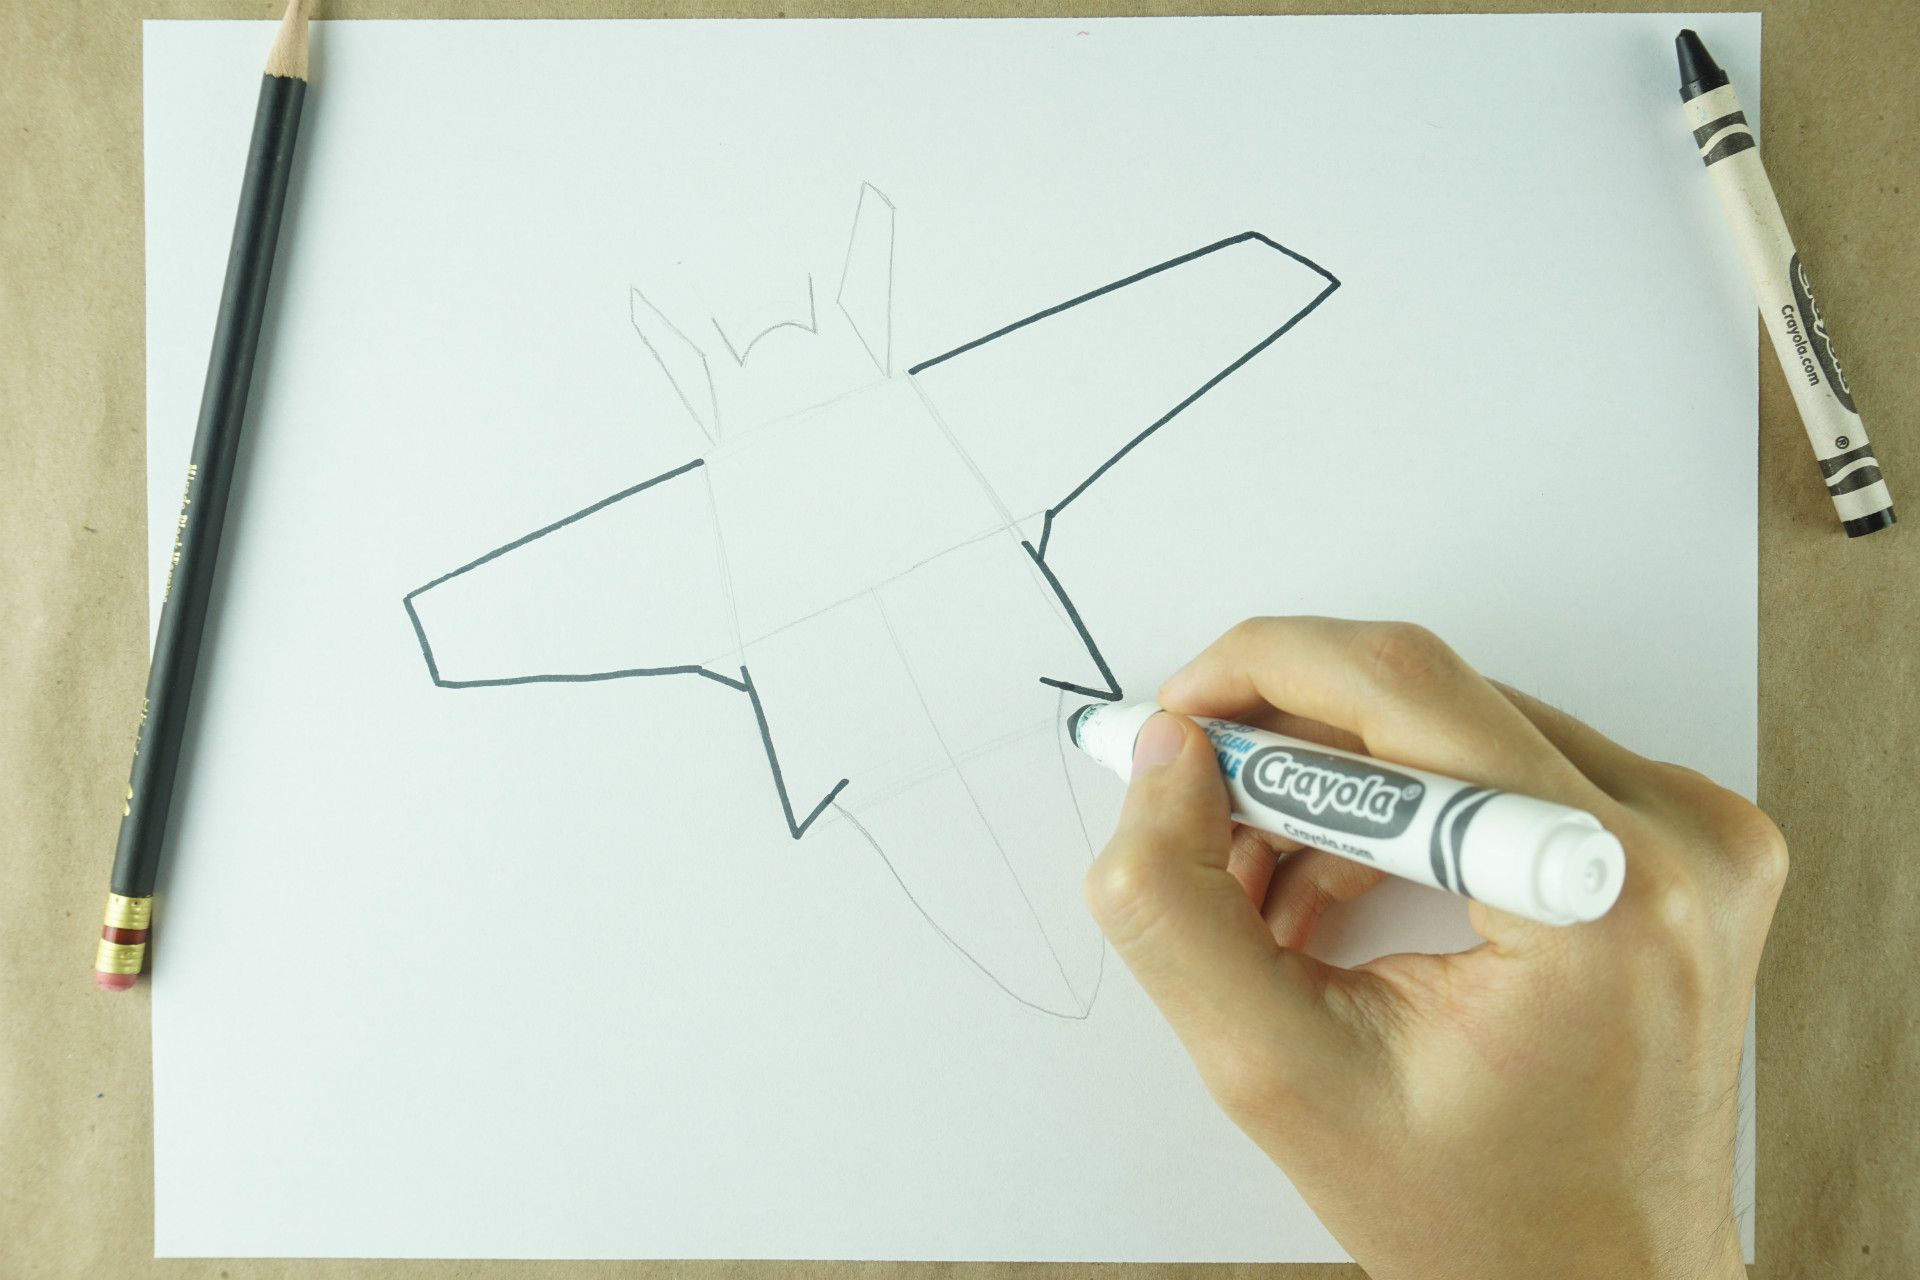
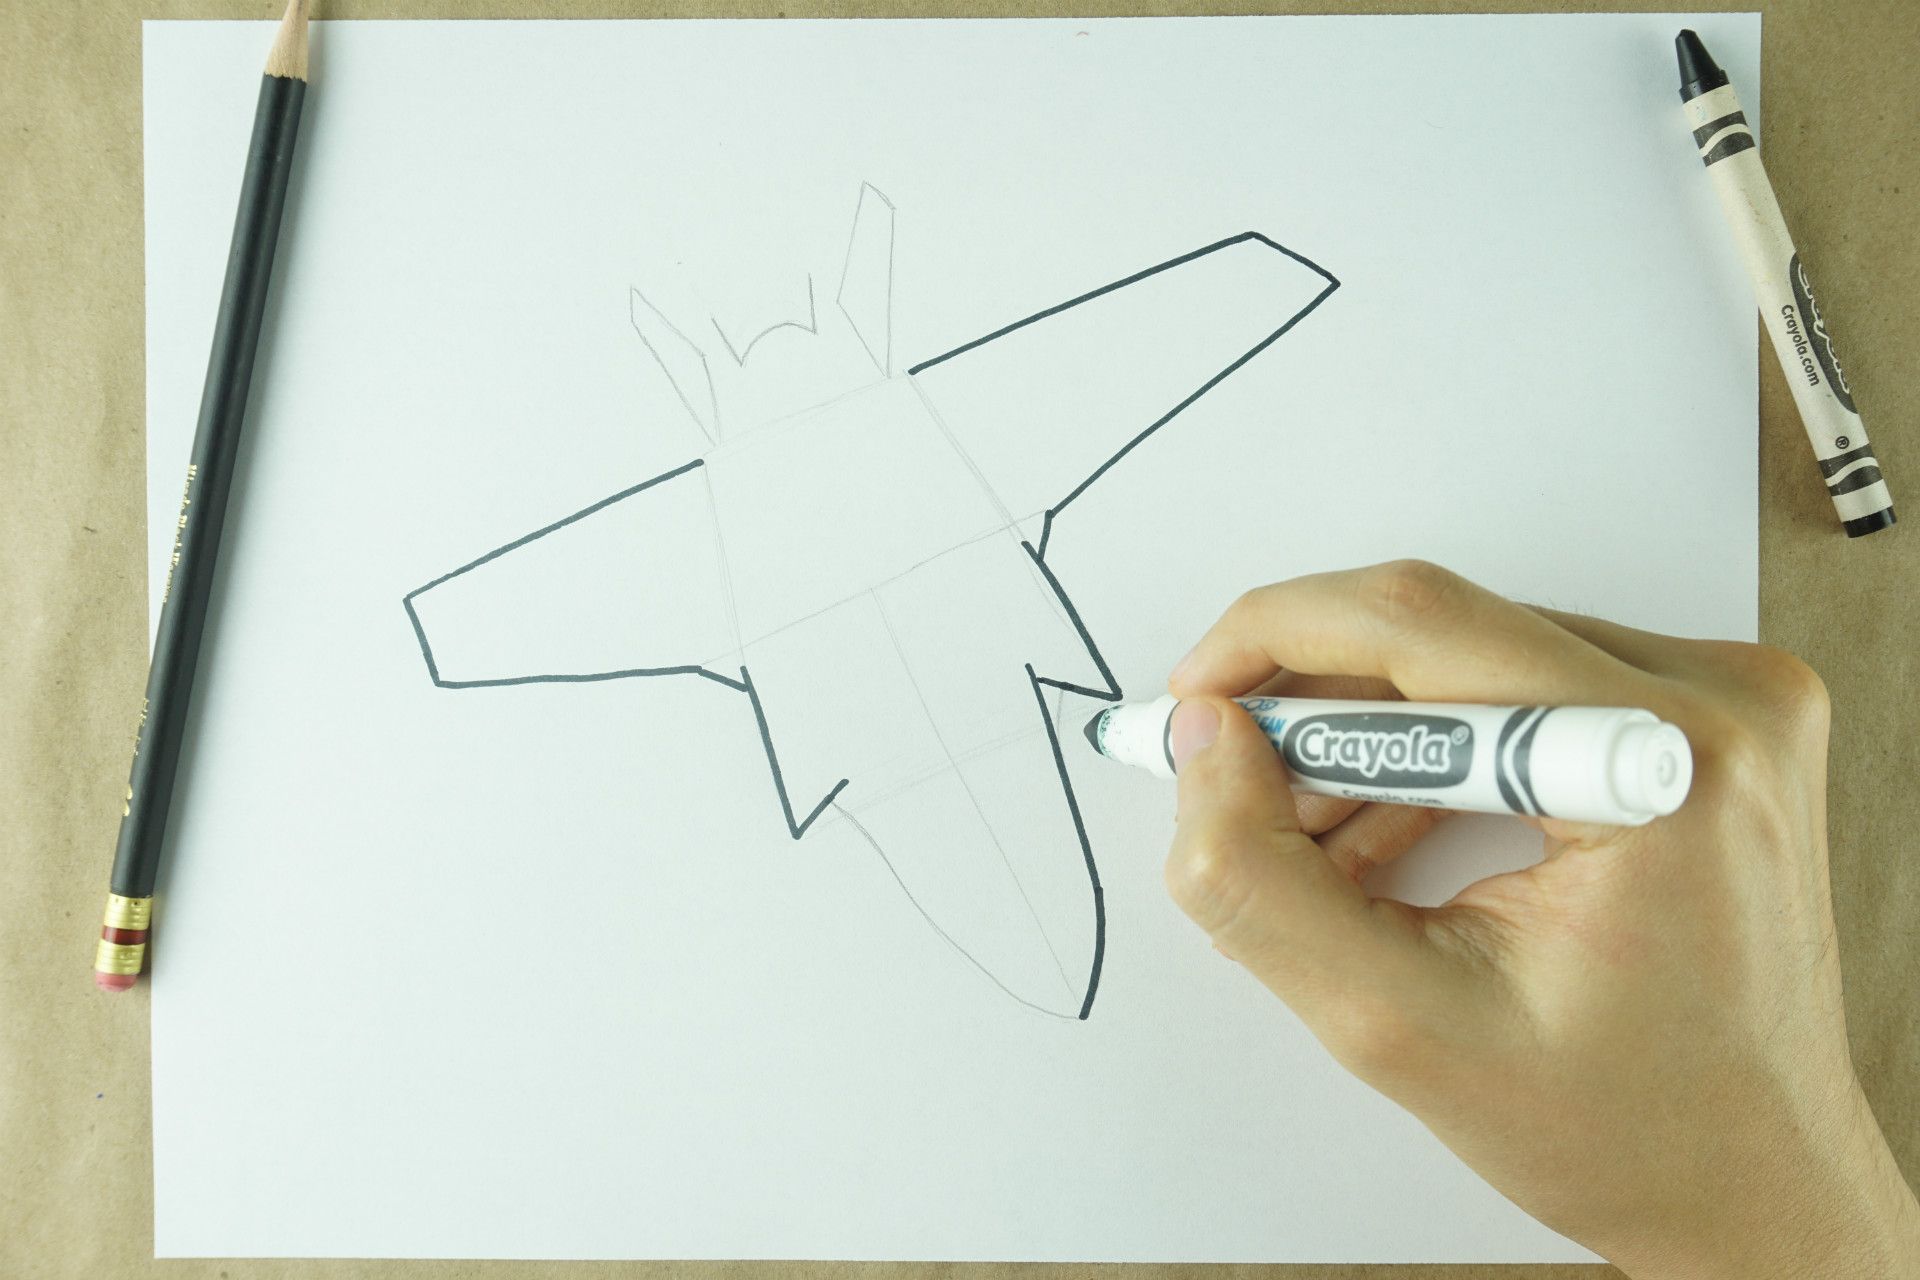
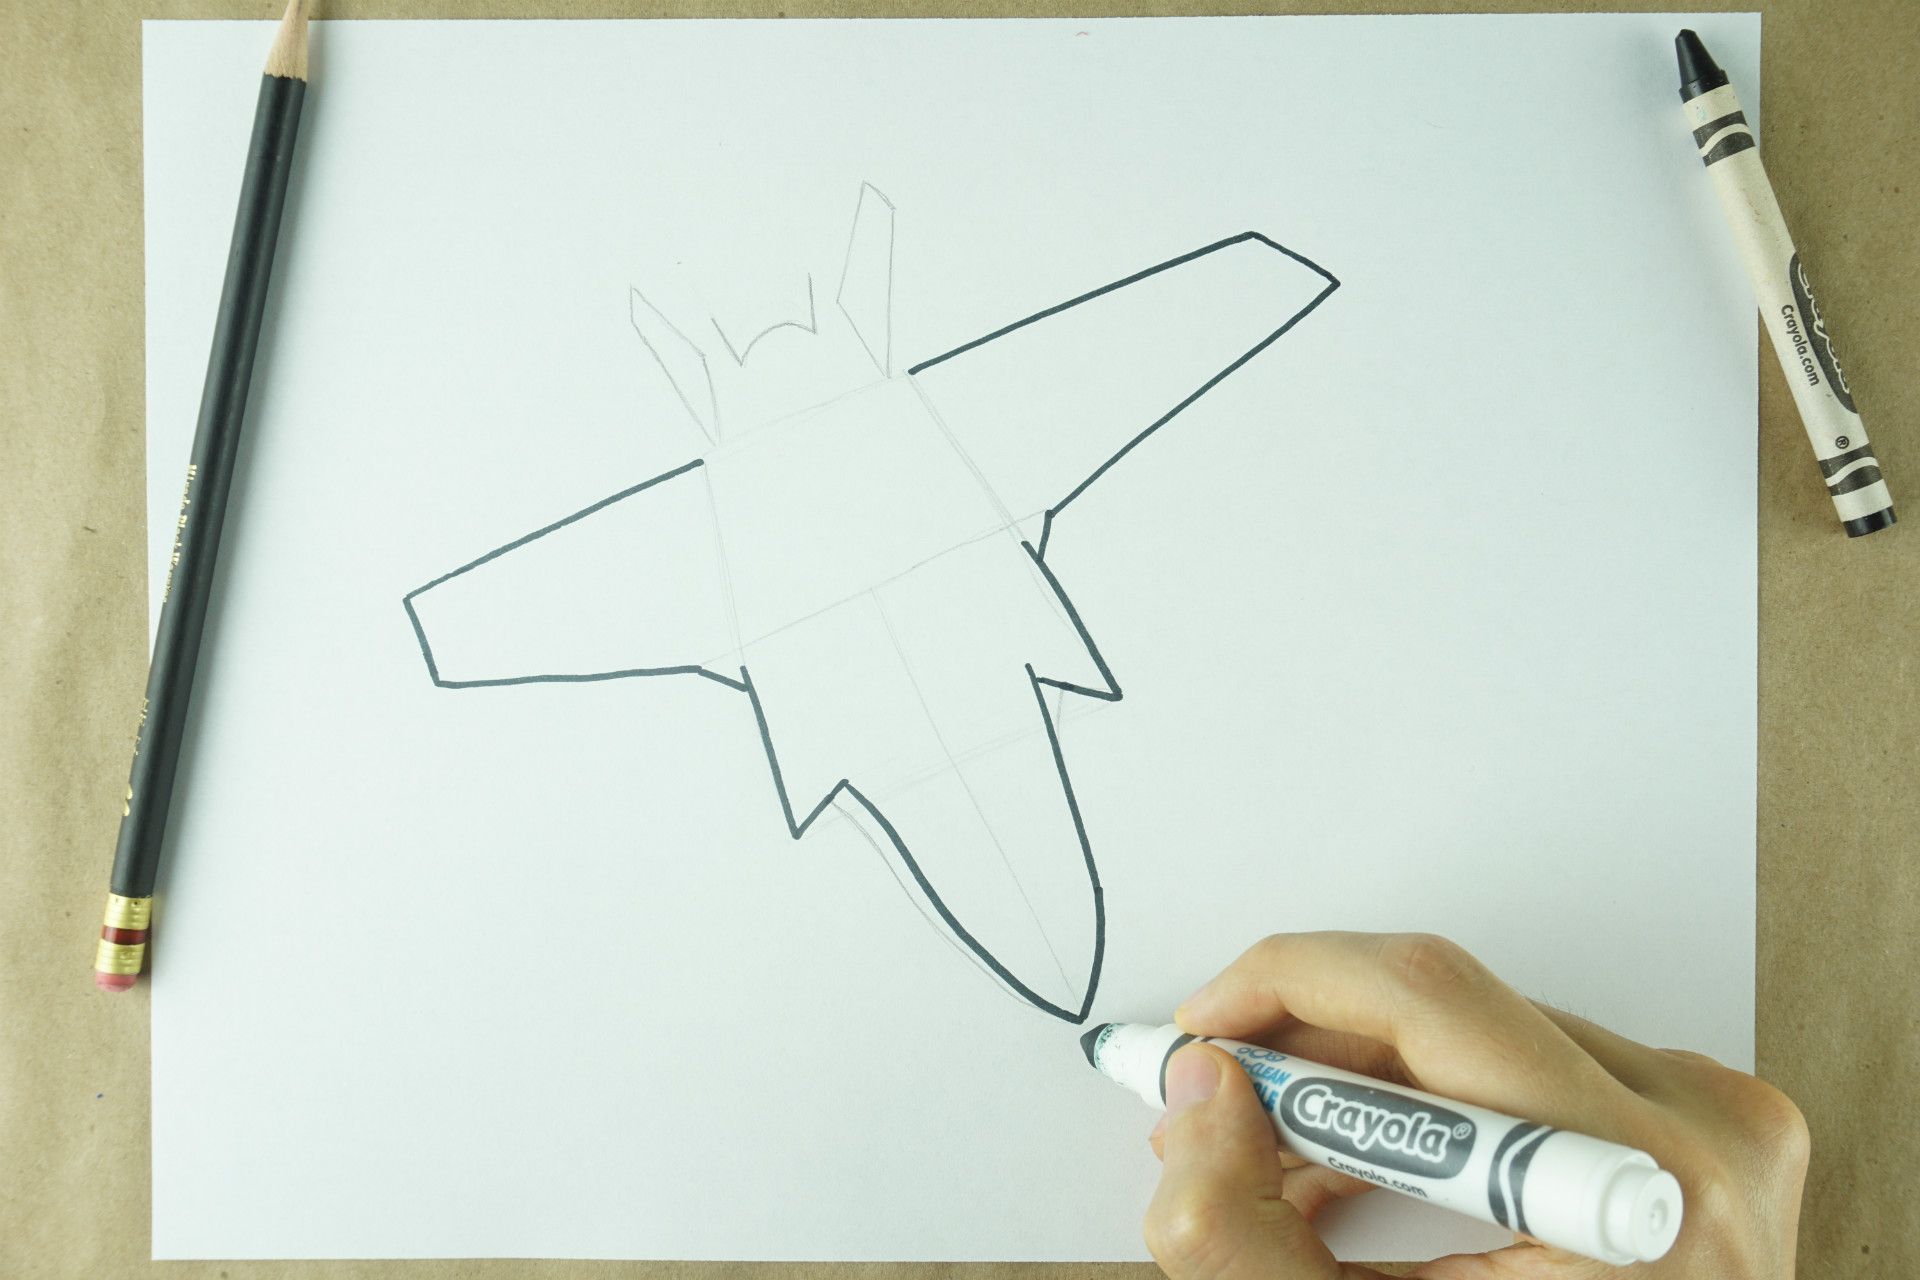
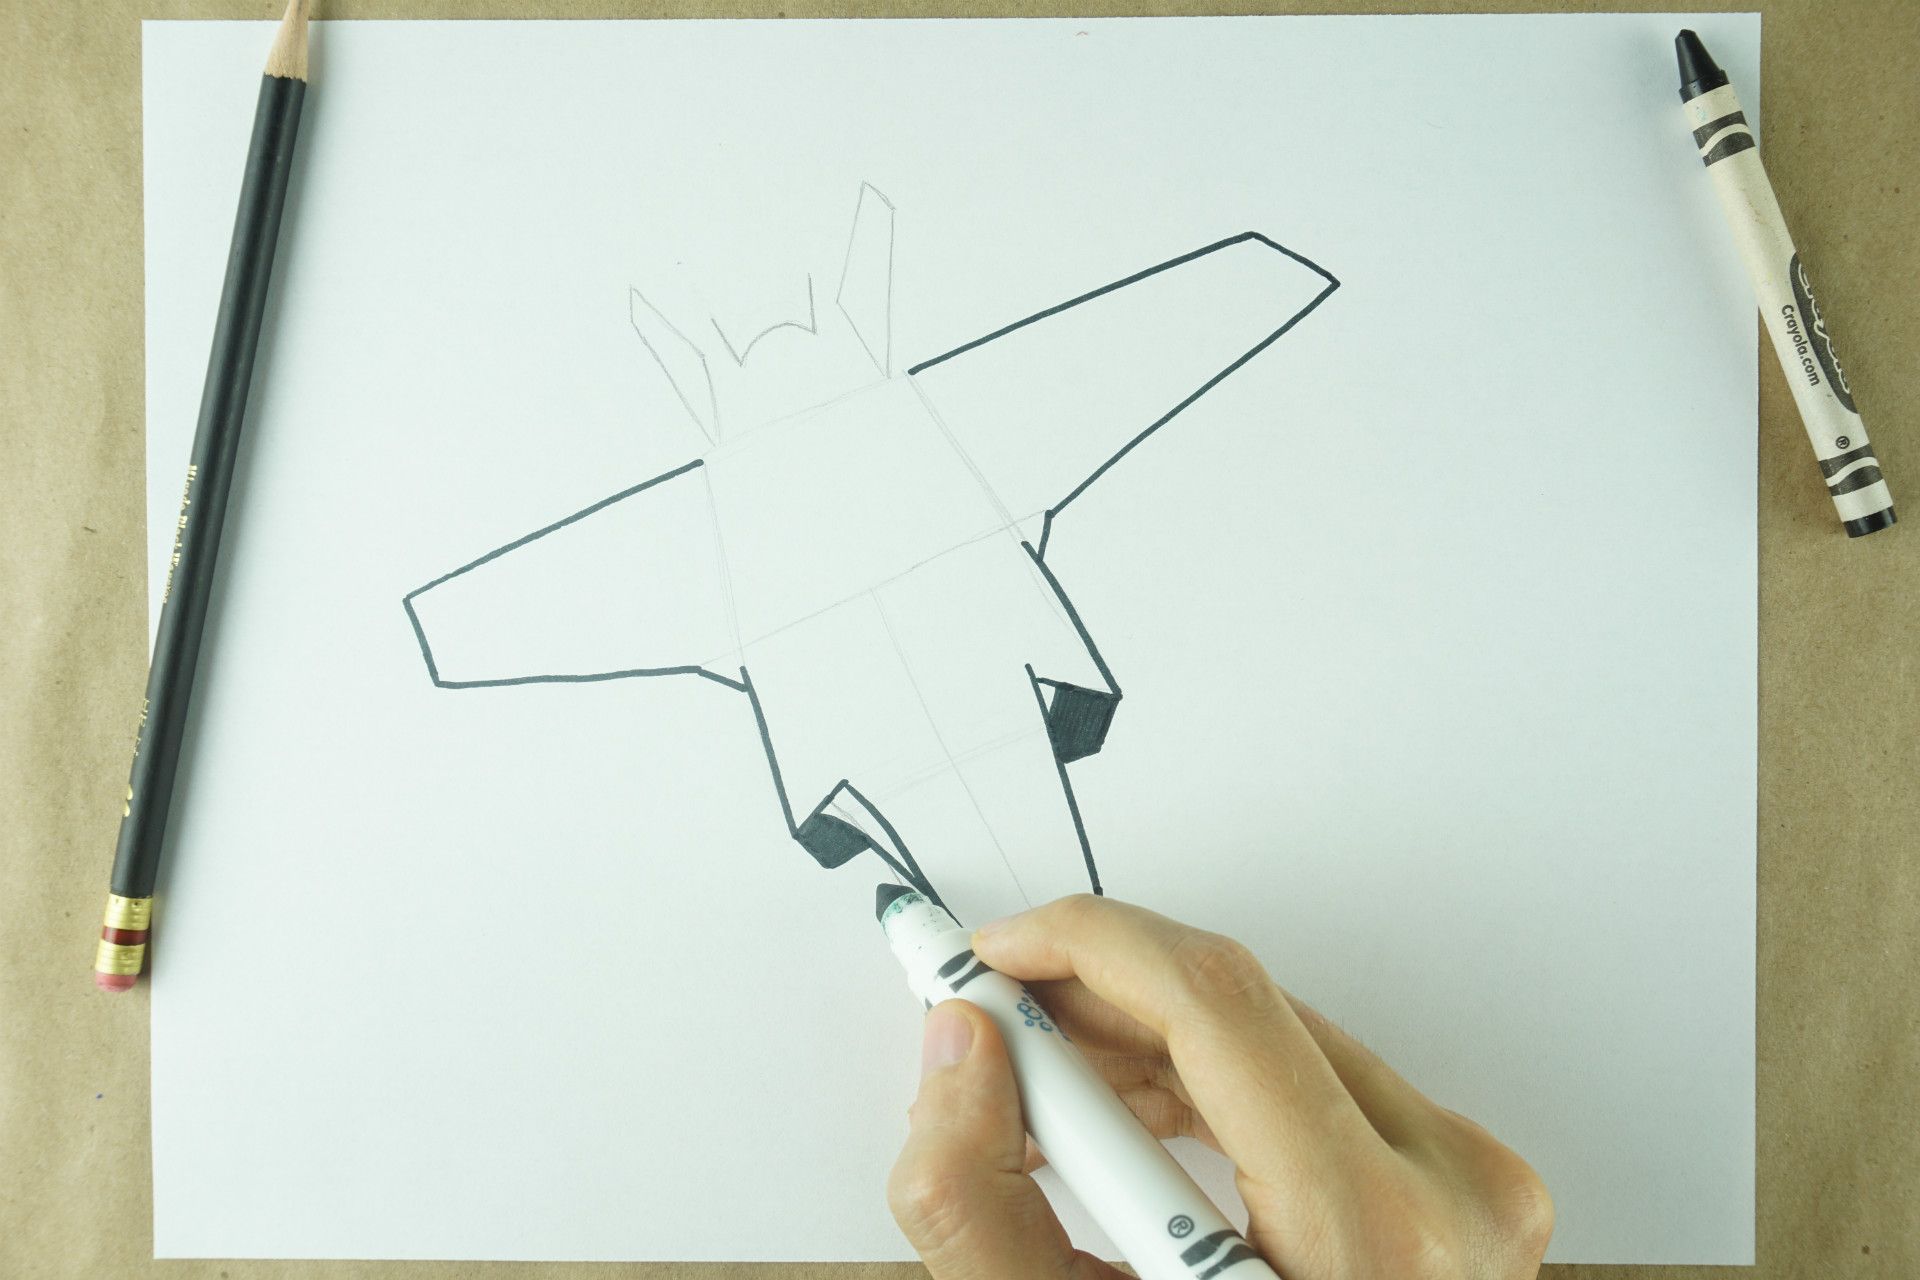
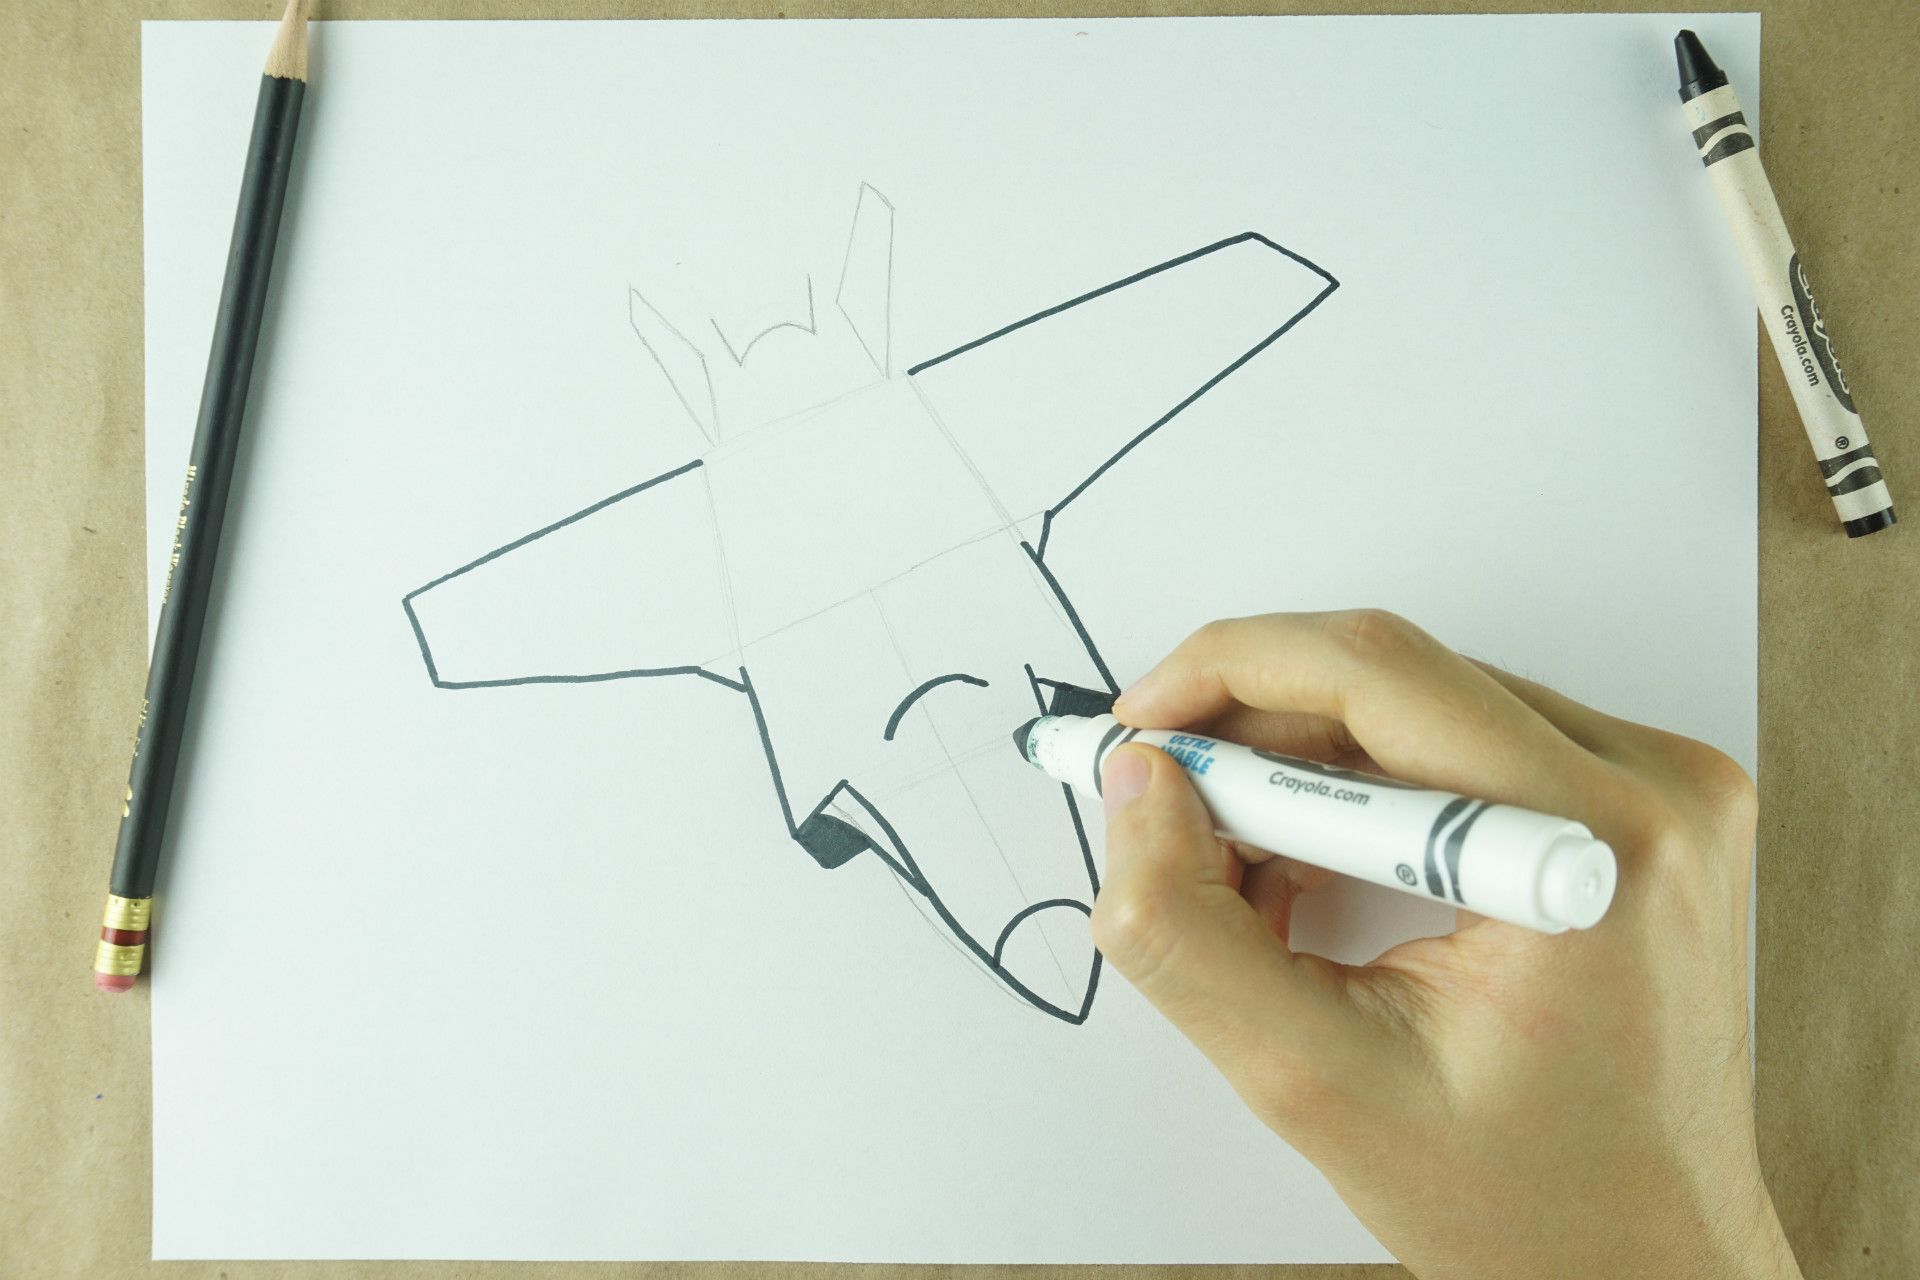
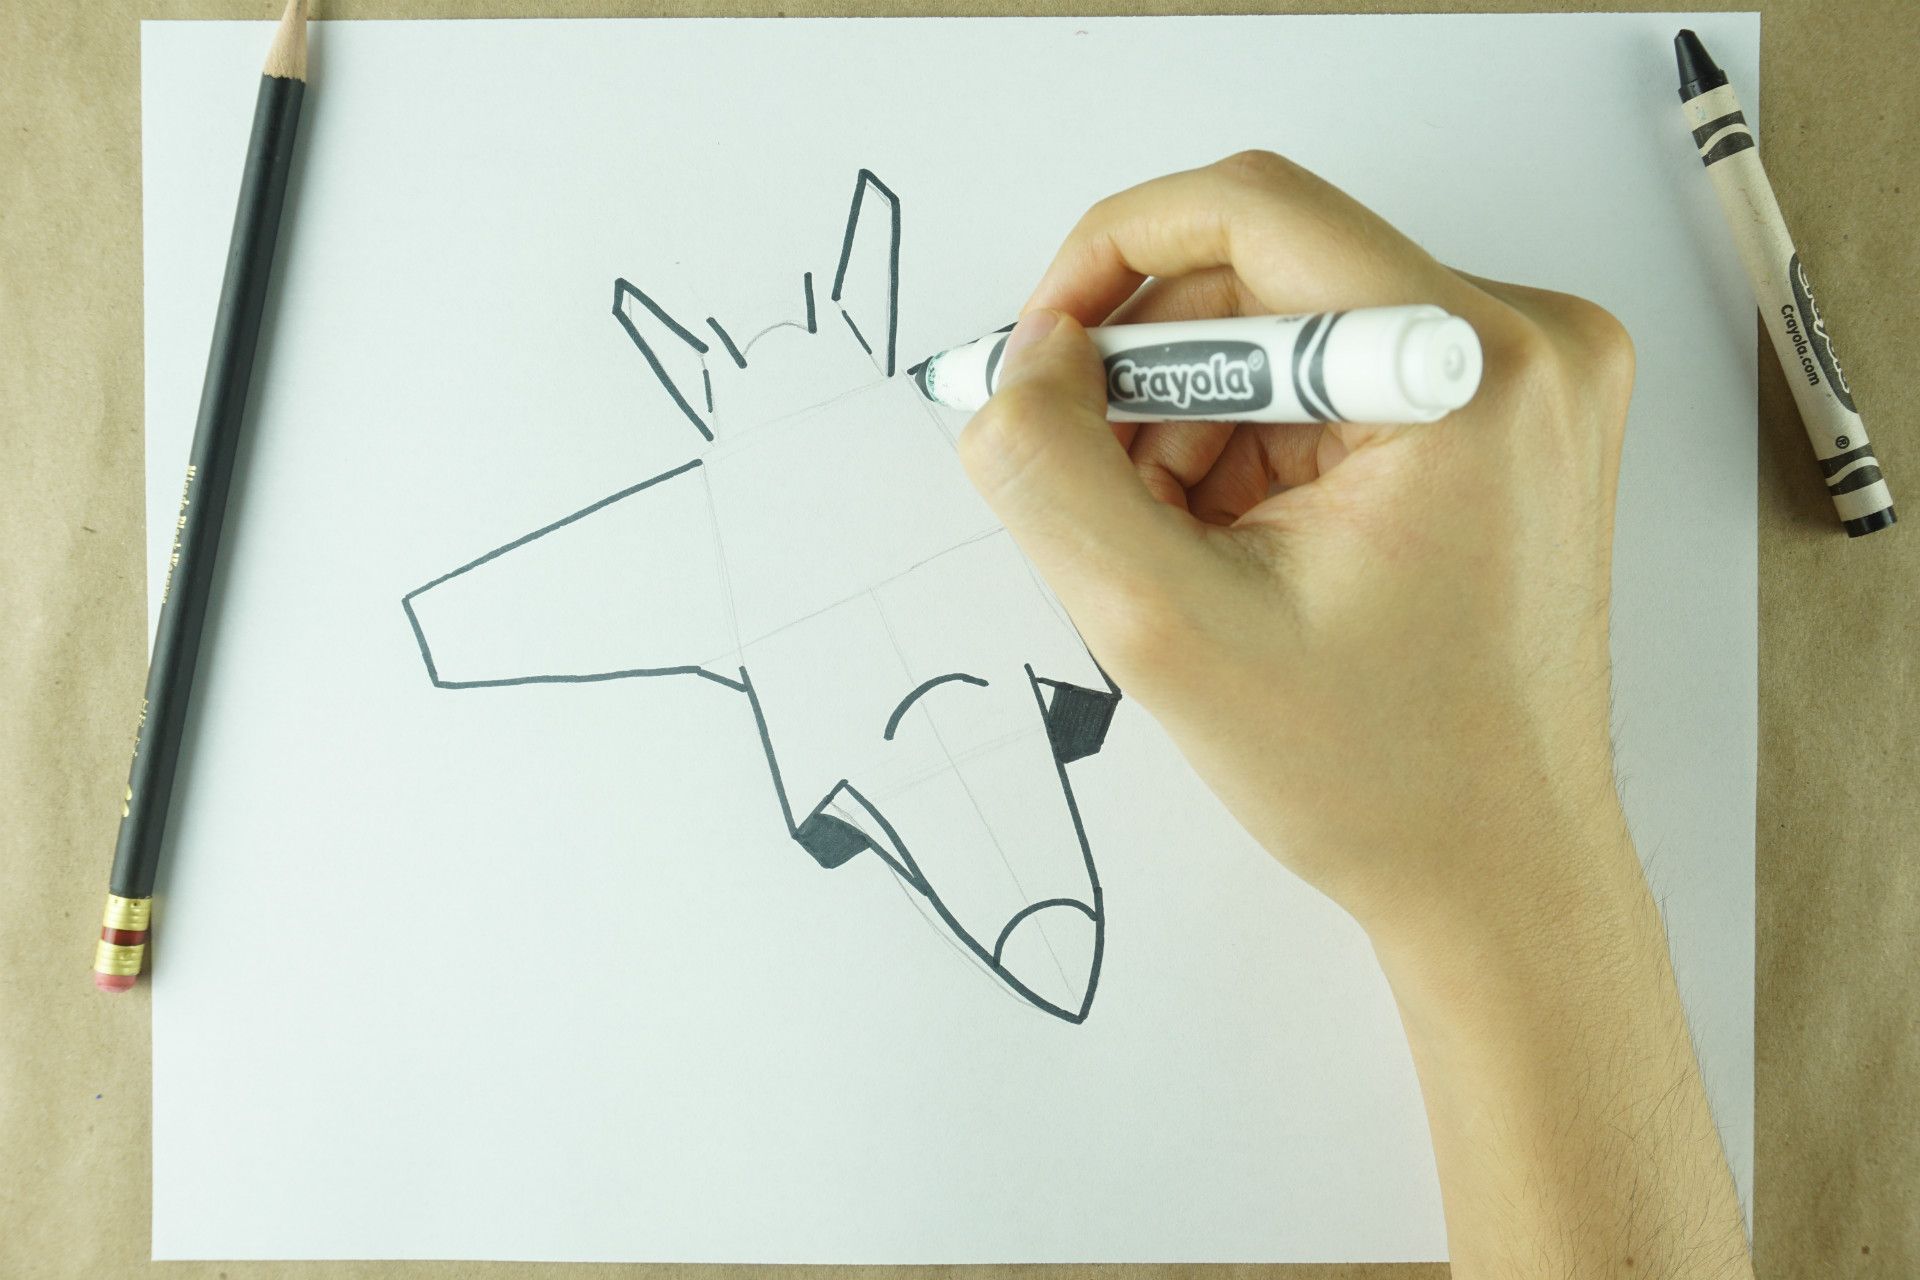
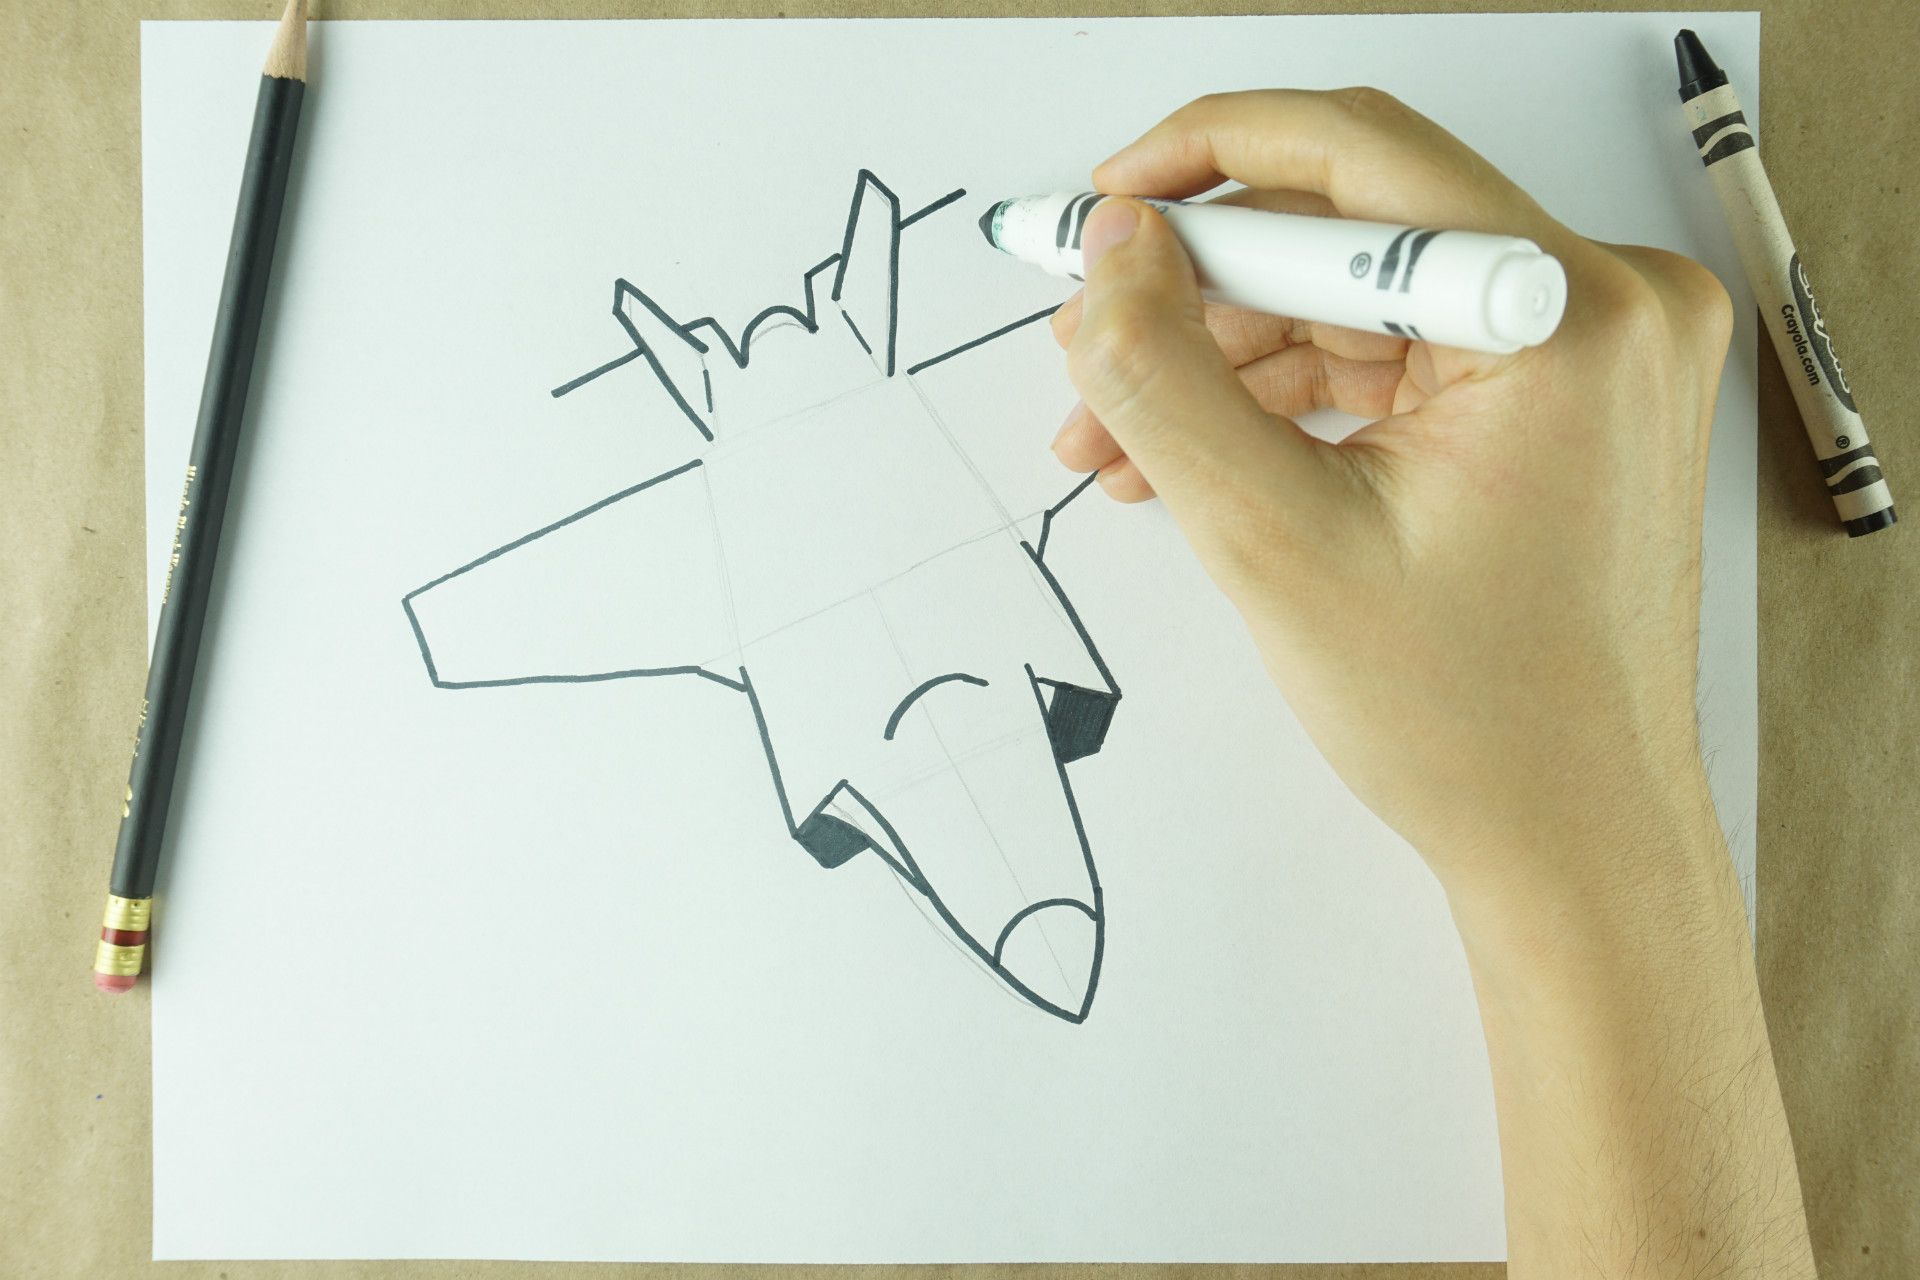
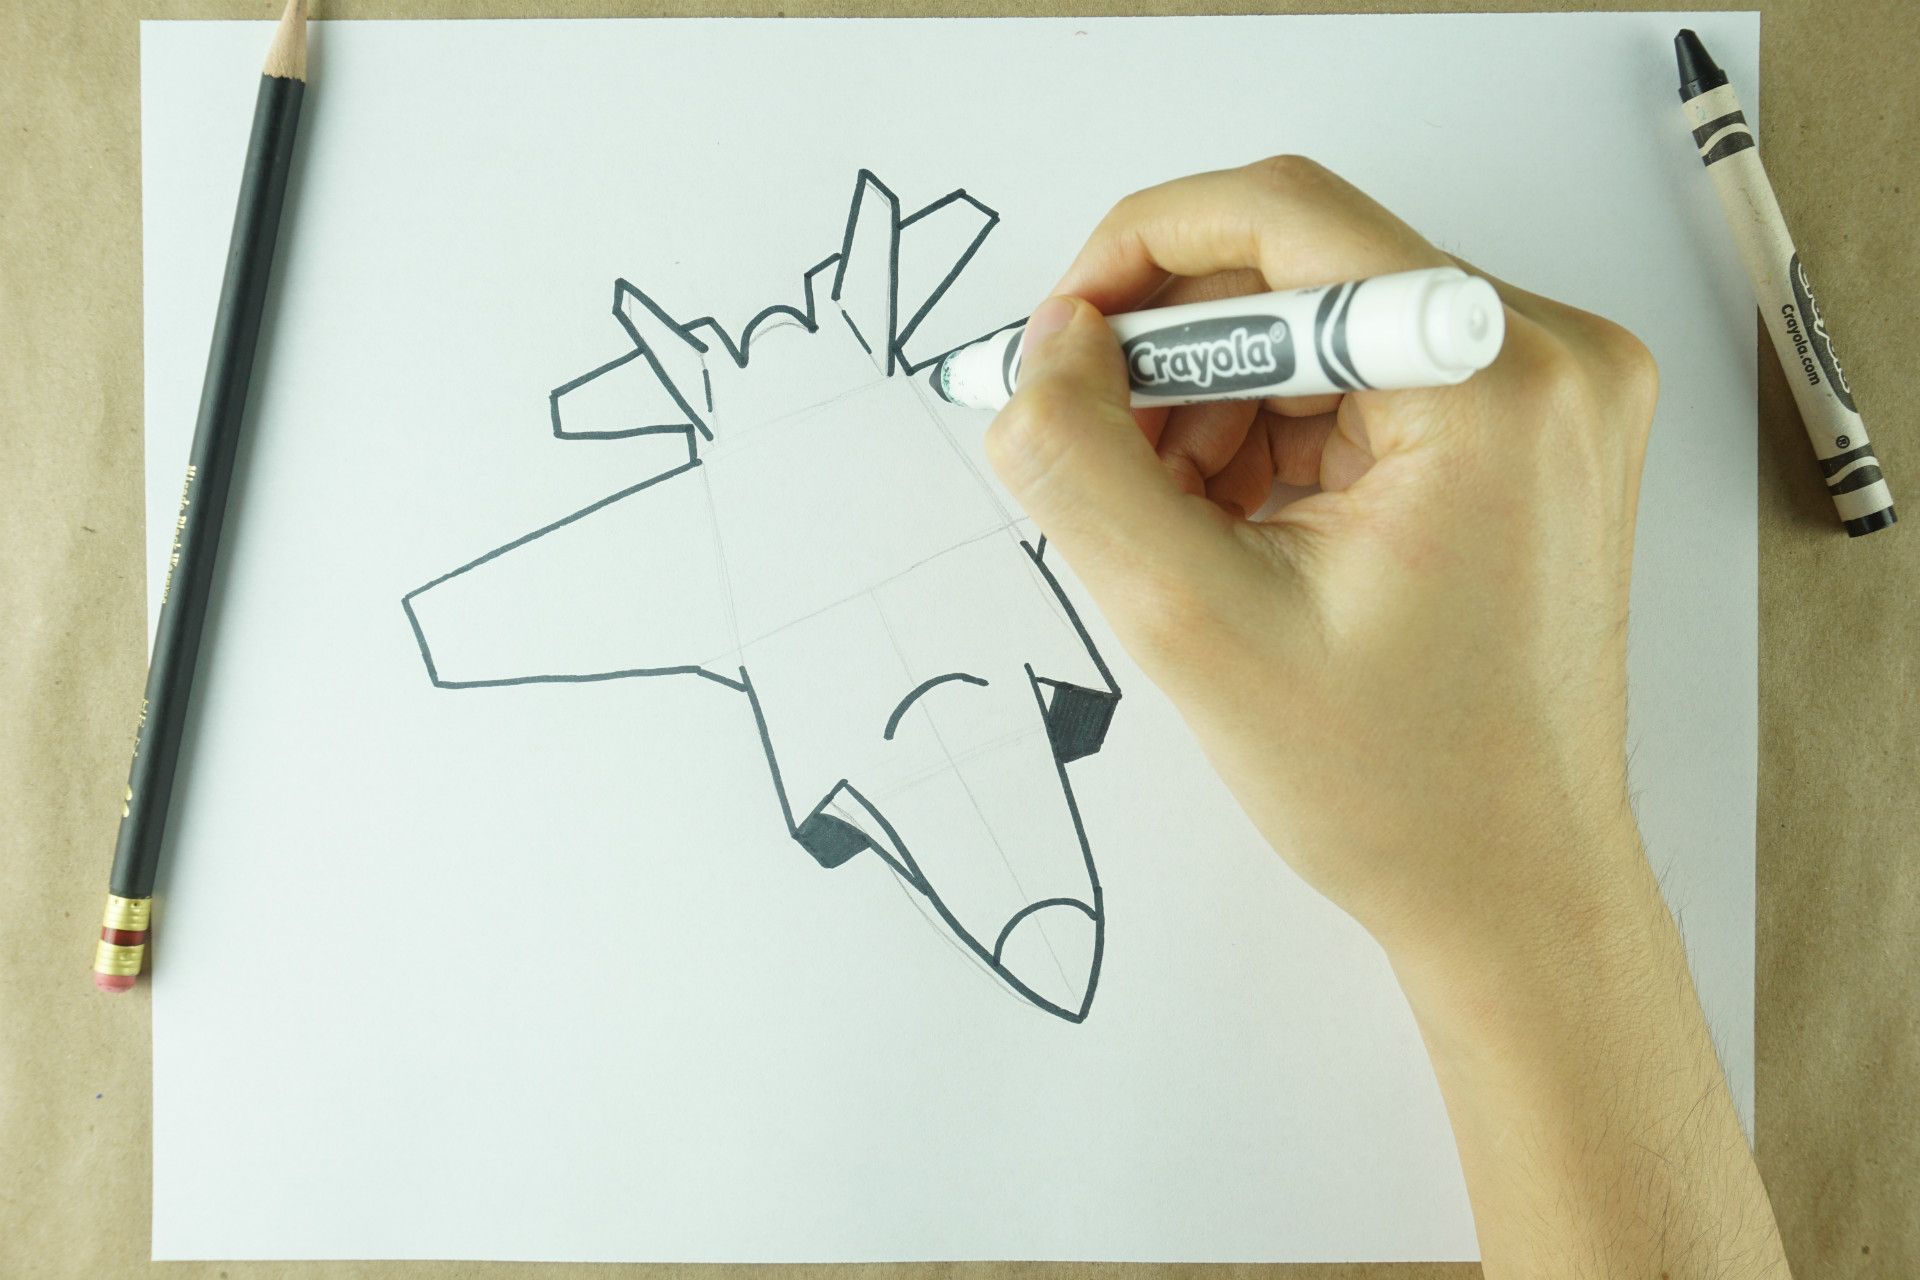
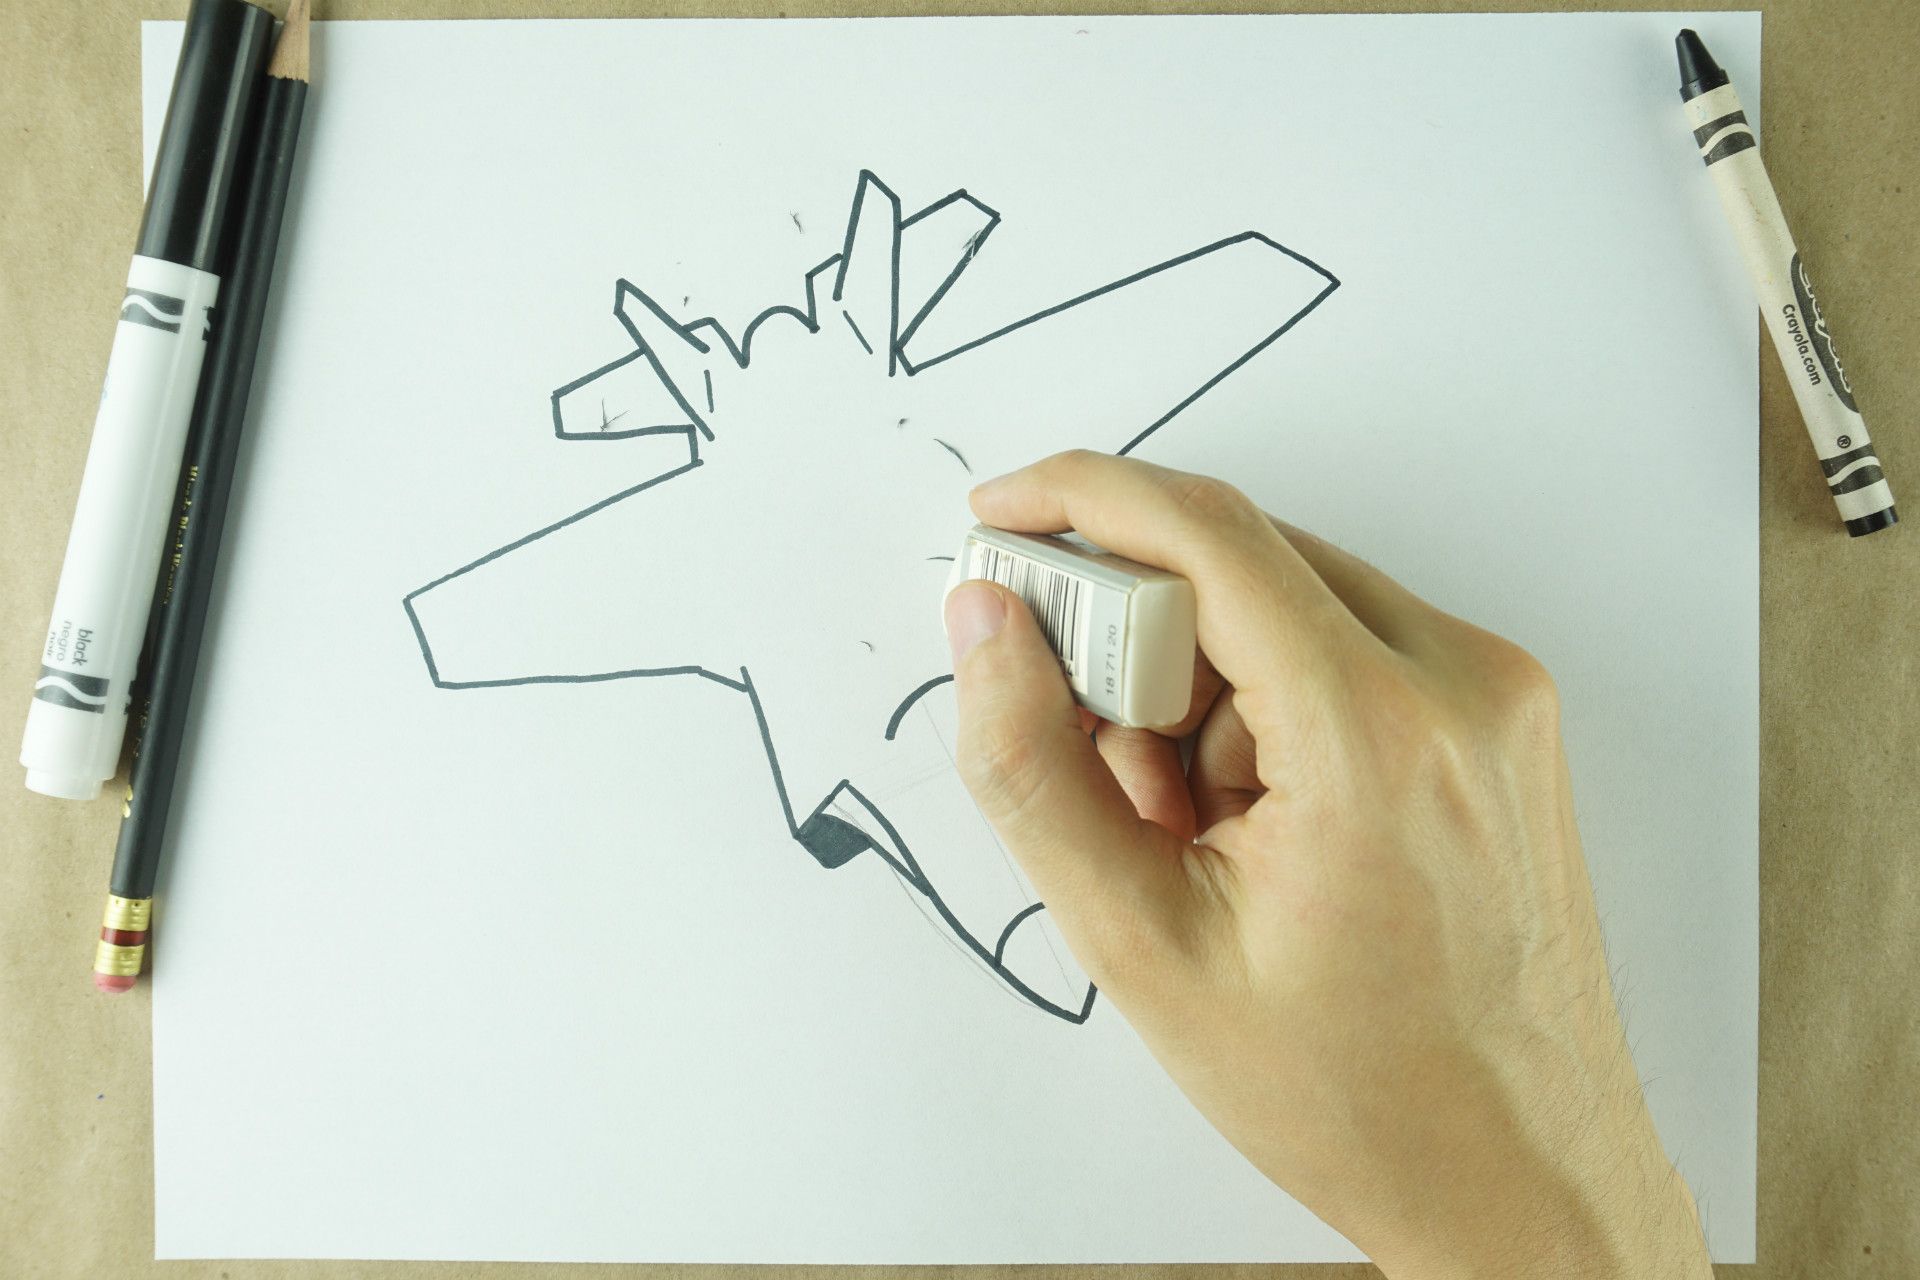
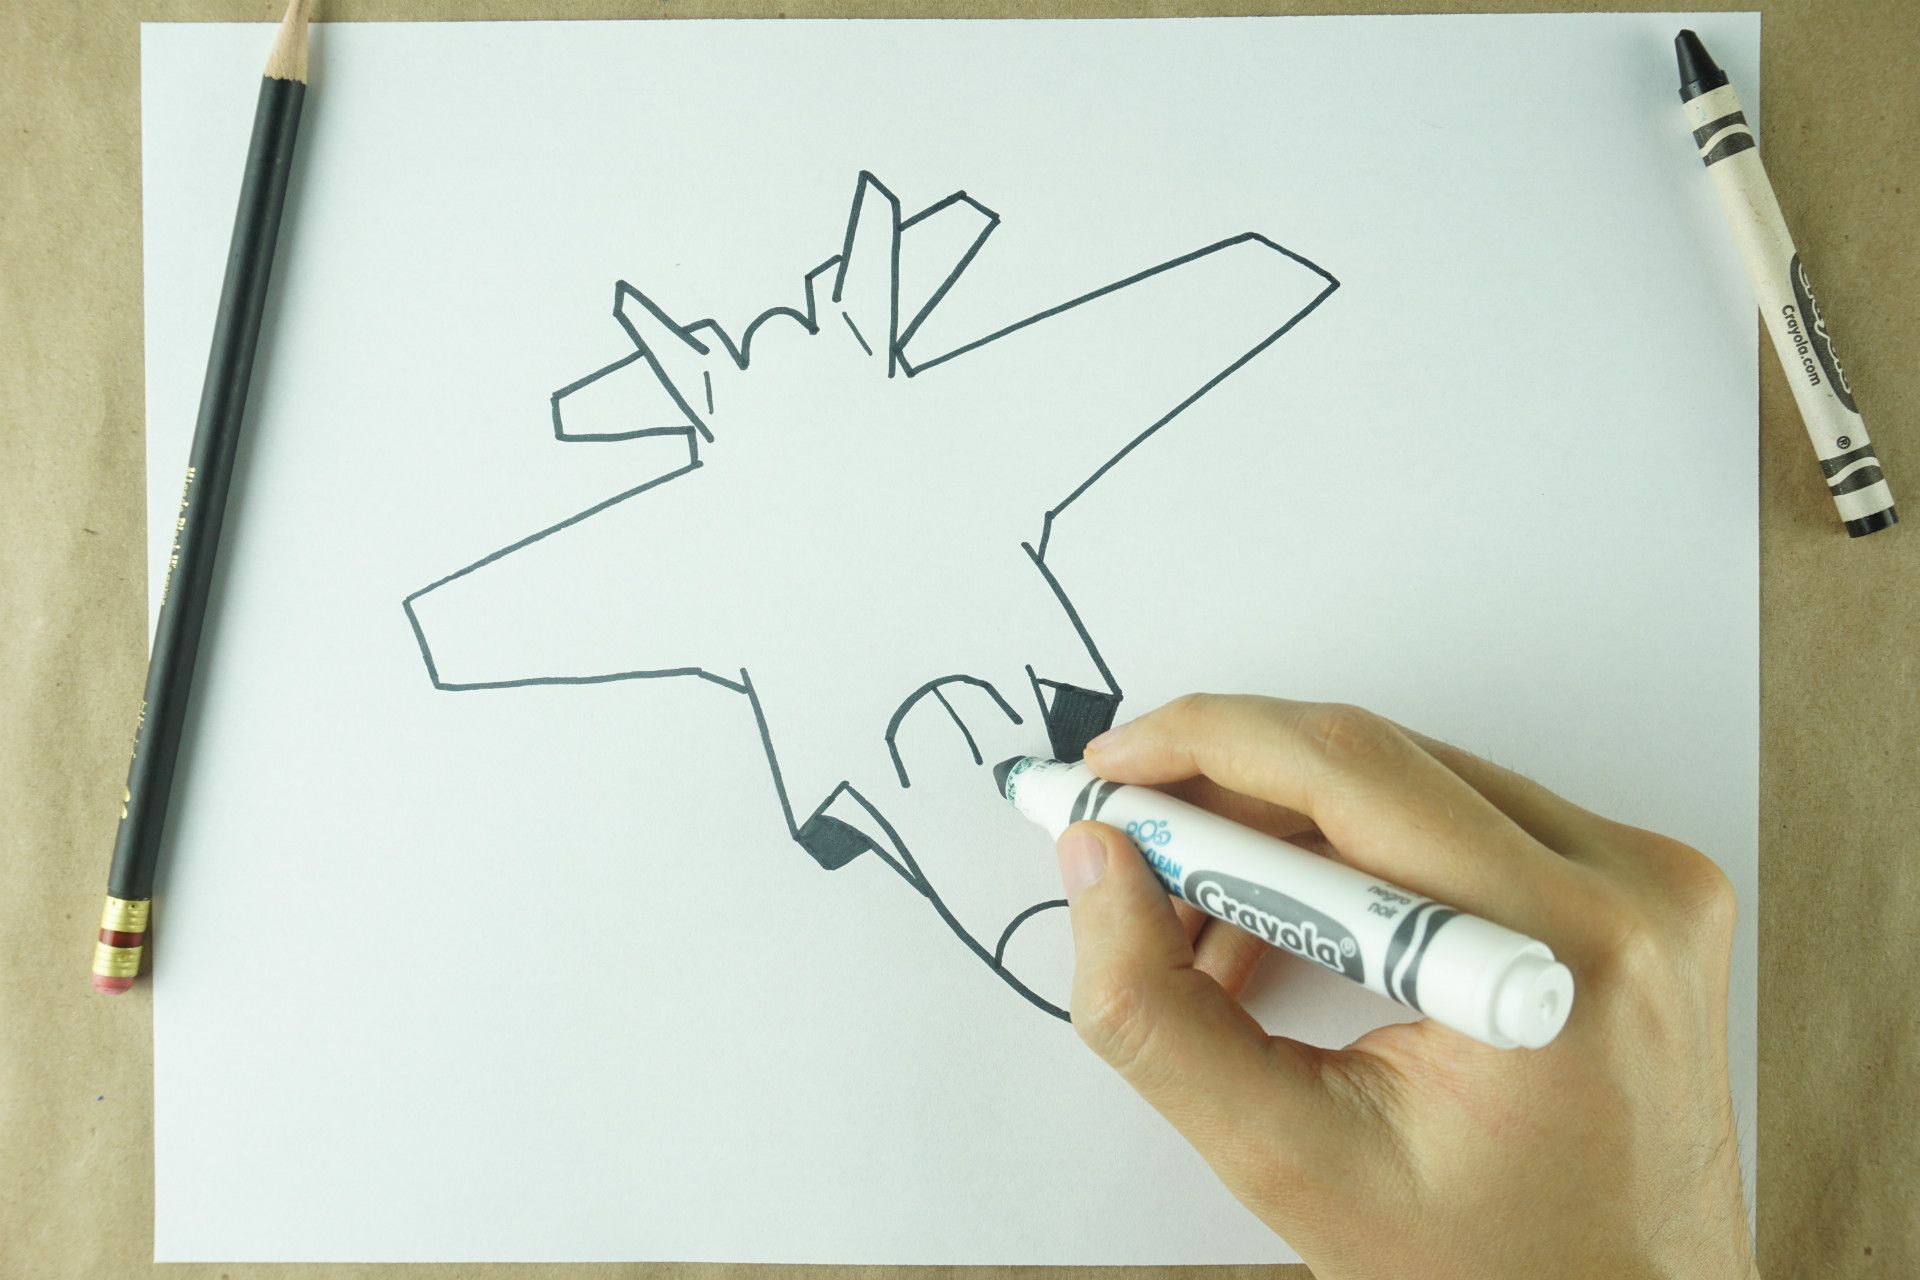
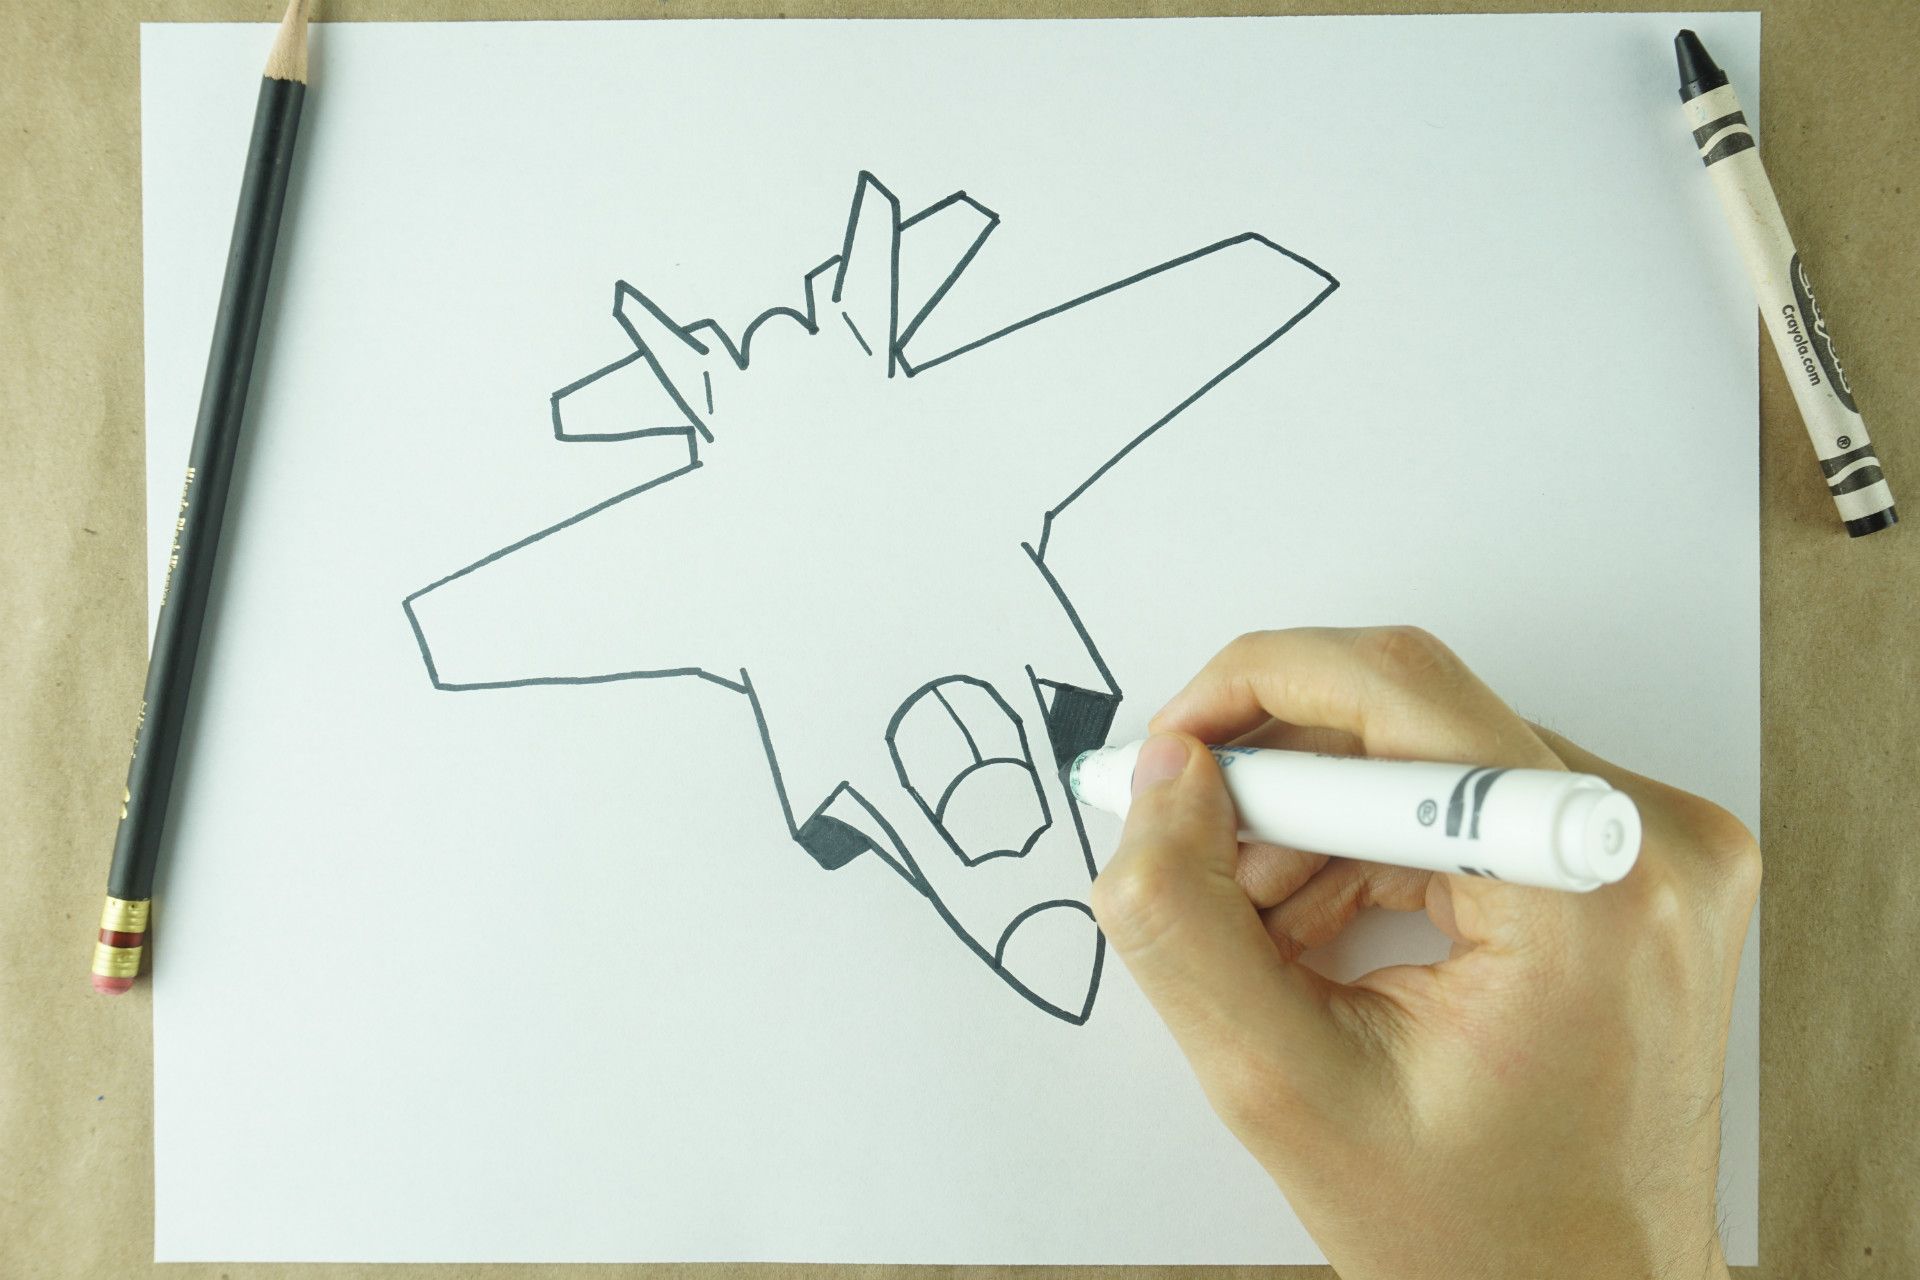
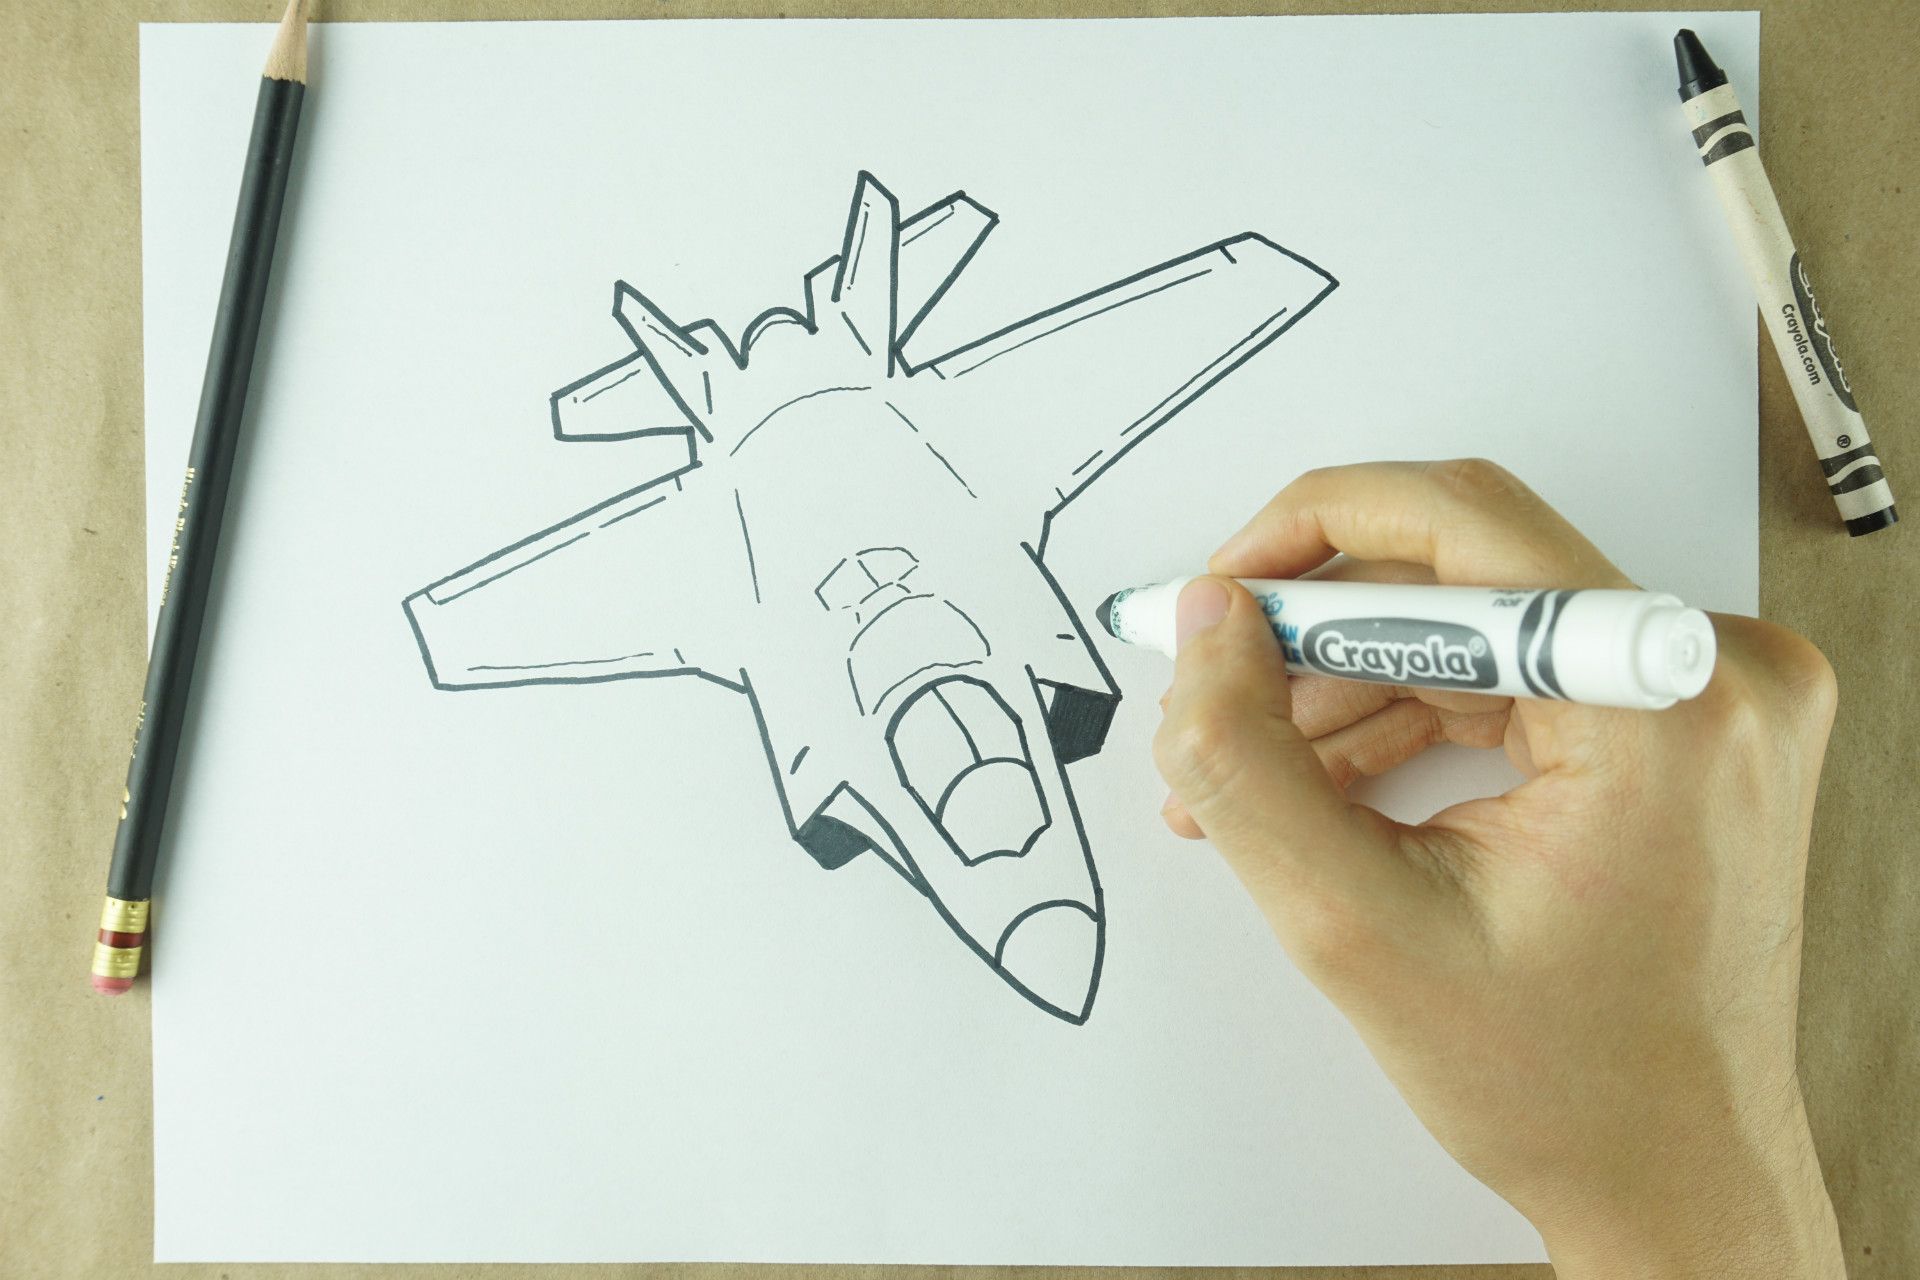
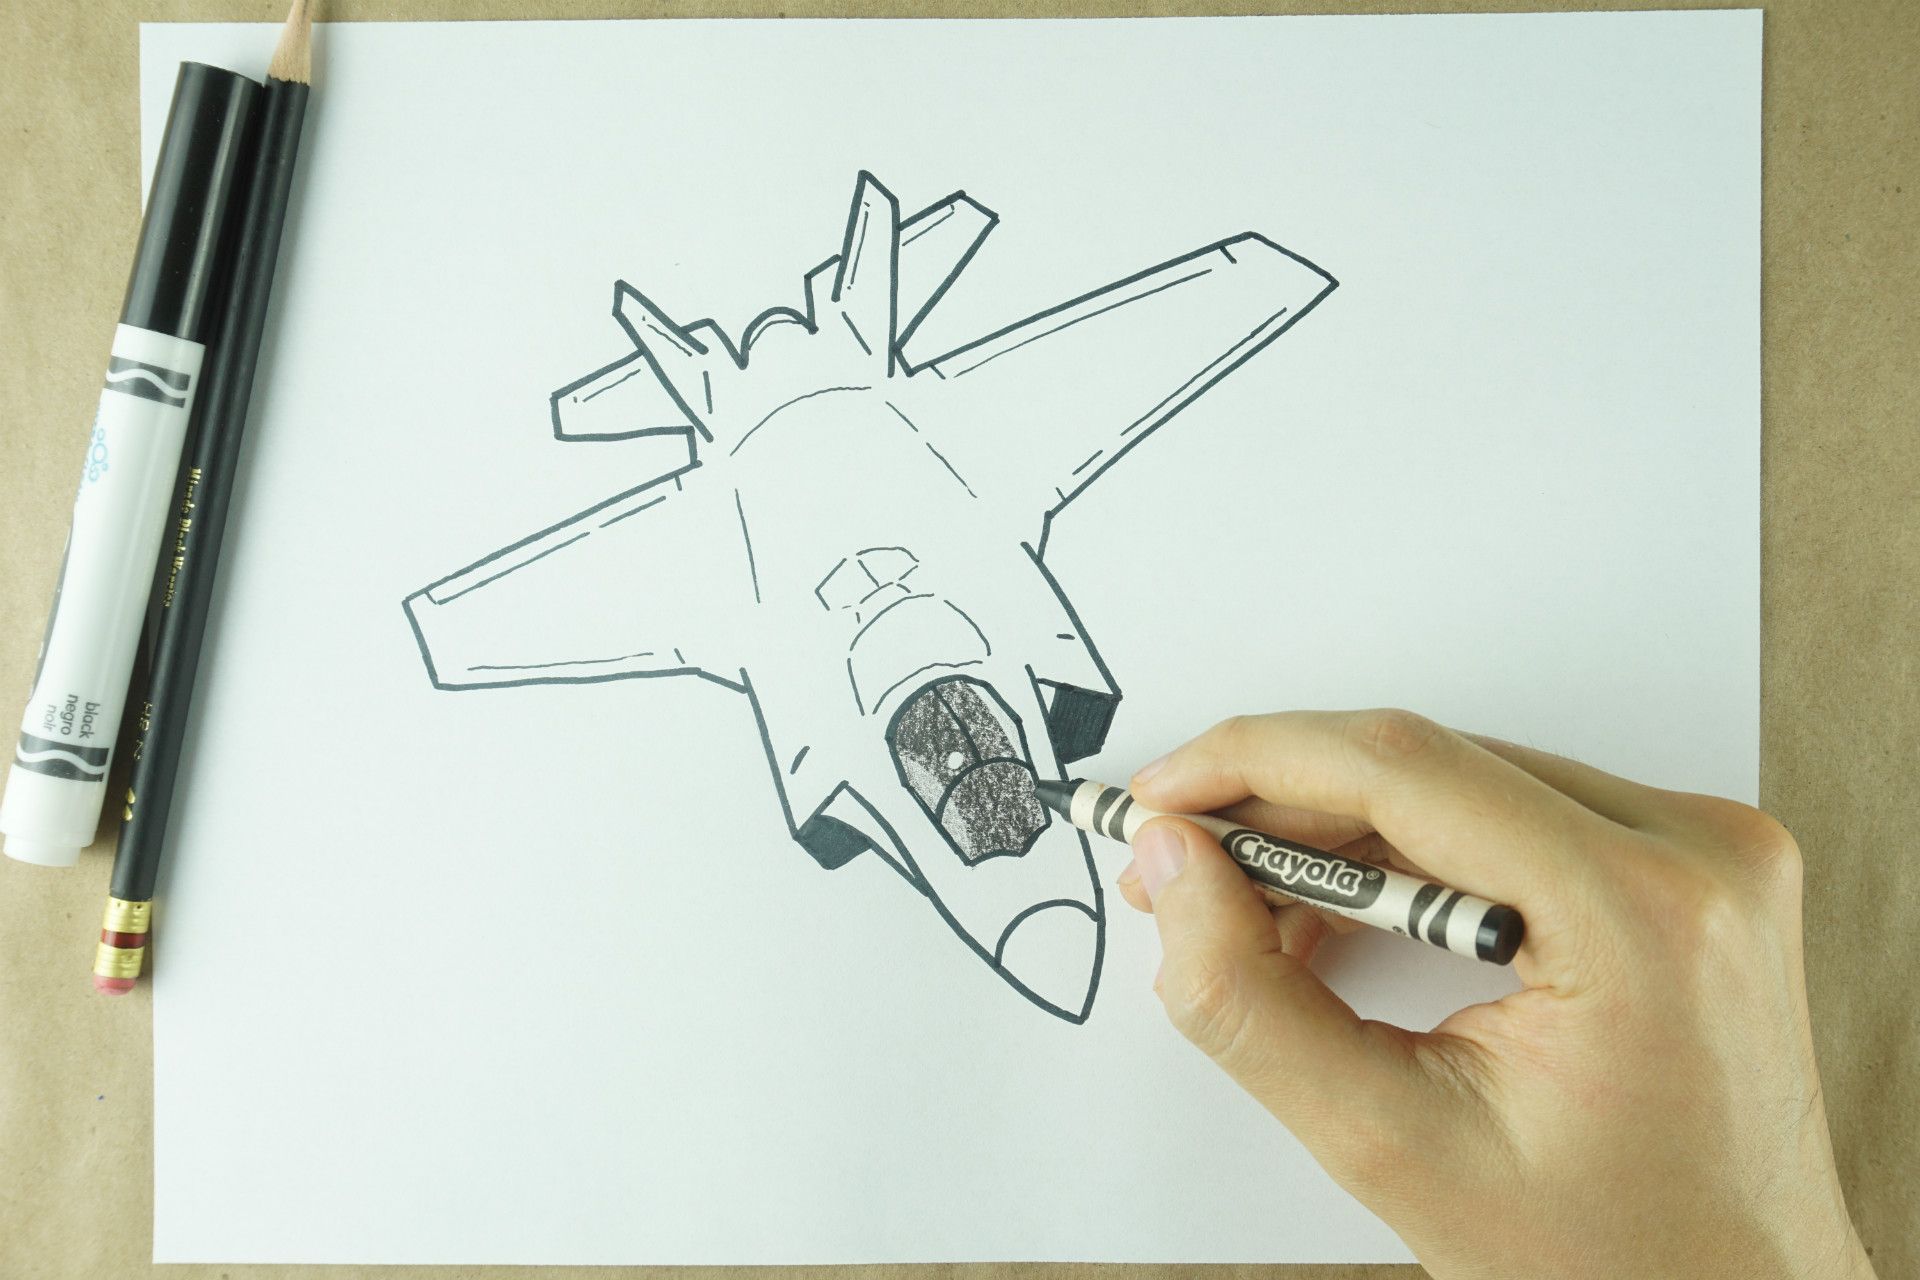
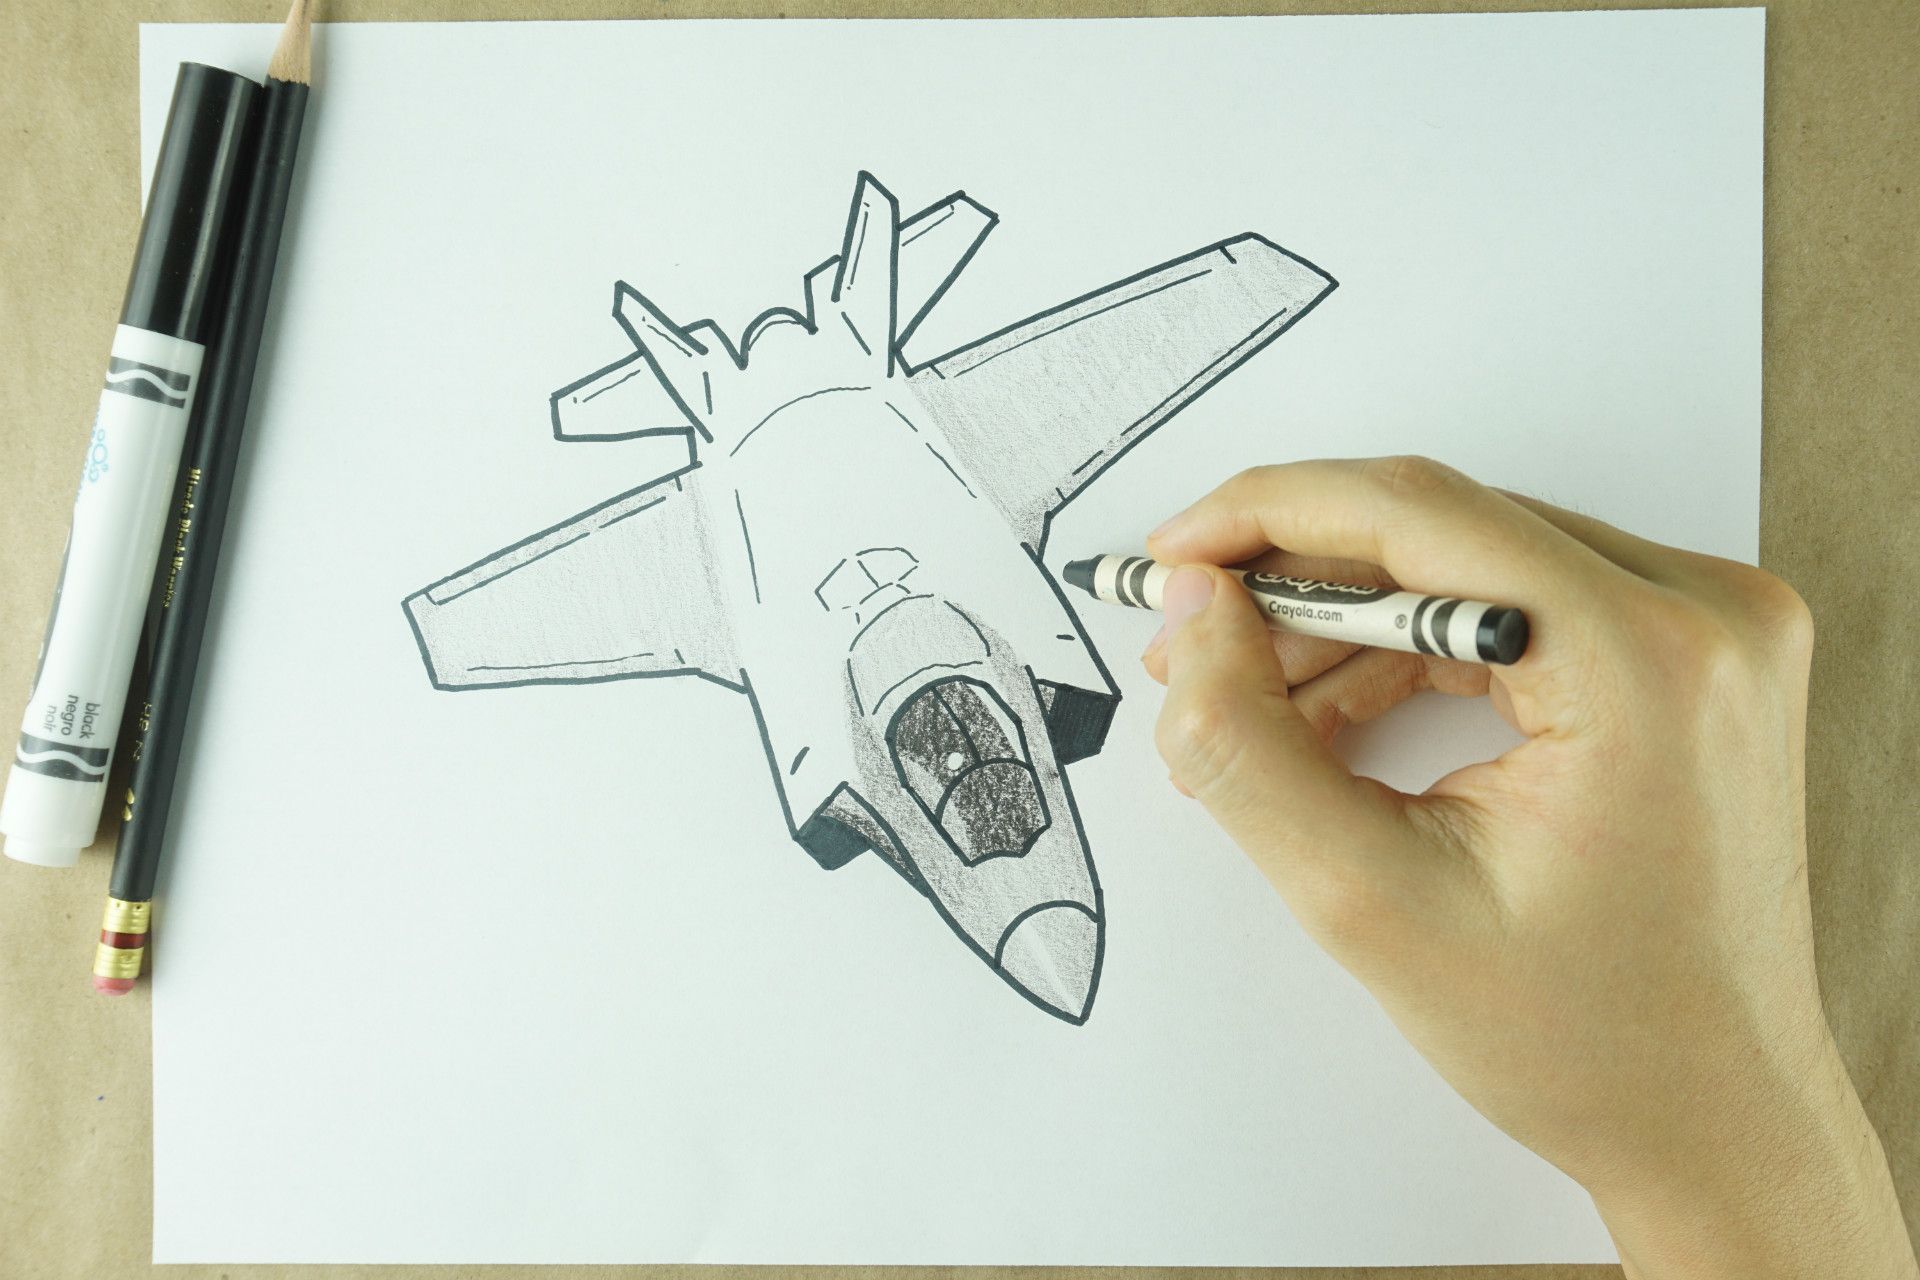
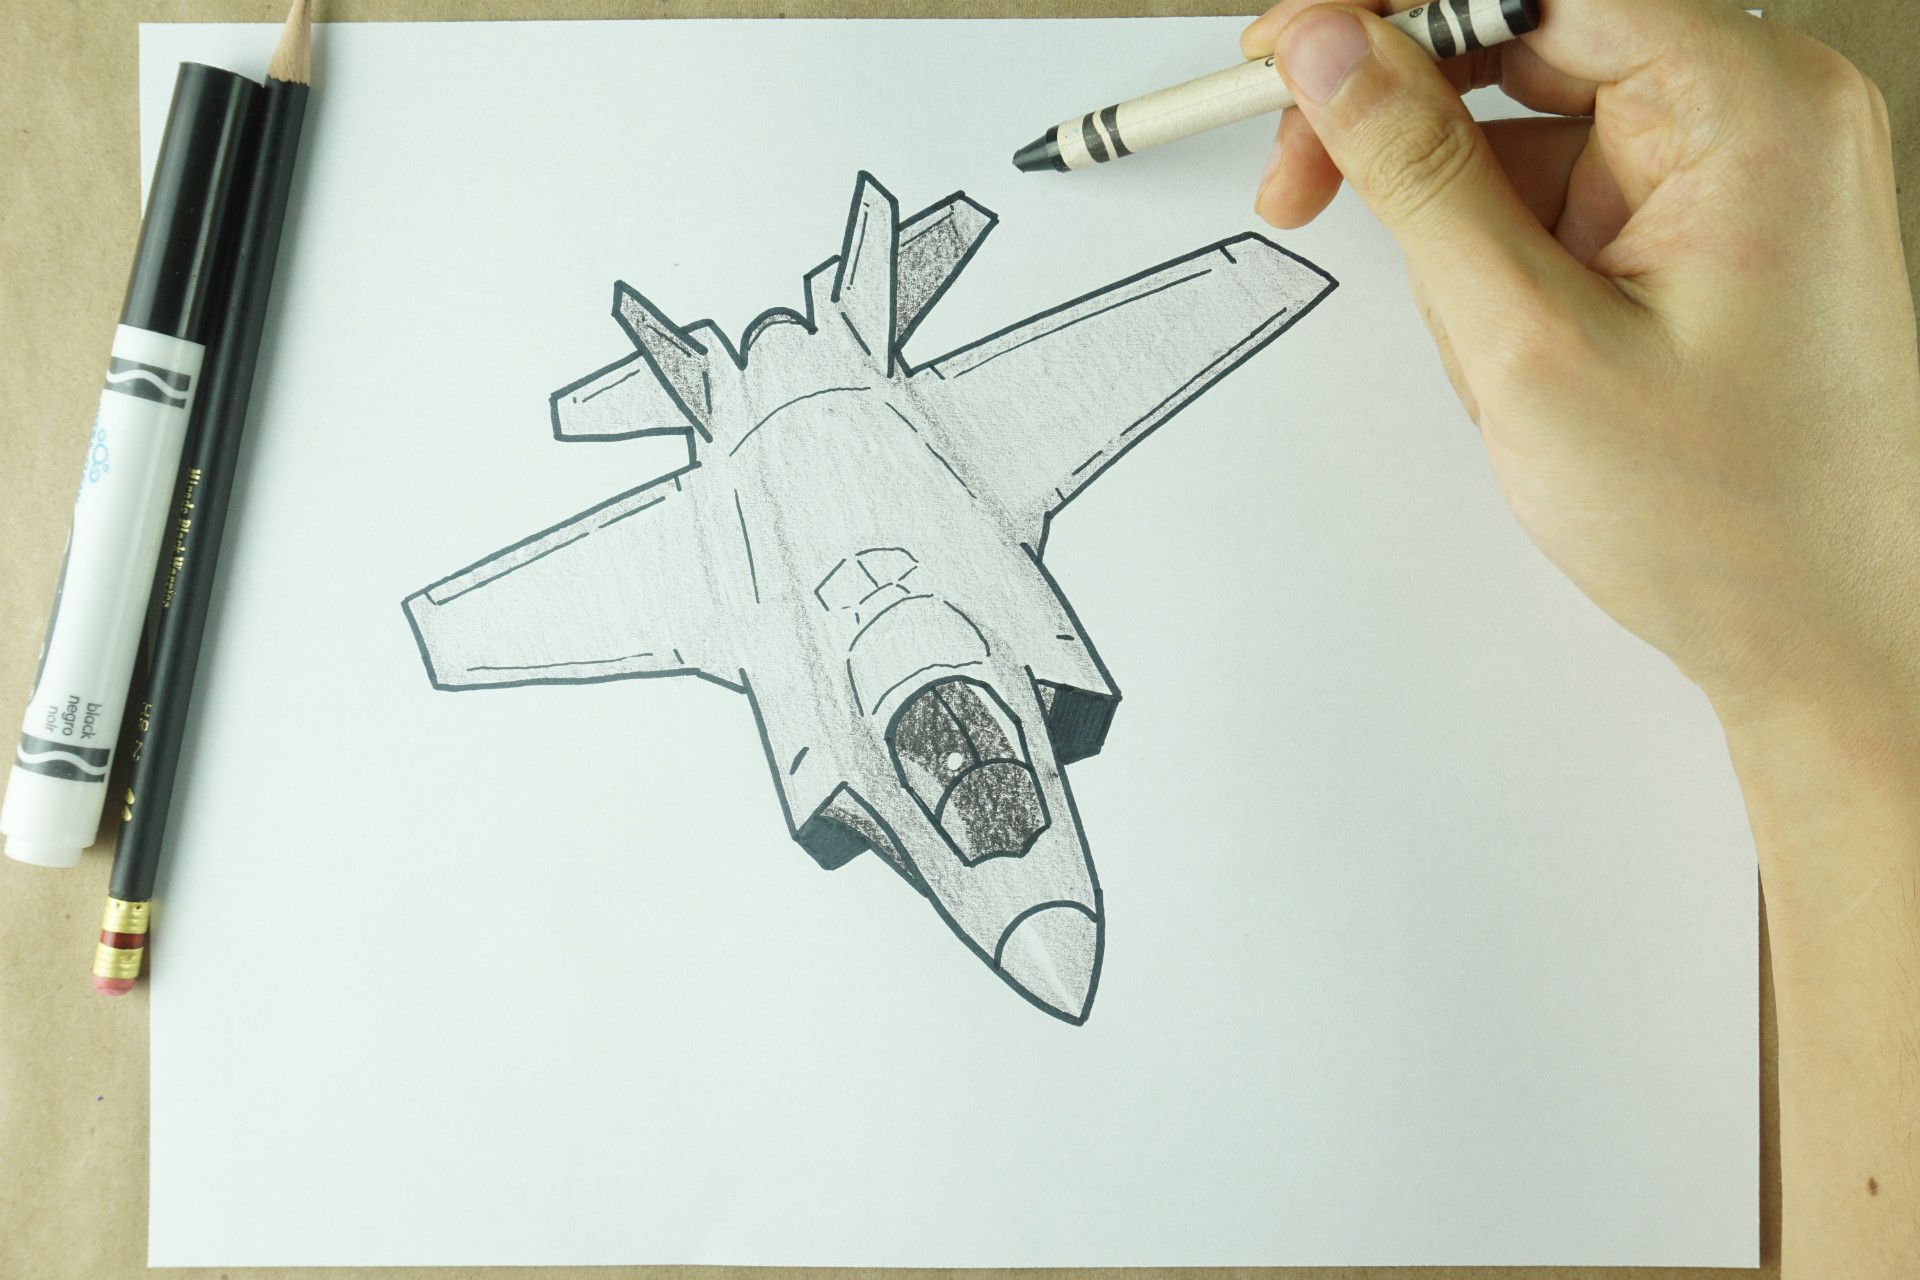
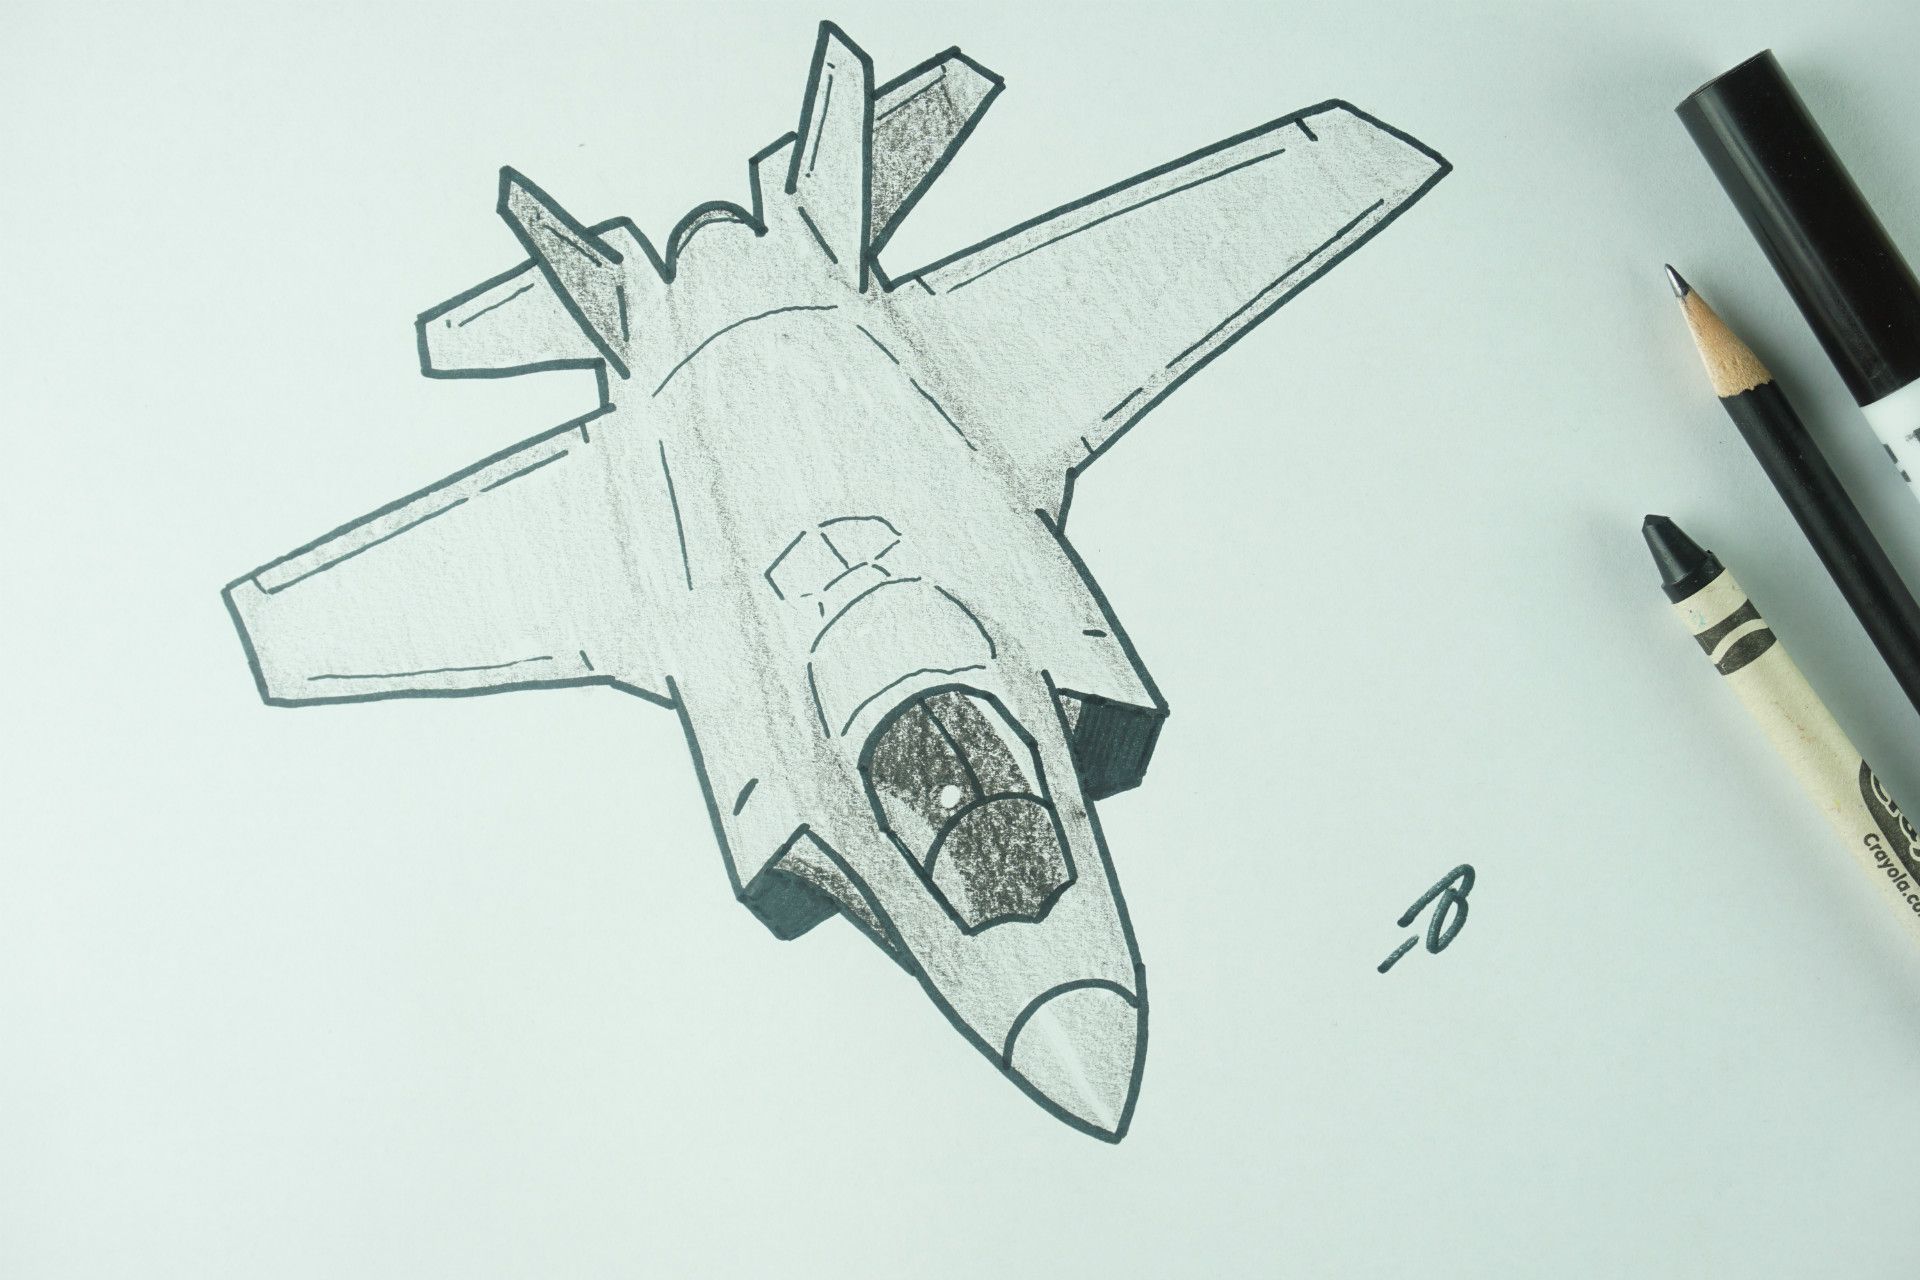
Our aircraft today will use a pencil with a black marker and crayon.Draw a rectangle in perspective. You can look at this like a tall trapezoid rotated to the "11 o' clock" position too.Draw a bar that crosses the trapezoid's half way point, let the line extend beyond the trapezoid borders a bit too. Then draw another line to form a "T" shape, and extend this line to be about as long as the trapezoid.Draw a thin pair of trapezoid on the top edge.We're going to make a weird "W" shape now. First draw a curve (opened downward) below the corners of your previous trapezoids. Then on each side of the curve, extend a line up, to around the half way point of each side trapezoid.Draw a pair of slanted lines at the corner of the base of your big trapezoid.From the slants, close the front in something that looks like a "sharp" tongue.Switch to the marker. Extend the "top" of your big trapezoid out to create a wing. It will be made of 3 main lines, that ultimately connect to the small "extended line" you drew earlier. Once you reach that tip, draw a small slant to connect it to the body.Repeat the process on the other side.Create a pair of "upside down 7" shapes by tracing your lines toward the bottom.From the right side, draw a straight line coming down from the slant, going down to the tip, with a slight curve near the end. Note that you aren't tracing the previous "tongue" shape curves exactly.Do something similar on the other side, don't worry about tracing the line exactly.You can now draw (do a backwards "L") and fill in the vent on the right side, leaving the little space from before.Do the same on the other side.Draw a curve at the top and bottom of this section. We'll finish this area later.Finish tracing all the penciled straightlines at the top.Then follow the curve shape, but extend it beyond the pencil to be a little taller. From the tips of the "W" shape, extend some lines that go behind those top fins and reach about halfway into each wing.Close off the back fins with some "L" shapes, that finish off with a short line to continue into the body.We can erase all our pencil marks now.Draw 2 lines coming off the side of your previous curve, with a 3rd line, this time curved, coming slightly down the middle.With a few more lines we will finish the cockpit.From here, you can add a few more marker lines to make your plane look more realistic. I add some edges around the wings and fins, as well as some top panels.Fill in your cockpit with black, but leave a few sections light to create the illusion of a reflection.Fill in the nose and wings by coloring as lightly as you can with the black crayon. Alternatively, if you have a gray crayon, you can use that instead!Fill the rest of your aircraft in. Note: I darkened the shadow behind one fin, as well as the side of the other.Sign it and your fighter jet is complete! 🎉
You've successfully subscribed to Draw With Me, Mr. B
Great! Next, complete checkout for full access to Draw With Me, Mr. B
Welcome back! You've successfully signed in
Success! Your account is fully activated, you now have access to all content.